Create a Site
Adding a site registers a new monitored location under your monitoring centre — the place a technician is installing at today, or a premises taken over from another company. It is three questions, one screen each: Where, Who to call, What protects it. The site is saved after the first, and the site's Setup card carries whatever is left.
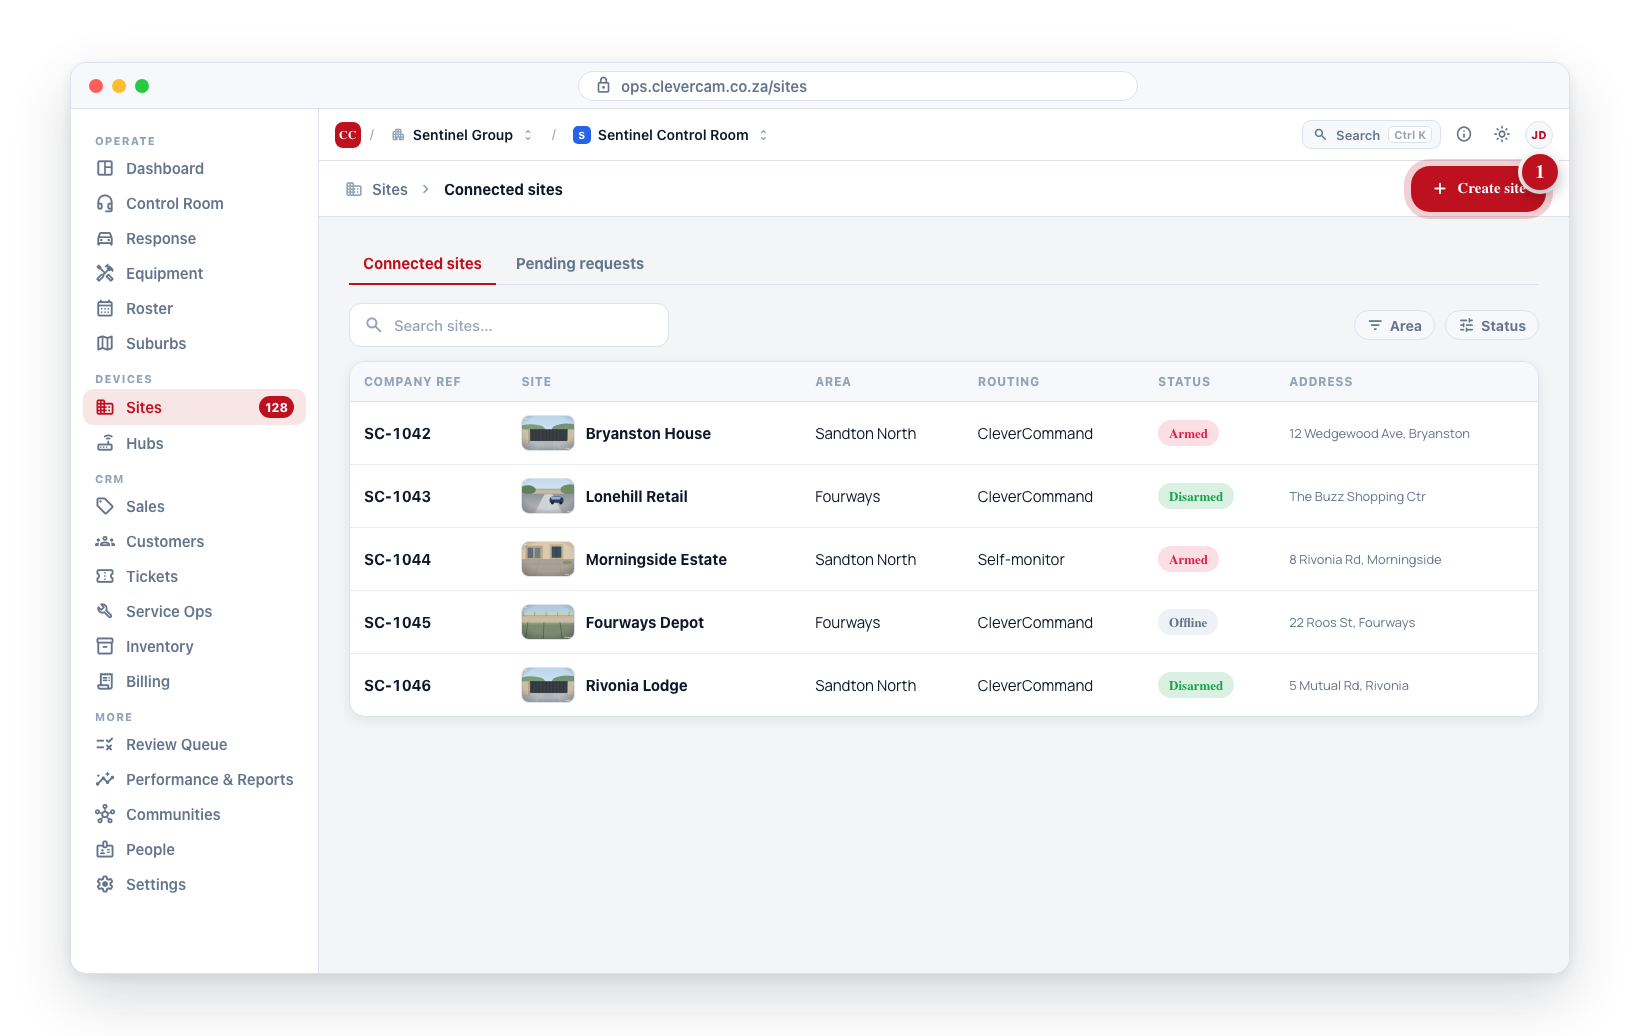
In the sidebar, open Sites → Connected sites, then click Add a site in the top-right corner.
Prerequisites
Before adding a site, have to hand:
- The address — or, for a farm or plot the search does not know, the nearest road or town
- Who the site is for, if your control room runs the CRM module — an existing customer, or a name and mobile to create one on the spot
- The people to call and the word each of them will say, if you have them; both can be added later
You must be a member of the company that owns the monitoring centre and hold the Create sites capability to see the Add a site button. The Sites admin role grants it; owners, admins and Administrators have it. See Roles and Permissions.
Step-by-Step Site Creation
Add a site asks three questions, one screen each: Where, Who to call, What protects it. The site is saved as soon as the first is answered, so nothing typed is lost if you stop there. Whatever is left open shows on the site's Setup card until it is done.
Where
-
Navigate to Sites in the sidebar and click Add a site in the top-right corner.
-
Who is this for? — only on control rooms with the CRM module. Pick the customer from the search (it matches names, account numbers, contacts, phone numbers, addresses, and the names and company references of the customer's sites), or click New customer to create one from a name and a mobile without leaving the flow. Skip it and the site stands on its own; a customer can be attached later. Opened from a customer's own page, this field is already filled in and locked.
-
Where is it? — type the address and pick a suggestion from the list. The street, suburb, city, province and country fill in, the map pin lands on the address, a Street View image becomes the site's picture, and a line with a green tick under the box shows the address the site will be saved with. The map has its own search box too; picking one of its results does the same. Both searches only return South African addresses.
What you type is only a search — it is never saved as the address. Until a suggestion is picked, a warning shows under the box and Save and continue stays greyed out. Changing the text after picking undoes the pick; pick again. Clicking the map before picking moves the pin but gives the site no address, and a later pick moves the pin to the address it found.
Click the map or drag the pin after picking to put it exactly where responders should drive to — the pin, not the address, is what dispatch routes to. A site cannot be saved without a pin.
Address not listed? Pick the nearest road or town, drag the pin onto the spot, and type the detail (plot, farm, unit, complex) in Address line 2 under More options.
-
What kind of place? — shown only when your control room offers more than one type under Settings → Site types. Pick Property, Vehicle, Personal (panic) or one of your custom types. With only Property enabled the chips are hidden.
-
What the desk calls it — the name operators will see. It is suggested from the address (street and city), or from the customer when no address has been picked yet. Change it if the control room knows the place by another name.
-
More options (folded by default):
- Your account code for this site — your own reference code; it appears in the site list. Left blank, none is stored.
- Who handles alarms? — Our control room (full monitoring, the default), The owner, in the app, with us as backup (self monitoring) or Nobody — log the signals only (no monitoring).
- Hold alarms while it is being installed (2 hours) — ticked by default. Signals are still logged, nothing is dispatched, and the hold ends on its own when the time in brackets runs out. That time is your control room's installation hold — 2 hours unless you have chosen another length. Untick it for a site that is live today. It can be ended early or extended from the site's state card at any time.
- Address line 2 and Province — filled in by the picked address. Correct them here, or add the plot, unit or complex the search could not find. A new pick replaces both.
-
Click Save and continue. The site and its link to your control room are written now.
Back on the next screen returns to Where with everything as you left it. Clicking Save and continue again corrects the same site — its name, address, pin, kind of place, customer, account code and who handles alarms — and never adds a second one. Only what you changed is written, so an edit someone made on the site's page in the meantime is kept. The installation hold is placed by the first save only: afterwards its tick box is locked, and the hold is ended or extended from the site's state card.
Who to call
- The site's own word — the Word and Duress word an operator asks whoever answers at the premises when that person has no word of their own.
- People to call, in this order — one row per person: Name, Mobile, Word, Duress. The first row is phoned first. A named person without a word is flagged in amber: without one they cannot be challenged. Add another person adds a row; the × removes one. These people are added to the site's call list as non-app contacts; app invitations are sent later from the site's People tab.
- Who pays for this site? — asked only on CRM control rooms when no customer was chosen at the first step: the first person on the list (a customer is created from their name and mobile), an existing customer, or Skip for now.
- Click Continue. Nothing on this screen is required.
What protects it
- Choose one:
- An alarm panel or radio — opens the same wizard as the site's Add hub button: pick the brand and enter the account code, serial or IMEI. Zones arrive with the panel's first report.
- A CleverCam hub — type the Serial and Verification code from the sticker and click Link the hub. The hub is claimed by your control room and linked to the site.
- Nothing yet — a technician will link it. If alarms are on hold, they stay on hold until then.
- Click Finish. You land on the new site's details page.
Panic-app-only cover and anything else can be added from the site's Hardware and People tabs. For a person with no premises at all, use Add personal cover instead — see Personal cover below.
The coordinates are what responders navigate to and what places the site inside a suburb boundary. An address that geocodes to the middle of a street or the centre of a smallholding sends a vehicle to the wrong gate. Zoom in on satellite and drop the pin on the entrance before you save — it takes seconds now and saves a call later.
Creating a Site for an Existing Customer
If the premises belongs to a customer you already have, start from the customer instead — the site is attributed to them the moment it is created, with no linking step afterwards.
- Open Customers and click the customer.
- Click Add a site in the customer's header (or New site on the Sites & contacts tab, or + Add in the account rail).
- Work through the same three screens described above. Who is this for? is pre-filled and locked to the customer whose page you came from.
- Click Finish — you land on the new site's details page, and the site shows under the customer's sites and in the account rail.
Use Link a site on the Sites & contacts tab instead when the site already exists in the control room and only needs attributing to this customer.
The Add a site button follows the same rule as the one on the Sites page: it only appears for members of the company that owns the monitoring centre who also hold the Create sites capability (the Sites admin role).
After Creating a Site
The new site's Overview tab opens on its Setup card: one line per thing the desk needs before the site can be worked at 02:00, each with the button that fixes it.
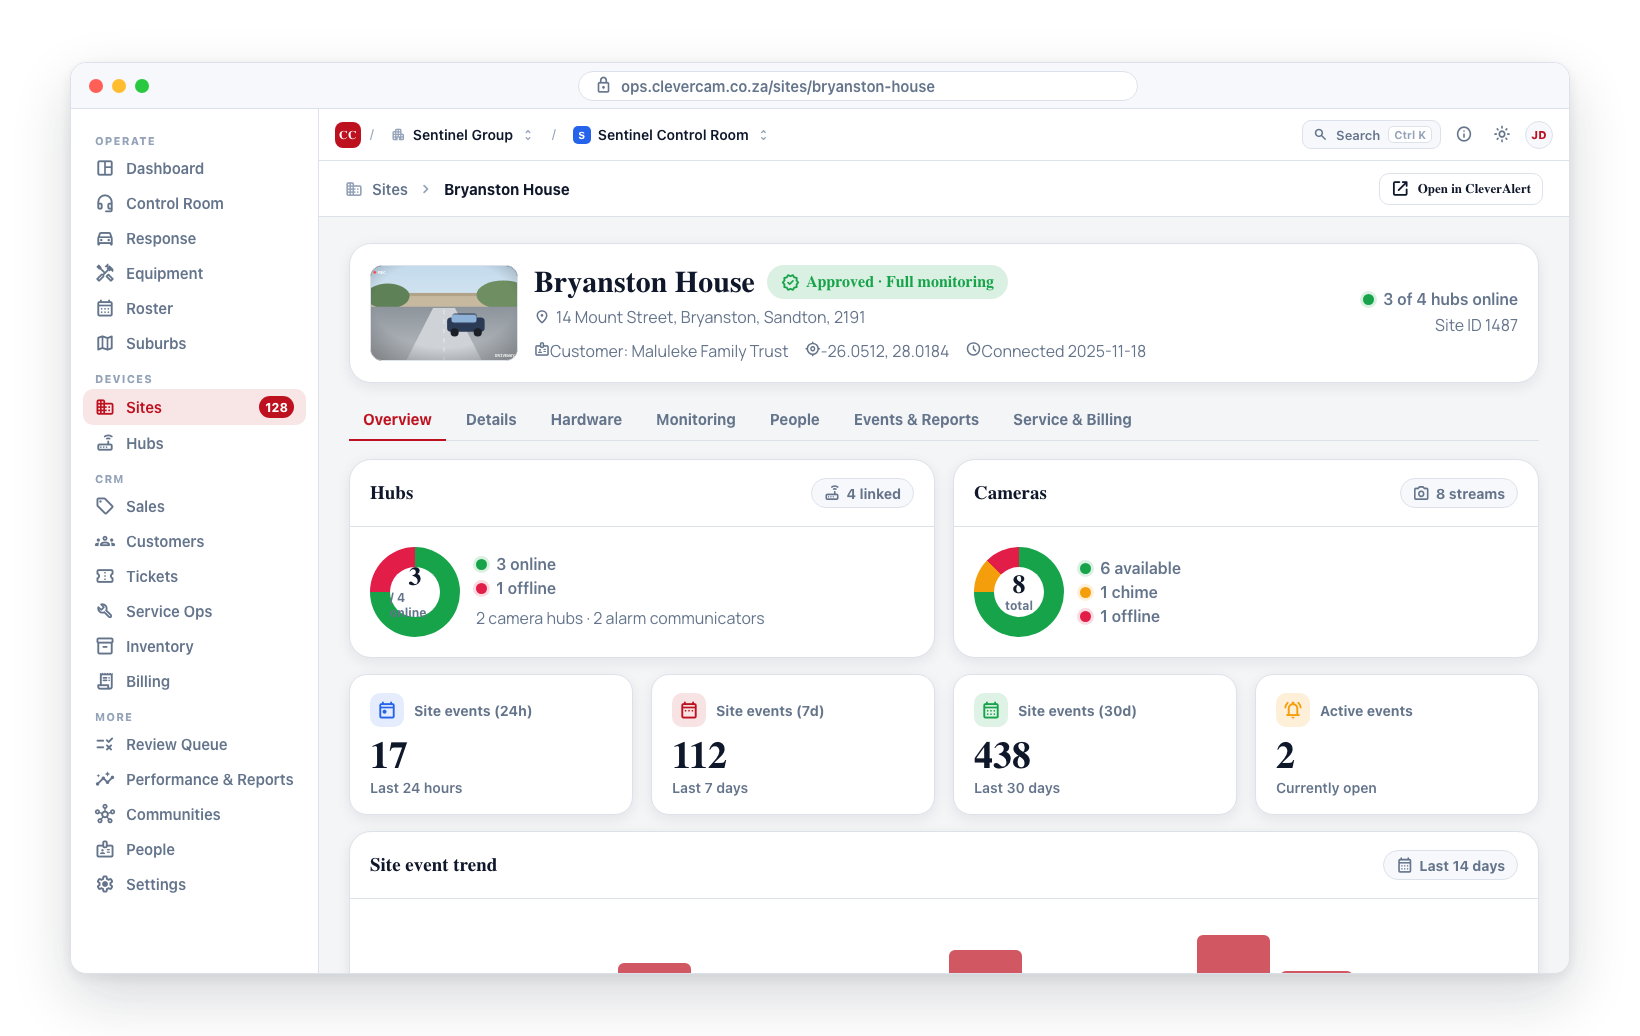
- Pin on the map — done at the first step; Move pin opens Details.
- People to call, with a word — anyone added at the second step; Add people or Add word opens the People tab.
- Something protecting it — the panel or hub linked at the third step; Add opens the Add hub wizard.
- First signal received — turns green on its own when the linked device reports in. Ask the installer to trigger a test.
- Belongs to a customer and Billed on a subscription — CRM control rooms only. Billing never holds up monitoring.
- End the installation hold when commissioned — if alarms were put on hold, end it from the site's state card once the installation is signed off, or let the hold run out. Dispatch stays suppressed until then.
Not sure who should handle alarms? See the Monitoring Modes page for a detailed comparison of each option.
Personal cover
Some people want a panic button with nothing to monitor — no premises, no cameras, no alarm panel. Location panic in the app only works for an app user on a site with a linked hub, and standing that up by hand is seven steps across four screens: customer, site, approve the link, add the Panic App hub, create the person, set their app panic, send the invitation. Add personal cover does those seven steps behind one button.
Next to Add a site (same permission) click Add personal cover. The dialog asks for:
- Person's name — becomes the name of their base and, if you let the dialog create one, of their customer.
- Mobile — required. The WhatsApp / SMS number the invitation goes to, and how the control room reaches them.
- Email — optional.
- Customer — shown when the CRM module is on: New customer named after the person (the default) or Existing customer, picked from your customer list. Without the CRM module the base is created without a customer, exactly like Add a site.
- Where do they need cover? — At home and anywhere (the default): a panic from the house is dispatched to the pin, and a panic anywhere else uses their live location. Anywhere only — no fixed address: for someone with no premises at all. The base is created with no address and no pin, and their premises panic is switched off — location panic is the whole cover, so nobody is ever dispatched to a placeholder address. Choosing this hides the address fields below.
- Home address — (home-and-anywhere only) search or drop the pin on the home; the address lines fill in from the search and can be corrected. The pin is required for this option: a premises panic is dispatched to it, and it places the base in a suburb. A location panic goes to the person's live position either way.
- App invitation — WhatsApp (ticked by default; falls back to SMS) and/or Email (available once an email is entered). Untick both and the dialog just makes a link you can pass on. If your control room has no published app yet, the dialog says so before you start — everything else is still created and the invitation step is skipped.
Click Add personal cover. The dialog works through the steps in order and shows each one as it completes:
- Customer — created from the name, or the one you picked.
- Base — a site named after the person at the home address, marked as a person rather than a premises. No groups, no zones, no installation window (there is nothing to install, and an installation window would suppress the very dispatch the cover exists for).
- Control room link — approved, primary, Full monitoring. Not No monitoring: a no-monitoring site's events are dropped before they reach your control room, and that would include a panic sent from the app.
- Panic App hub — created and linked. This is what qualifies the base for location panic. It bills per app user, not per site, so the base carries no separate hub charge.
- Person — added to the base as its owner, as a non-app person with App panic set to Site + location panic — or to Location panic only when you chose no fixed address, which refuses a premises panic outright rather than sending anyone to a placeholder. Accepting the invitation turns this same row into their app user, so the setting carries over.
- App invitation — sent on the ticked channels, or a link is made. The link is shown in the dialog with a Copy button, and the person appears on the base's People tab with the invitation's status from here on.
When it finishes, Open site takes you to the new base and Done closes the dialog. If a step fails, everything before it is kept, the failed step is marked, and the dialog says exactly what to finish by hand — for example Open the site → Add hub → Panic App. It never leaves a base that quietly has no hub without telling you so.
Once the person accepts the invitation and signs in, their app shows the panic-only home and their location panic is live, and they appear as a Panic user line on your billing breakdown. Which home they see depends on the build they install: CleverAlert 1.2.9 (build 165) and later has the panic-first home; older builds still raise a location panic but show the earlier placeholder home.
The base is not where anyone responds to a location panic — that goes to the live position. It is doing three other jobs nothing else can do: it is how the person resolves to your control room, it is what their Panic user line is billed against, and it is where their record (app panic setting, medical alerts, photo, call-list entry) lives. See Panic App sites for the hand-built version.
Editing a Site
After creation, you can edit any site detail:
- Go to Sites > Connected Sites and click on the site name.
- On the site details page, click Edit or update individual fields directly.
- Save your changes.