Create Schedule
Schedules automate actions at your site so your security system follows your routine without manual intervention. Schedules go beyond simple arm and disarm — you can also toggle chime, push camera setting changes, or send reminder notifications on a time-based or event-driven trigger.
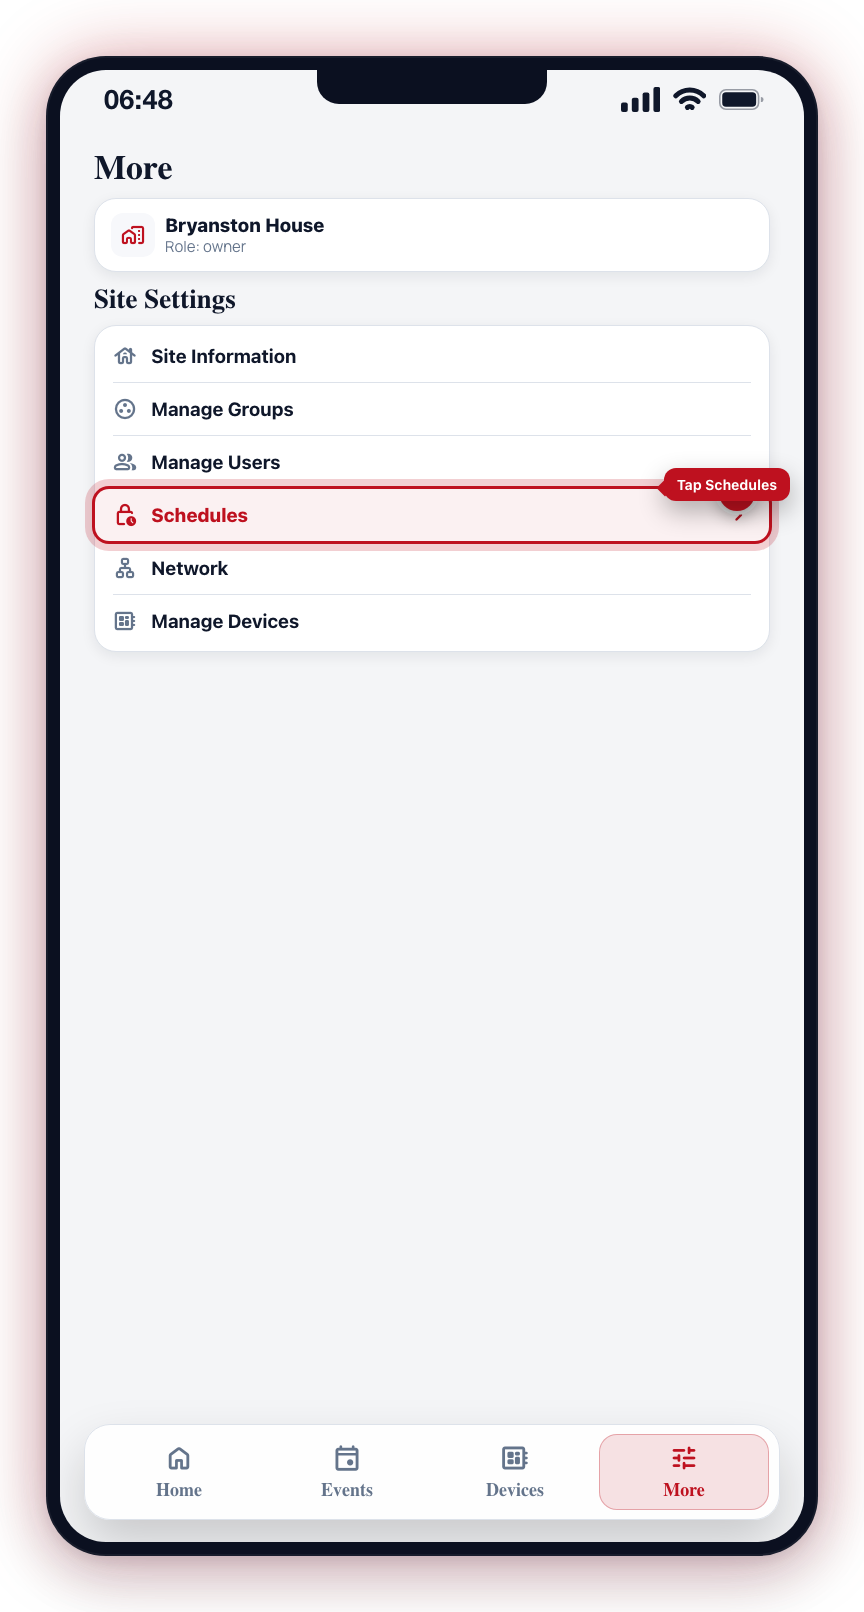
Go to the More tab and tap Schedules (under Site Settings).
What Schedules Do
A schedule is an automated action that fires based on a trigger. Each schedule controls:
- Trigger type — Time-based (at a specific time) or arm-state-change (when the site or group is armed or disarmed)
- When the action happens — Time of day and repeat pattern (for time-based triggers), or which arm event to react to (for arm-state-change triggers)
- Action category — One of four categories: change arm status, change chime status, send notification, or change camera settings (advanced)
- Scope — Site-wide or specific groups and cameras depending on the action
The Schedule Wizard
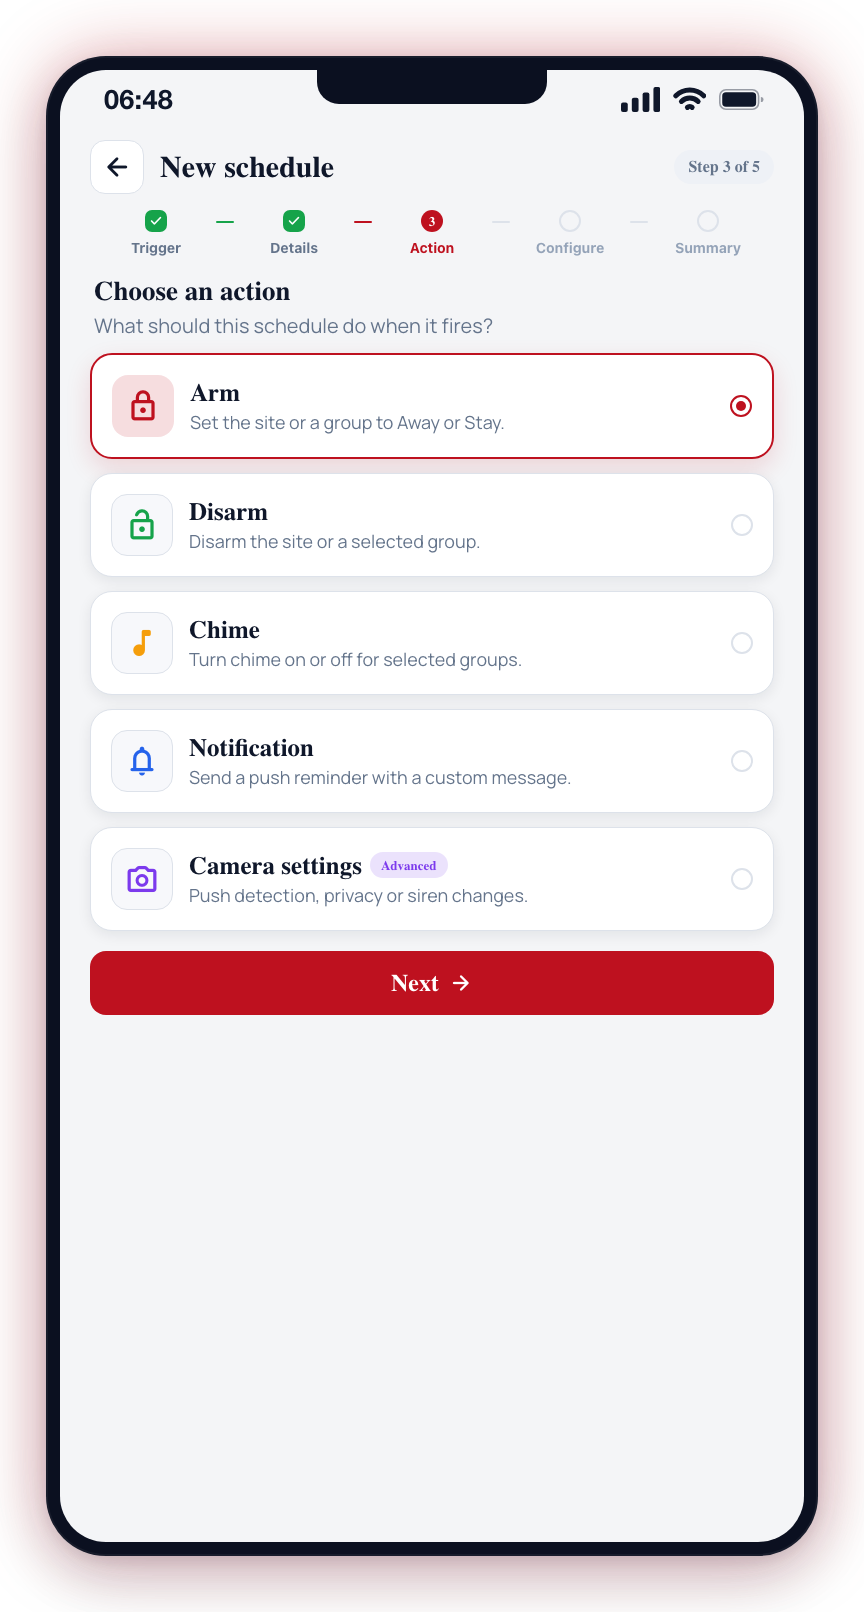
Creating a schedule uses a 5-step wizard:
- Trigger — Choose the trigger type:
- Time based — Fires at a specific time of day on selected days.
- Arm status change — Fires when the site or a group is armed or disarmed.
- Details — Configure trigger details:
- For time-based: set the time, choose a repeat pattern (Once, Every day, Mon-Fri, Weekend, or Custom days), and optionally set how many times the schedule should run before expiring.
- For arm-state-change: choose whether to react to an Armed or Disarmed event, and whether the scope is the whole site or a specific group.
- Action — Choose the action category:
- Change arm status — Arm or disarm the site or selected groups.
- Change chime status — Turn chime on or off for selected groups.
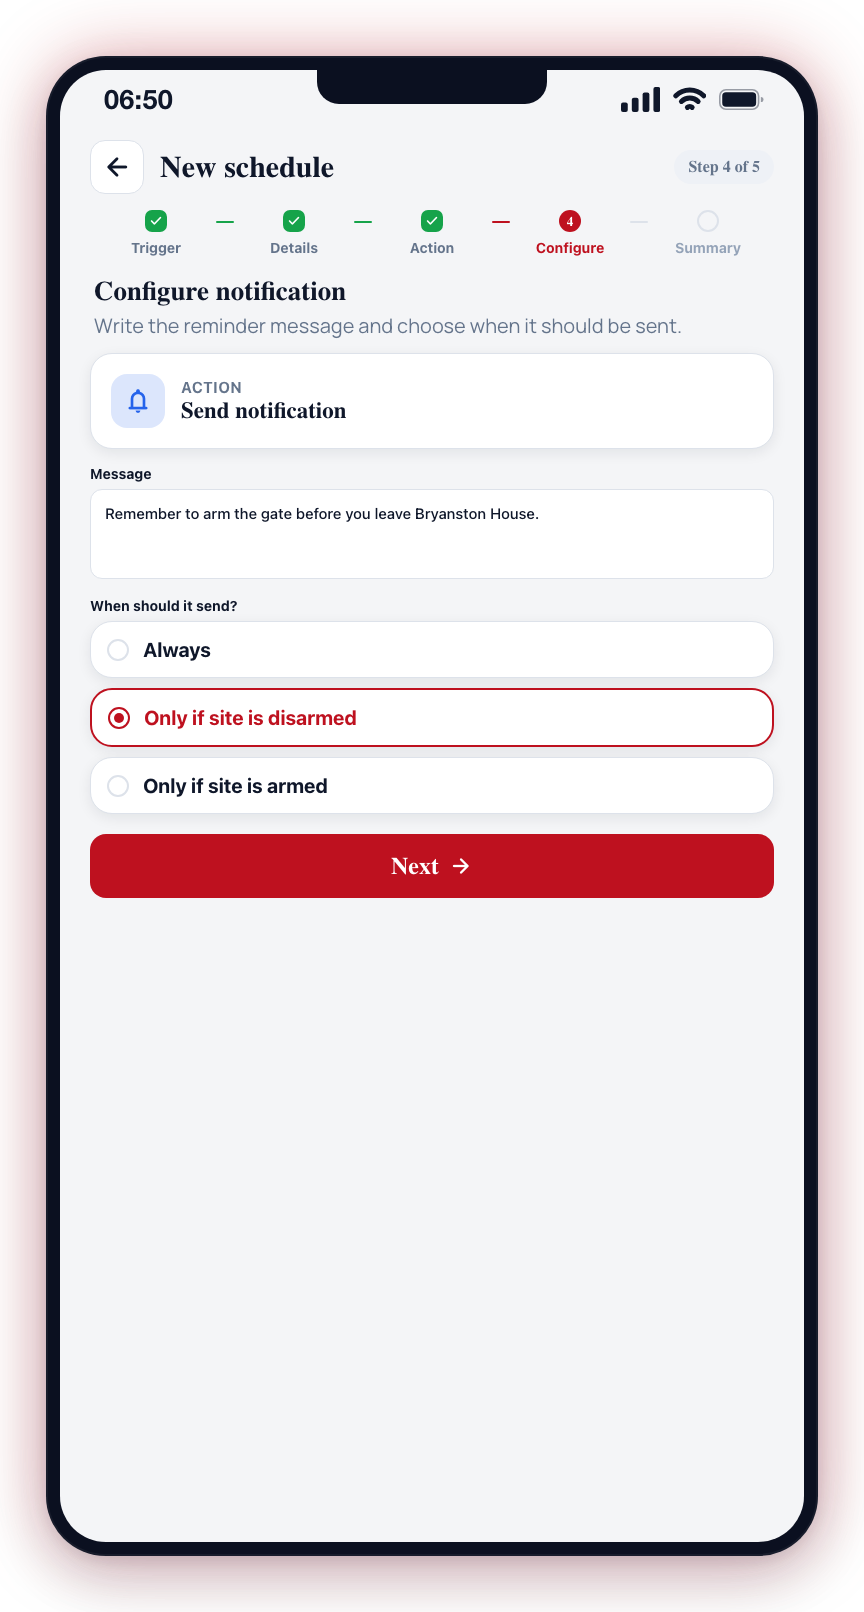
- Send notification — Send a push notification with a custom message. You can set a condition (Always, Only if site is disarmed, Only if site is armed).
- Change camera settings (advanced) — Push setting changes to selected cameras (privacy masking, enabling or disabling a camera, siren mode, vehicle detection, etc.).
- Configure — Set the specific details for the chosen action (e.g., which groups to arm, which cameras to reconfigure, notification message text).
- Summary — Review all settings before enabling.
How to Create a Schedule
- Open the More tab from the bottom navigation bar.
- Under My site, tap Schedules.
- Tap Add schedule.
- Walk through the 5-step wizard (Trigger, Details, Action, Configure, Summary).
- The schedule is created immediately. Use the enable/disable toggle on the schedule card to activate it.
The schedule automatically generates a descriptive name based on your settings (e.g., "Arm site every day at 6:00 PM"). You can edit the name manually at any time.
Repeat Patterns (Time-Based Triggers)
| Pattern | Days |
|---|---|
| Once | Runs once on the next matching day, then expires |
| Every day | Monday through Sunday |
| Mon-Fri | Weekdays only |
| Weekend | Saturday and Sunday |
| Custom | Any combination of individual days you select |
One-Time Execution
When you select the Once repeat pattern, the schedule runs a single time at the next matching occurrence and then automatically expires. This is useful for one-off actions like a temporary arm override.
Create pairs of arm and disarm schedules for each group to ensure your system is armed when you need it and disarmed when you are present.
Schedules run based on the time zone configured for your site. Make sure your site's time zone is set correctly to avoid schedules firing at unexpected times.