Create a Customer
Customers are added from the Customers page in the sidebar. The create dialog asks for a name and a way to reach the person — nothing more. Legal name, VAT and registration numbers, the billing address, the account manager and the identity number are captured later on the customer's detail page under Overview → Edit details, and billing itself under Set up billing, by whoever handles the accounts. The dialog only ever creates.
You don't have to type everything yourself — Start onboarding sends a secure link the customer completes on their own phone, and the account is created from what they submit (with duplicate matching). See Request customer info.
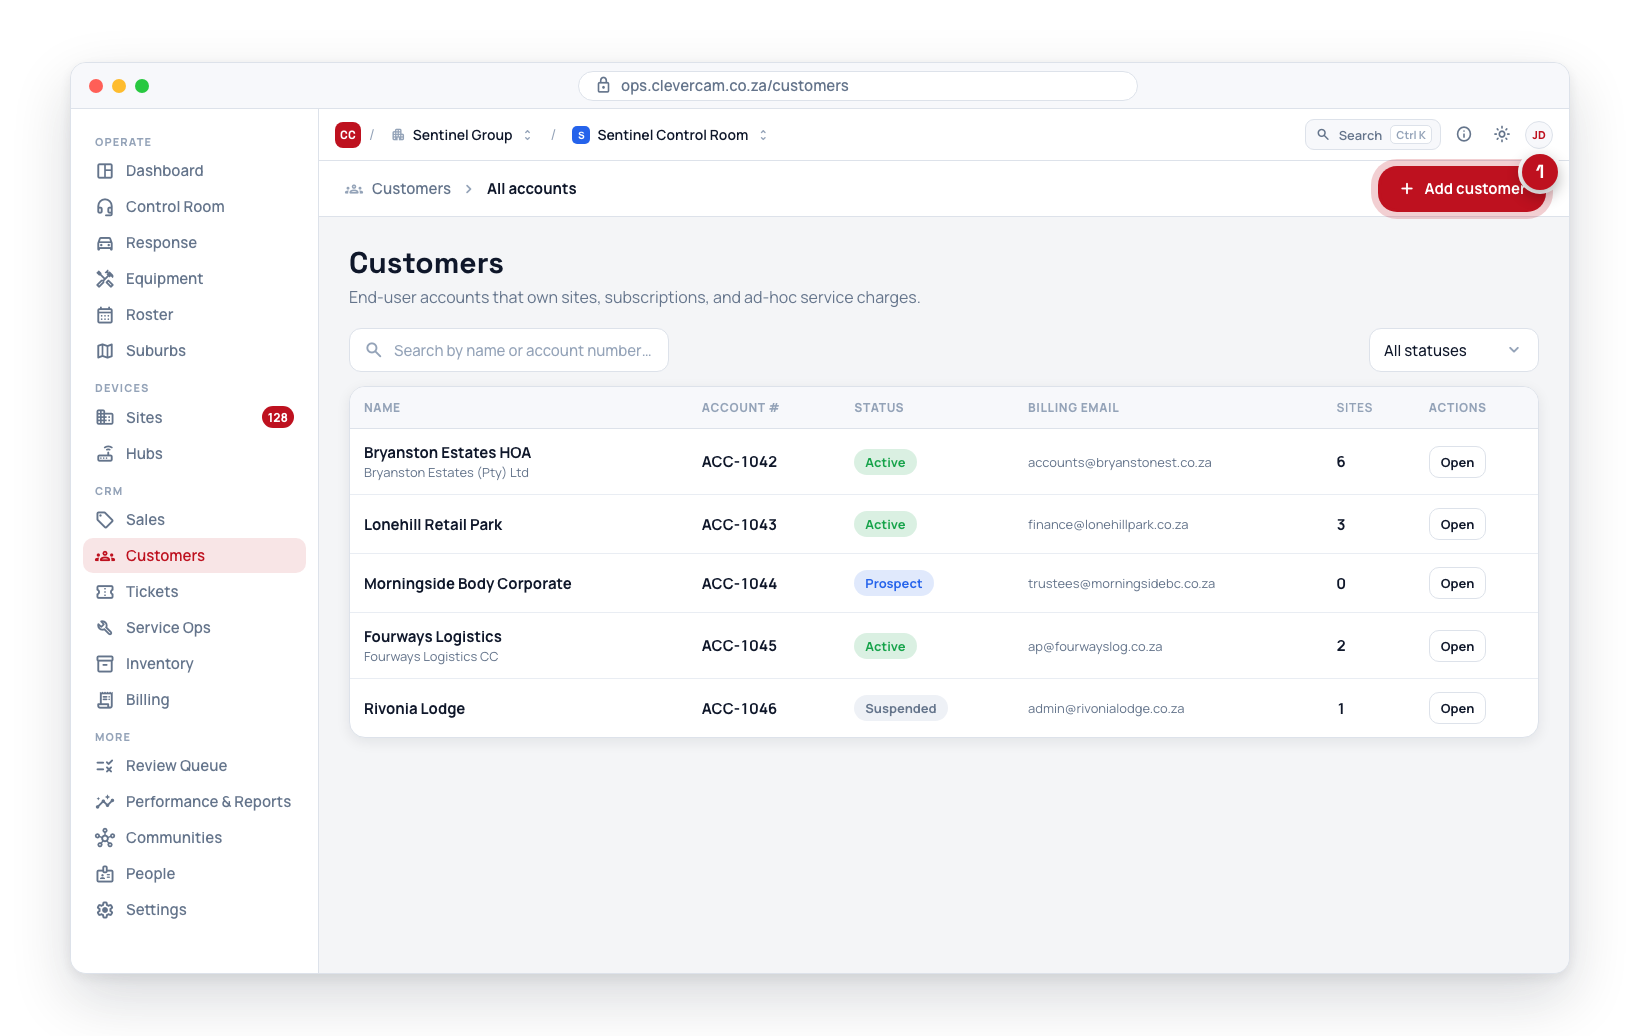
In Customers, click New customer in the top-right.
Step-by-Step
- Navigate to Customers in the sidebar.
- Click New customer in the top-right. A short dialog opens.
- Fill in:
- Name -- the display name used across the app (required). A person's name or a company's.
- Mobile -- how the control room reaches the account holder. It also becomes the billing phone.
- Email -- optional; where statements and app invitations go.
- The account is for -- A person or A business. Leave both unselected if you genuinely don't know yet. This decides which identity number the billing step asks for later.
- Add their first site next -- ticked by default. The usual reason anyone creates a customer is that there is a place to protect.
- Click Create, then add a site -- or Create customer if the box is unticked.
If the name, email or mobile matches a customer you already have, CleverOps stops and shows a Possible duplicate customer prompt naming the matches and what each one matched on. Cancel and use the existing account, or Create anyway if they're genuinely different — the check warns, it never blocks.
The account is created as a Prospect. It becomes Active on its own as soon as you are really serving them — whichever comes first, a subscription being added, or one of their sites being approved with a hub linked to it. There is no status to pick, and an account you are already monitoring will not sit on the list reading Prospect. The account number is left blank until you give it one under Edit details.
You never land back on the list: with Add their first site next ticked, the Add a site flow opens with this customer already filled in and locked; without it, the customer's detail page opens on its Setup card.
Legal name, VAT number, CIPC registration number, ID number, billing contact and address, account manager, legacy code and notes are all on the customer's Overview → Edit details. Plans, invoices and debit orders are set up from the Set up billing button on the customer page. A control-room operator adding a customer because a technician is at the gate does not need to know any of it.
Linking Sites to the Customer
On the customer's detail page, open the Sites & contacts tab. You can:
- Link a site -- pick from the sites connected to this VCR that are not yet owned by another customer.
- Unlink a site -- the site stays in the VCR but loses its customer association.
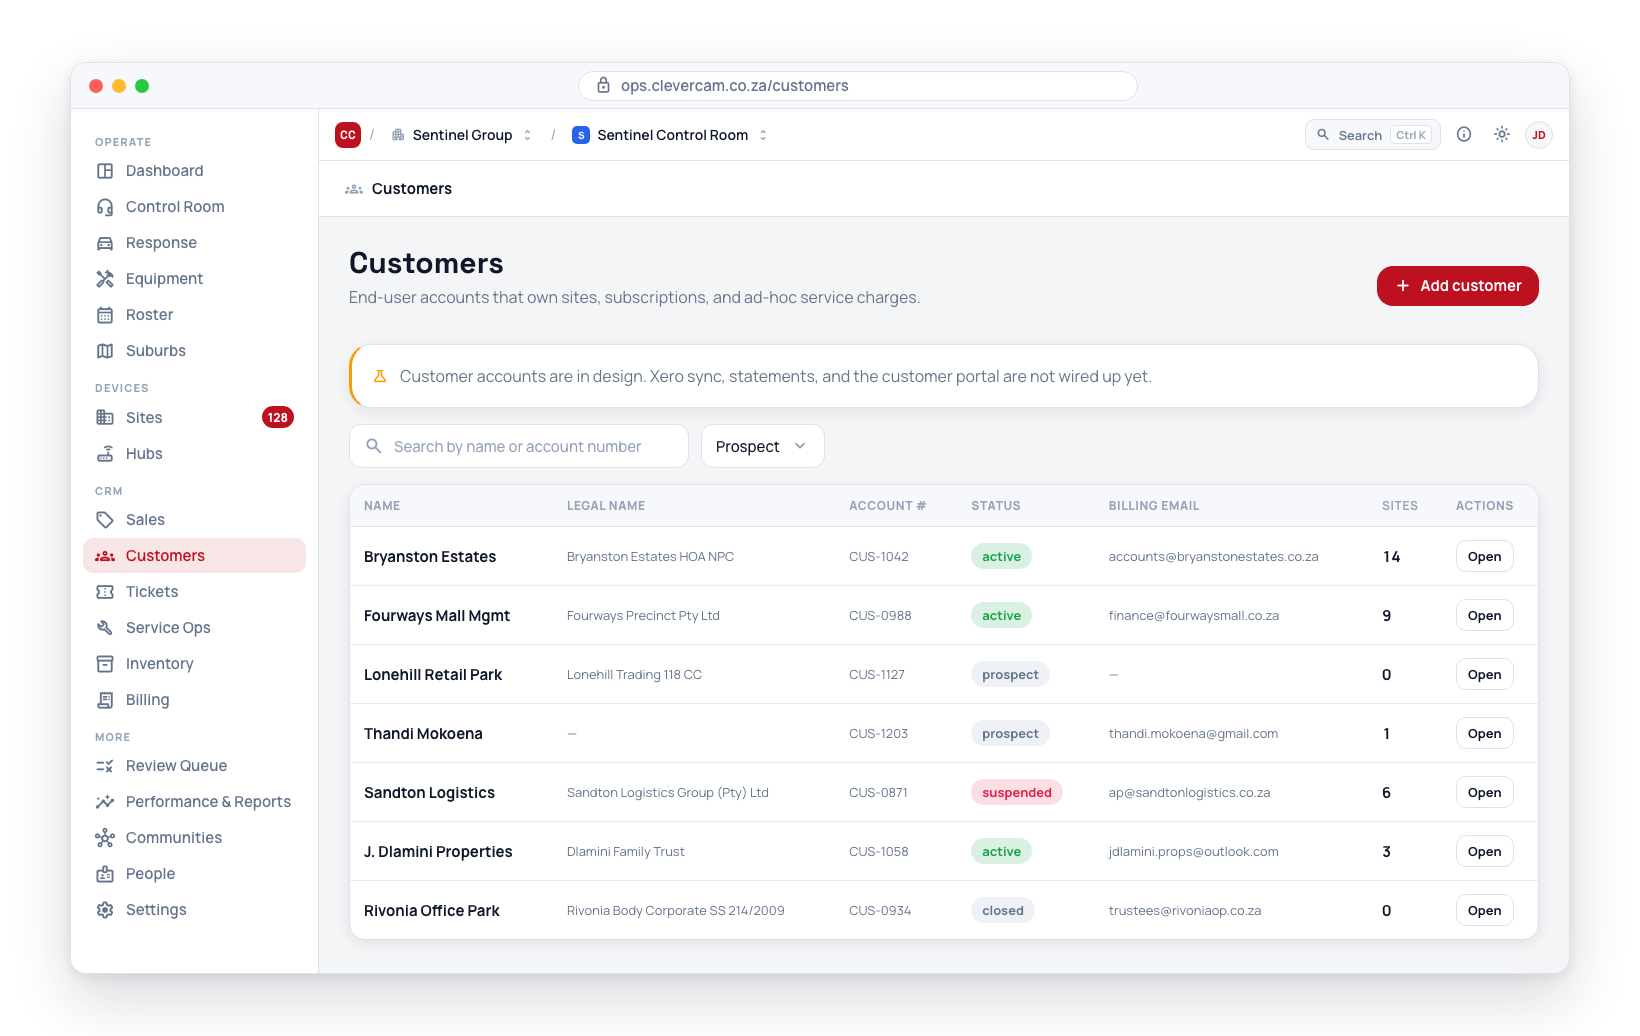
- See site count -- the Customers page lists the number of sites per customer in the Sites column.
A site can only belong to one customer at a time. If you link a site that is already owned by another customer, CleverOps asks you to confirm first — the prompt names both the current owner and the new owner and warns that billing attribution for both customers is affected. Linking an unowned site, and unlinking, happen immediately (with a toast confirming the result). Reassigning a site to a new owner automatically removes it from the previous one.
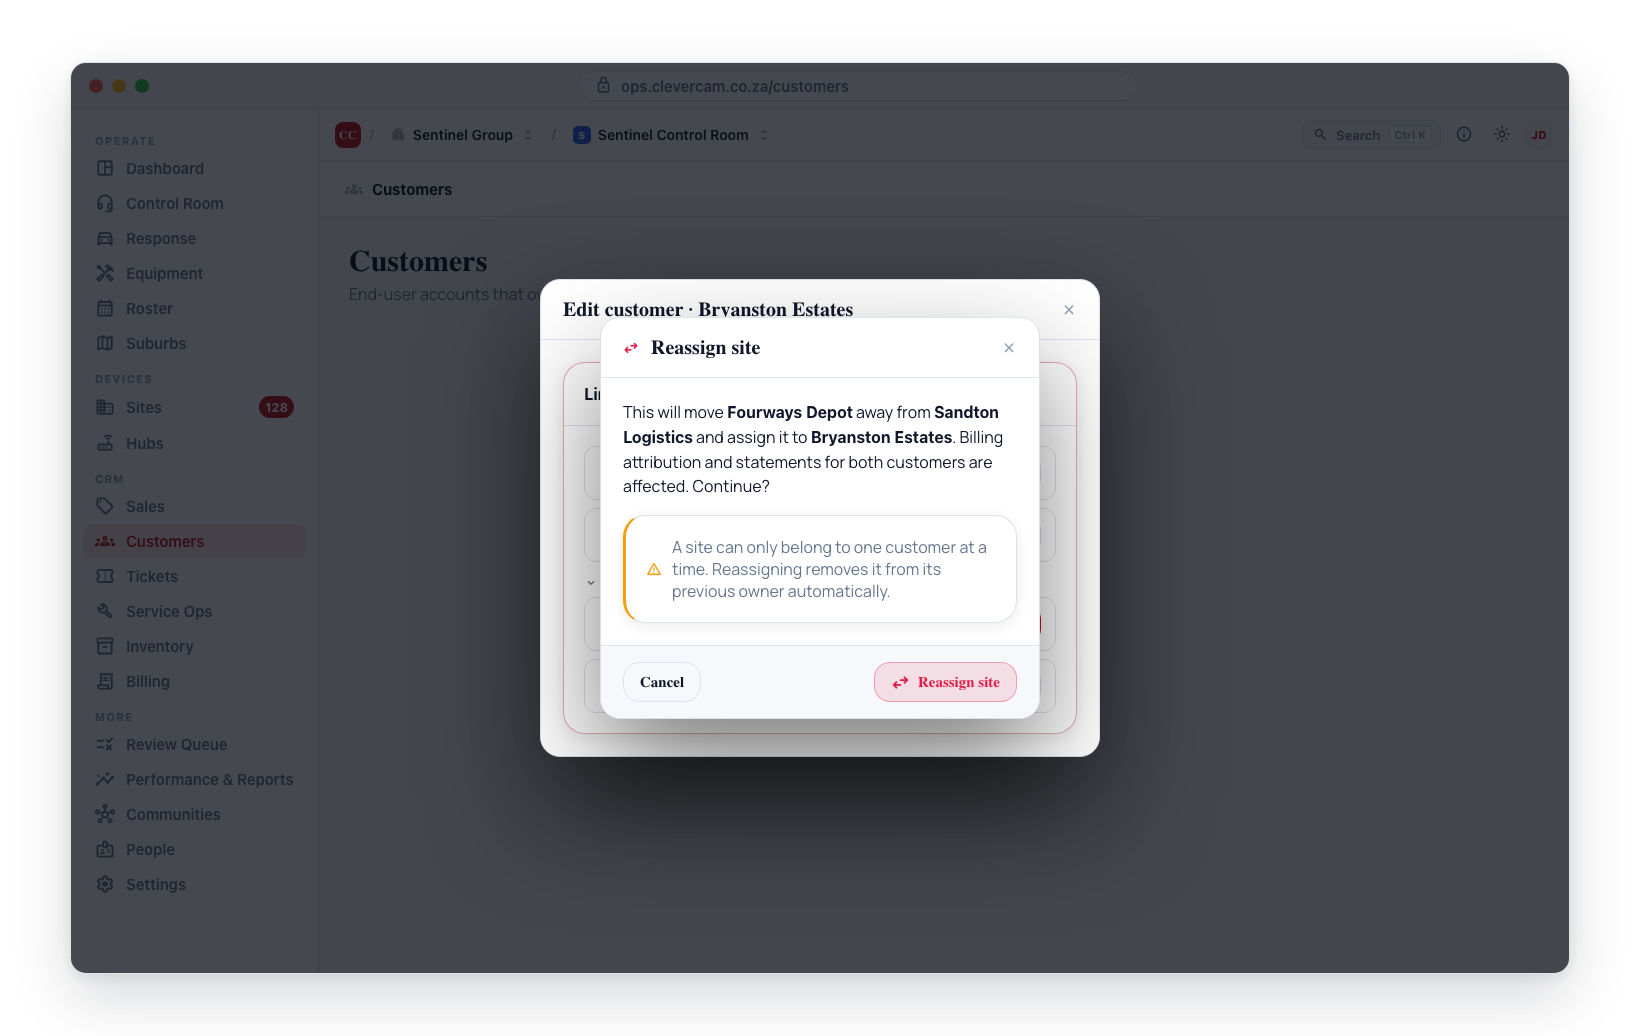
Editing a Customer
On the Customers page, click any customer row to open its detail page. On the Overview tab, click Edit details to edit the full account: name, legal name, account number, legacy code, status, Account is for, Account manager, ID number, registration number, VAT number, billing contact, email, phone, address and notes, then Save changes. Managers can edit; other users see the read-only view only. Customer rows have no delete button — retiring or deleting an account happens from the detail page (see Retiring or deleting a customer).
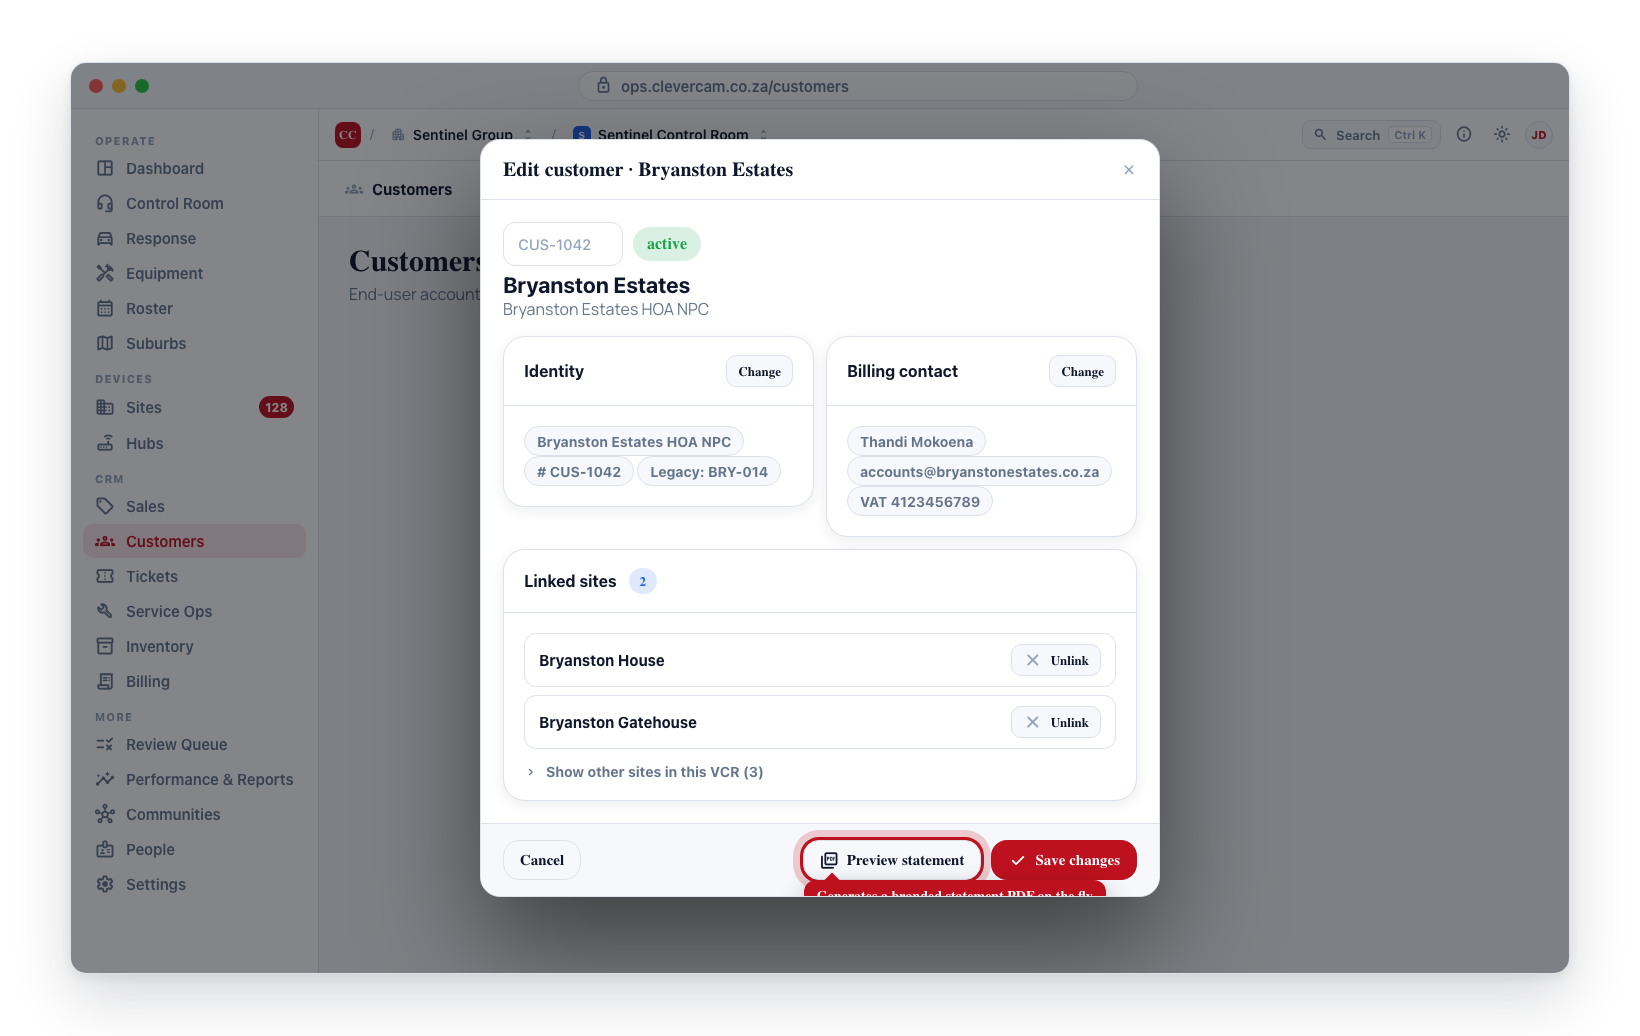
The Billing tab carries the account's subscriptions, invoices, age analysis, and the statement (with PDF export). Control rooms that issue from more than one billing entity get a Billing entity scope switcher above the age analysis: All entities adds both entities' arrears together, a single entity narrows it, and the statement beneath always shows one entity's ledger. The live statement balance and monthly recurring run-rate sit on the sticky header, in view on every tab.
Retiring or Deleting a Customer
Retiring a customer means setting its status to Closed — open the customer's Overview tab, click Edit details, and change the status. The account and all its history are preserved, and it drops out of the active views. This is the normal way to end a relationship.
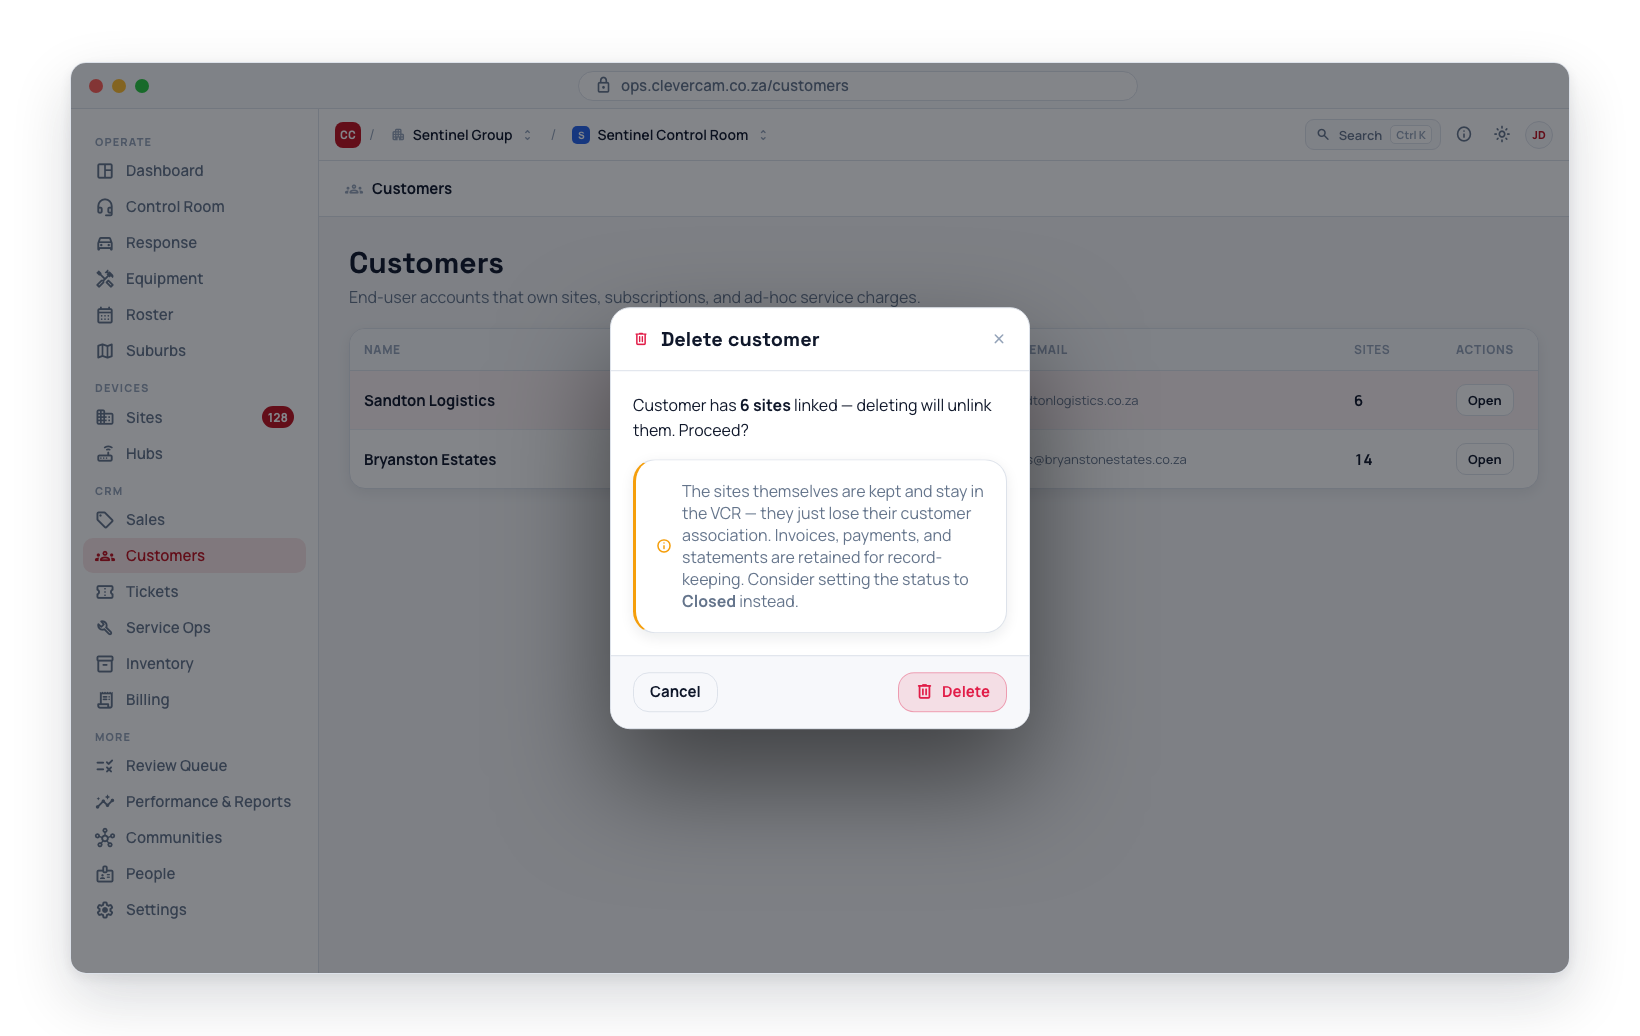
Permanent deletion lives in a Danger zone section at the bottom of the Edit details view (there is no delete button on the customer list). Clicking Delete customer first checks for invoices: a customer with invoices cannot be deleted — financial history can only be closed, and CleverOps tells you to close the account instead. Otherwise a confirmation explains that the deletion is permanent, the customer's sites are unlinked but not deleted, and that setting the status to Closed is the way to retire the account while keeping its history.
Filtering and Searching
The Customers page provides:
- A search box that finds customers by name, account number, legal name, contact person, phone number, and by their sites — a site name, its company reference, or the TX number (account code) of the panel at it. See Finding a customer in the list.
- A status dropdown filter (All / Active / Prospect / Suspended / Closed).
Next Steps
- Contact persons -- add billing and admin contacts for the customer.
- Subscriptions -- attach a monthly billing plan to each site under the customer.