Responders
Responders are the field personnel who are dispatched to sites when security events occur. They are the boots on the ground — the armed response officers and patrol drivers who physically attend incidents. The Responders page in CleverOps lets you manage your response team list, track their status, and ensure they have the login credentials they need to receive and act on dispatch assignments.
This tab is the reaction unit slice of People (More → People), the one list of everyone in your operation. Employees who are never dispatched — static guards, office staff, technicians — appear only there, along with everyone's compliance profile. The All people → link above the list takes you to it.
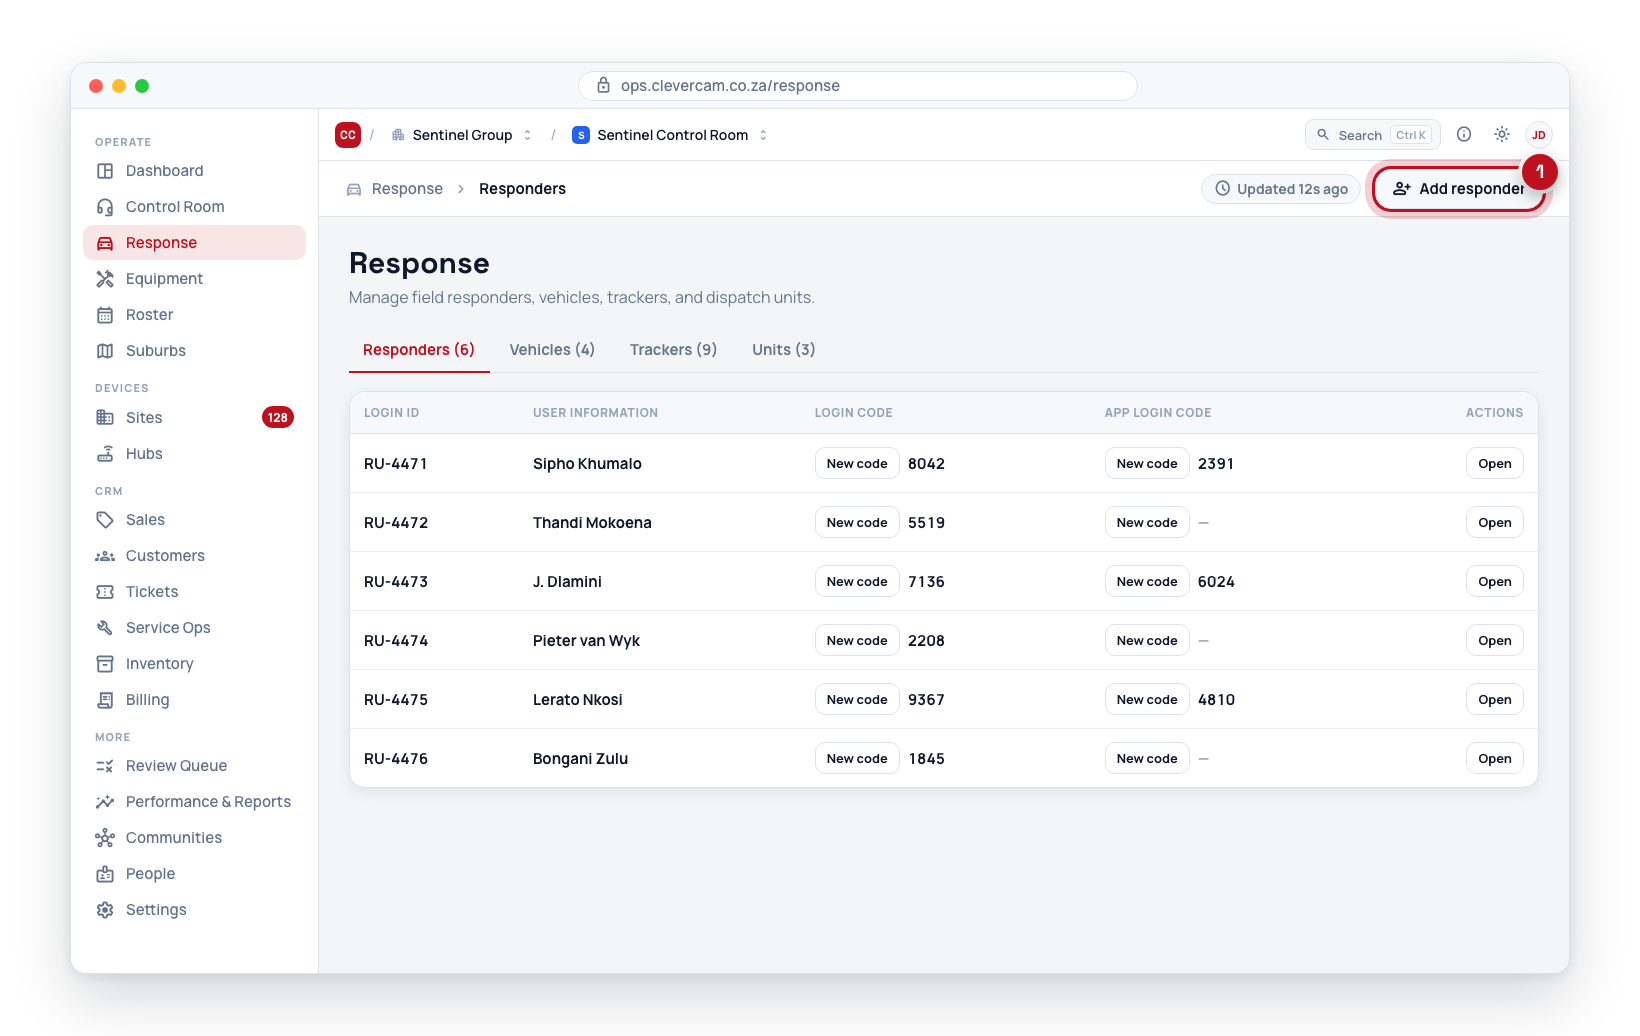
Viewing Responders
-
Navigate to Response in the sidebar. The page opens on the Overview dashboard — an at-a-glance read of your whole response operation, where every number is a shortcut into the tab that works it. It shows the numbers that matter: crew on shift, units on duty, trackers online, vehicles active, dispatches this week and the average response time; a dispatch-activity trend and a units-by-status breakdown; units by region (where your units are homed) and the tracker fleet status; and a coverage gaps list — areas with no unit, units covering no area, units without a vehicle, responders not crewed, units off duty and untracked vehicles. Click the Responders tab to manage the team list.
The dispatch figures are read from at most the newest 300 dispatches. A busy control room can pass that well inside eight weeks; when it does, the dispatch-activity trend charts only the whole weeks those 300 cover and its subtitle says so (for example last 3 of 8 weeks — only the newest 300 dispatches (since 2 Sept) are read), the average response time says which date it runs from, and this week's count shows with a + when this week alone fills the 300.
-
The responder list shows all team members registered under your company. Each responder that is currently crewed on a unit shows a small chip with that unit's name.
-
Each row displays:
- Login ID -- The automatically generated identifier
- User Information -- The responder's name (editable inline), plus the unit they are crewed on (if any)
- Login code -- The current one-time password, with a New code button to regenerate it
- App login code -- A 4-digit code for mobile app sign-in (expires after 15 minutes), with a New code button to generate one
- Type -- The responder's role (editable via dropdown)
- Actions -- Open, which opens the responder's workspace (for someone who can't open workspaces, a Remove button instead)
Clicking anywhere on a responder's row (outside its inline controls) opens their staff profile (managers only — see below) — the same click-to-open pattern as vehicle and firearm rows.
Adding a New Responder
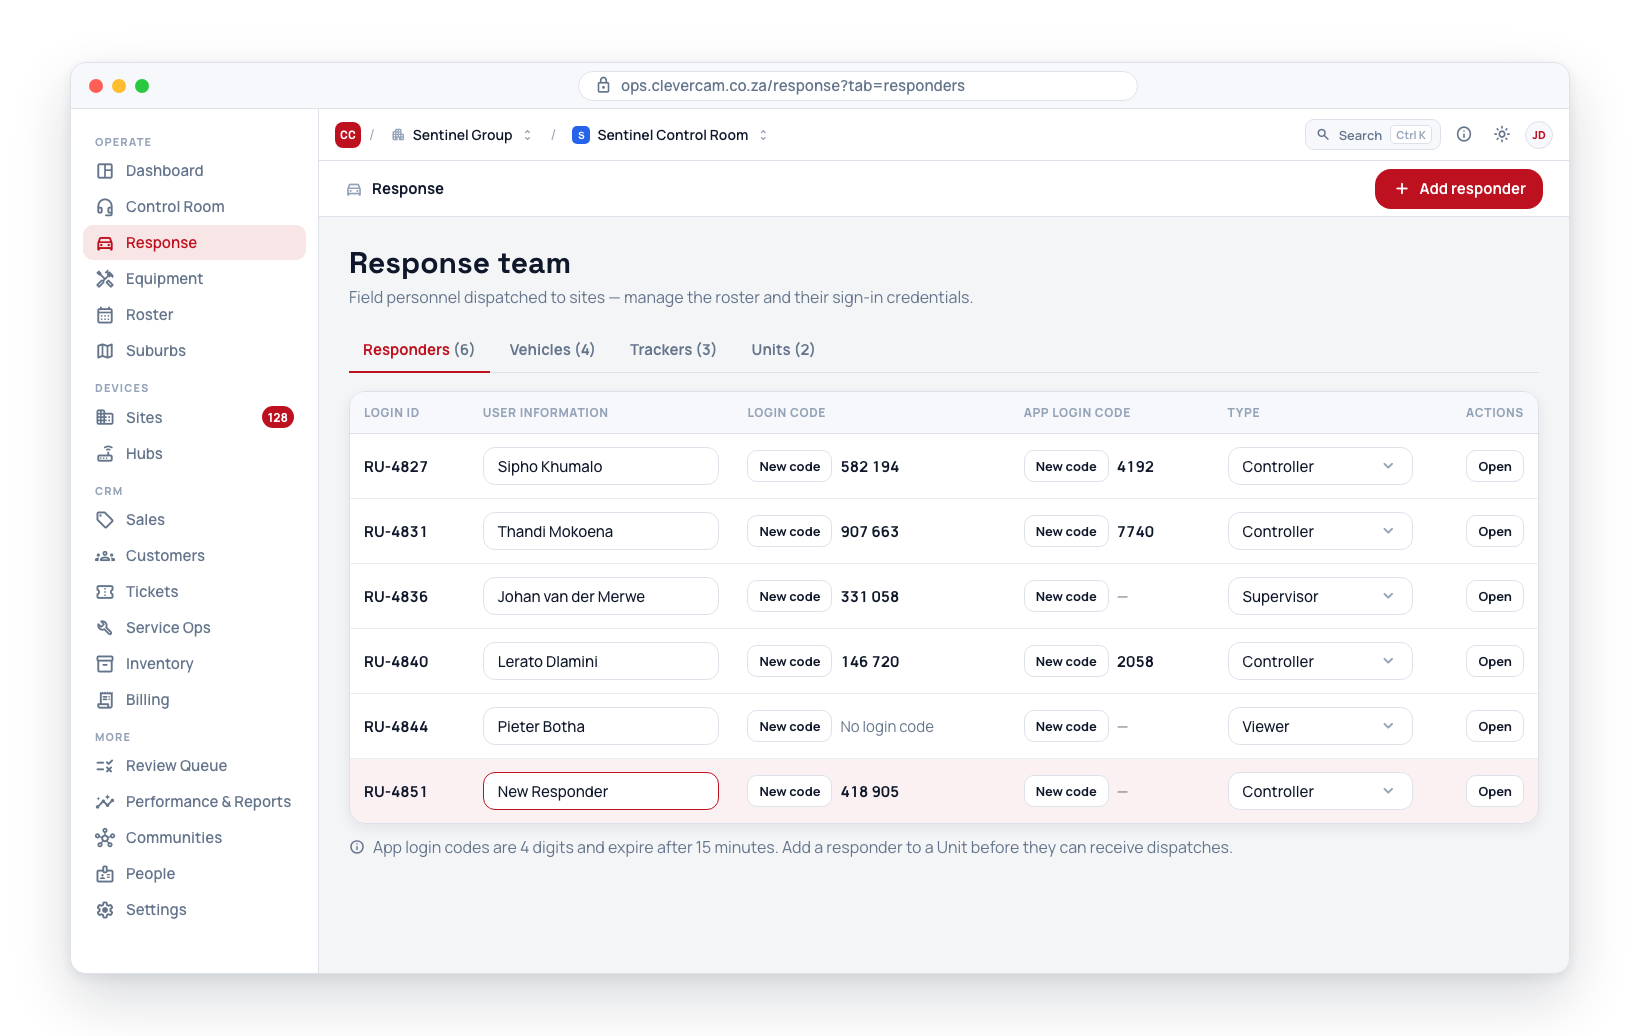
- Click the Add responder button at the top of the page. (An empty list shows the same Add responder button in its empty state.)
- A new row is created immediately with the label "New Responder". The list scrolls the new row into view and the name field is focused, ready for you to type the responder's name.
- Edit the label inline to set the responder's name.
- A Login ID and login code are generated automatically.
Editing Responder Details
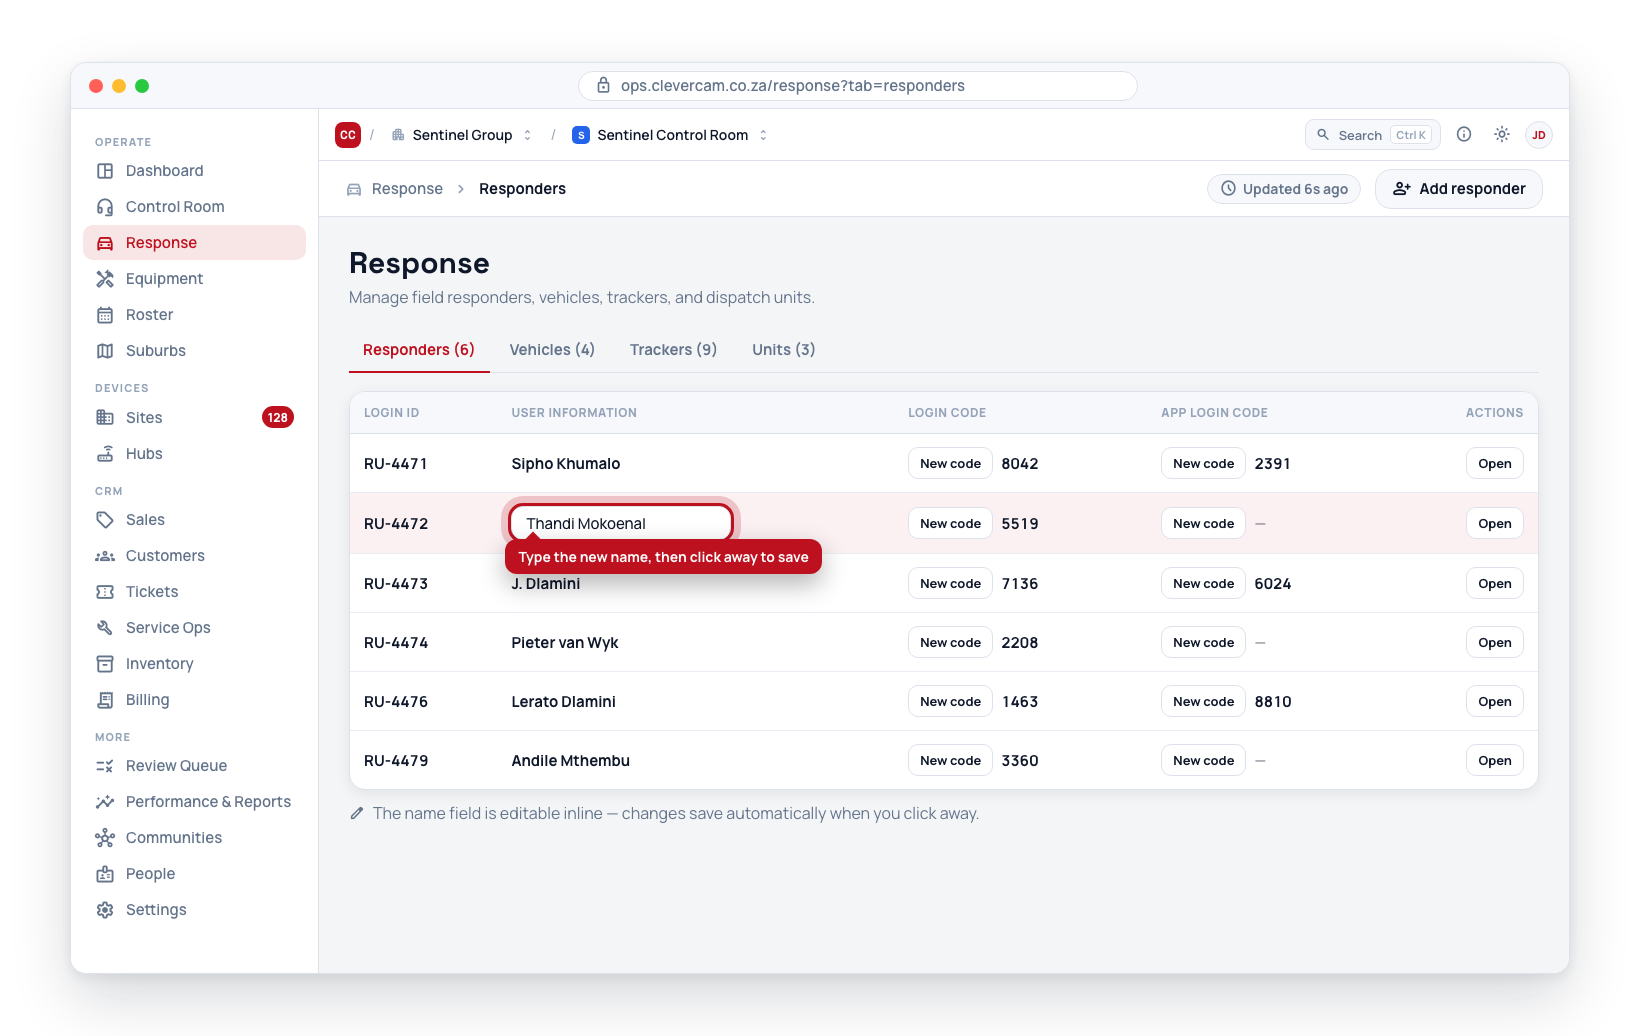
- Name -- Click on the name in the User Information column, type the new name, and click away to save.
- Role -- Use the inline dropdown to change the role.
Responder Tags
Responders carry a small managed catalog of coloured tags for filtering and grouping — e.g. Night, Day, or Driver. Click Manage tags above the list to build the catalog (label, optional category like shift / team / skill, and a chip colour); pin tags on each row with the + Tag picker and remove them with the × on a chip. The Tag filter above the list narrows it to one tag, with a count per tag in the dropdown. A tag is a filter label, not a schedule — structured working hours are a separate thing. Vehicles and firearms have the same tag system with their own catalogs.
A people tag has one more job: May drive. In Manage tags, each people tag lists the vehicle tags as chips; tick one and people carrying this tag may take vehicles carrying that one in CleverResponder — Drive, Fleet, the shift-start check and fuel. A vehicle tag nobody is named on stays open to everyone, and fleet managers may always drive anything. The full rule is under Vehicles → Who may drive what.
Staff Profile & Compliance
Beyond the roster label, each responder can carry a full staff profile — the HR and compliance core for companies that run their people admin in CleverOps. Click the responder's row to open it (this requires the Manage VCR capability; profiles are never visible to, or editable by, the responders themselves). Control room operators carry the same profile — see Operator Management.
The profile has four tabs — Profile, Permissions, Field work and Compliance:
- Profile -- personal and company details, editable in place (click Edit profile / Capture profile):
- Full name, job title, employee number, and ID number
- Phone, email, physical address, and start date
- Last day — the date employment ended, left empty while they are still on the establishment. It is what takes somebody off the roster: from the day after, the Roster stops planning them onto posts and stops offering them as a fill, while shifts on or before it stay on record exactly as they happened.
- Emergency contact name and phone
- Free-form notes
- Compliance -- everything that expires or needs proof: PSIRA registration, firearm competency, driver's licence, contract, ID document, training, medical, and anything else your control room has added.
One record, not two
An expiry date and the certificate proving it are the same entry. Each one carries what it is, its number where it has one, an optional expiry date, and an optional document — and either half may be left empty:
- Capture the PSIRA expiry today and press Attach when the certificate arrives.
- File a contract that has no expiry at all.
Each dated entry shows a colour-coded chip, amber inside 45 days and red inside 14 days or once overdue, and feeds the weekly fleet & compliance reminder email under Staff compliance. Because the date and its certificate are one entry, each renewal is chased once. Only people who ticked the Staff compliance topic on Settings → Reminders receive that section — usually whoever handles HR rather than the whole fleet list.
Adding the same kind again keeps the old one: the newer certificate becomes current, the previous moves under Show previous as history, and reminders follow the current one.
The PSIRA entry can be checked against the regulator's register with Check with PSIRA at the top of the tab — after confirming, the PSIRA number and ID number are locked. See Checking a PSIRA registration.
Recording a renewal application
Once someone has applied to renew — PSIRA, a firearm competency, or a driver's licence — record it so the reminder reports it as in hand instead of chasing it every Monday.
On the entry itself, click + Applied to renew? Log the reference. Enter the authority (PSIRA, SAPS and NaTIS are pre-selected for the matching renewal), the reference number, and the submitted date.
The item then appears in the weekly email under Applied — awaiting outcome with its reference and days open. Update the status as it moves; marking it Approved or Collected closes it, so capture the new expiry date at the same time. All open applications across the control room are listed on Settings → Reminders → Renewal applications.
If your company runs a dedicated HR system, keep using it — the staff profile is deliberately a stable core (identity, compliance dates, documents), not a payroll or leave system.
Removing a Responder
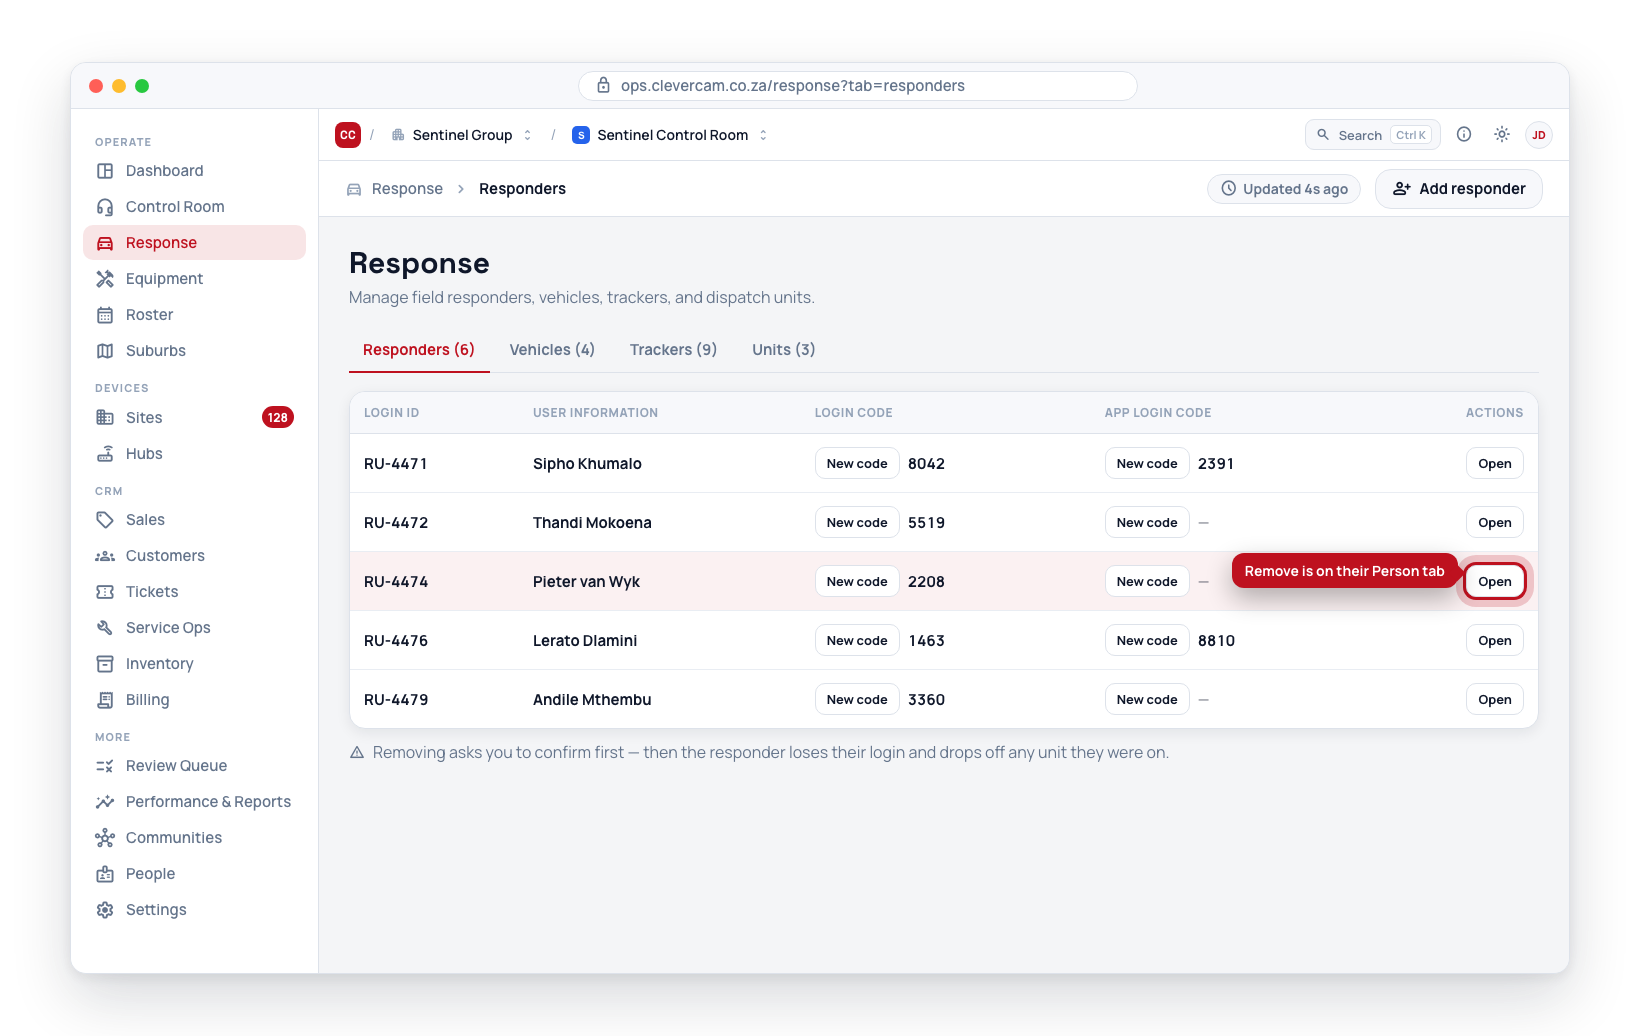
Open the responder — click their row, or Open in the Actions column — and at the foot of the Person tab click Remove from this control room in the Danger zone. A confirmation dialog appears — "Remove <name>? Their login code will stop working and they'll disappear from the list." — and the responder is removed once you confirm.
Mobile Login for Responders
Responders use an app login code to sign in to the CleverResponder app:
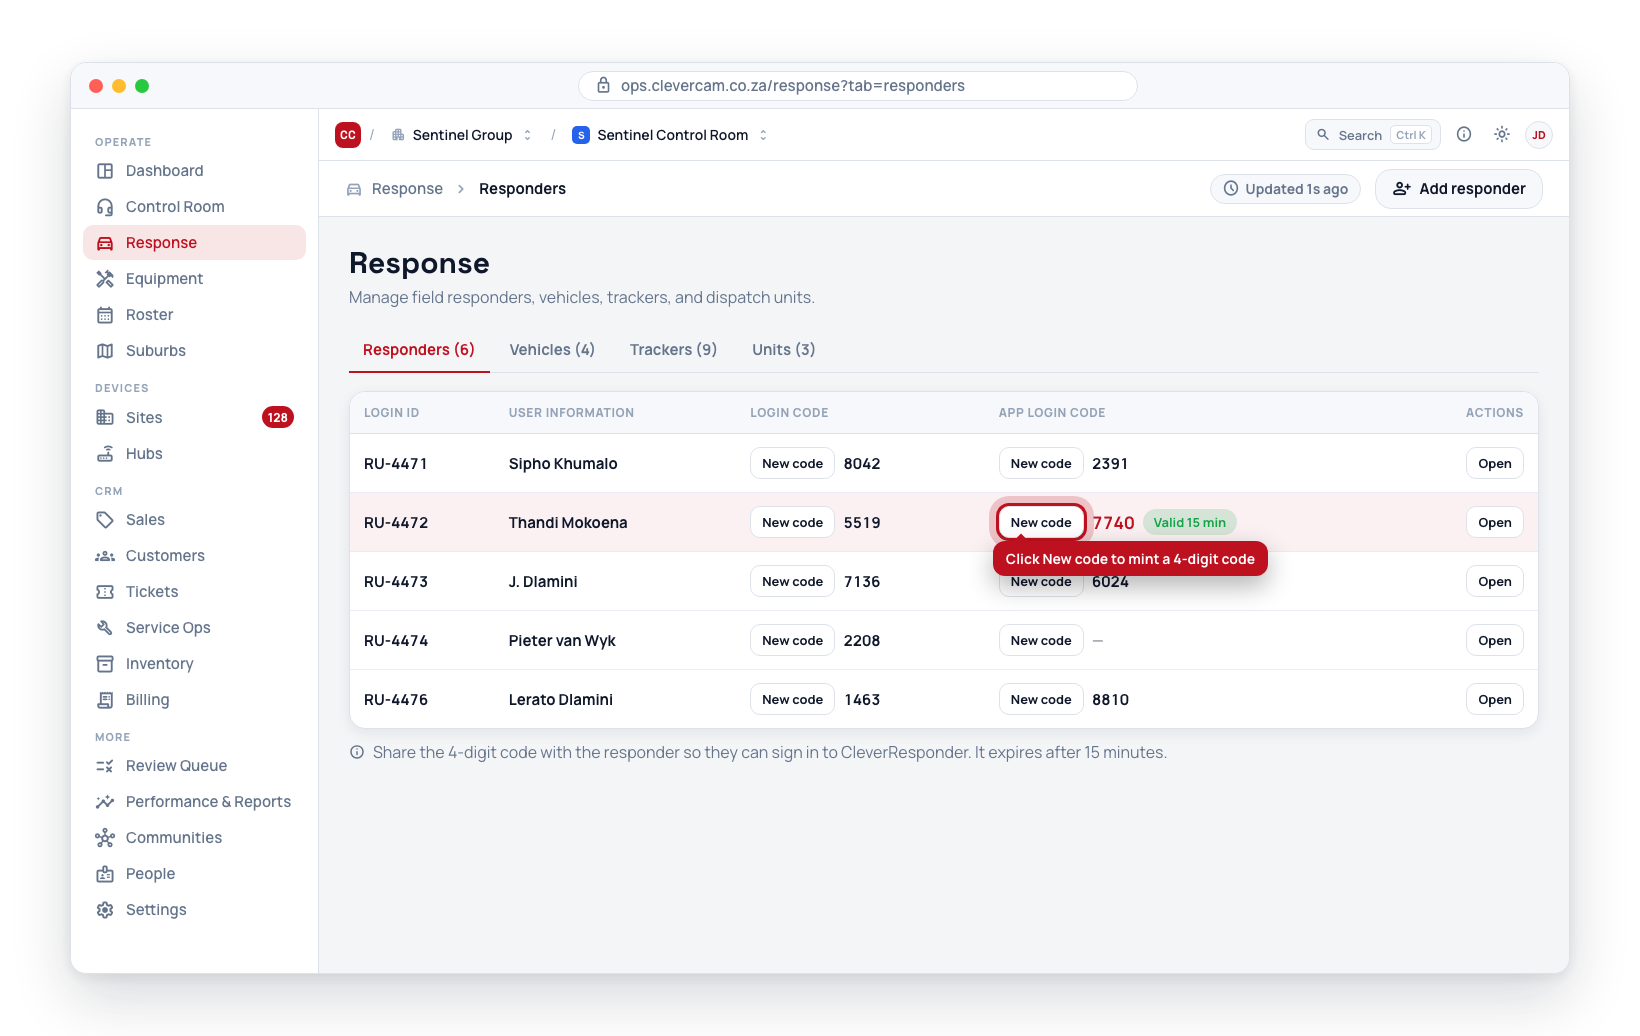
- Find the responder in the list.
- Click New code in the App login code column.
- A 4-digit code is generated (valid for 15 minutes).
- Share the code with the responder so they can sign in on the mobile app.
The code is single-use — it is consumed the moment the responder signs in with it, so a responder signing in on a second device needs a fresh one.
Generating a code fails with a message if the person does not have Responder access ticked on their People record. That is deliberate: a code that the app would refuse is worse than no code, and it is far better to discover it in the control room than to have a responder find out at the roadside.
Responders who cannot reach the control room can instead sign in with their login code and PIN, which do not expire — see Signing In.
Best Practices
- Keep the list up to date -- Remove responders who are no longer part of the team.
- Assign responders to units -- Responders need to be part of a Response Unit to receive dispatches. Adding a responder here is only the first step.