Site Assignment
A site's suburb is what lets CleverOps rank responders for an event there. This page explains how a site gets its suburb, how to change it, and how to see exactly which sites sit inside a given suburb.
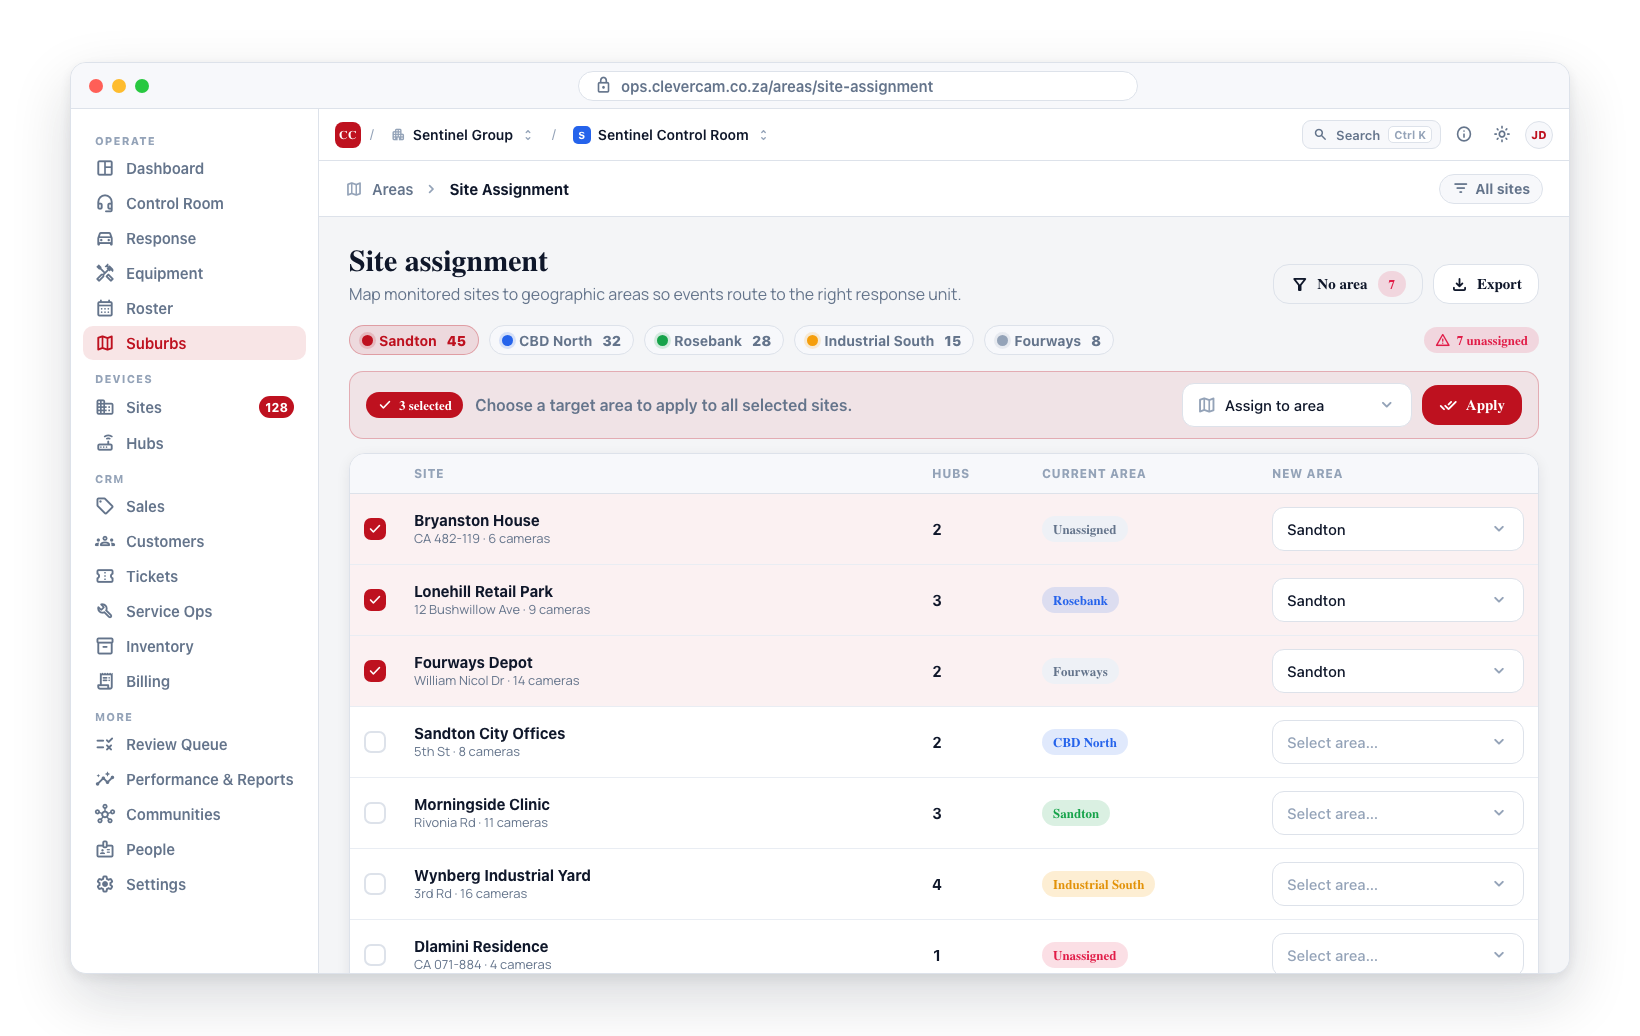
The two ways a site lands in a suburb
You do not have to assign every site by hand. A site resolves to a suburb one of two ways:
- Pinned by hand — somebody chose the suburb on the site itself. This always wins.
- By location — nobody chose one, so the site falls into whichever enabled suburb boundary its coordinates sit inside.
The pin is an override; the boundary is the default. Draw your boundaries well and most sites need no assignment at all — which is why a healthy control room usually shows a large By location count and only a handful of pins.
A site is in no suburb only when it is unpinned and its coordinates fall outside every boundary — or when it has no coordinates at all.
Being outside every boundary does not block dispatch. It removes the suburb's ranking, so candidate units are ordered on distance alone, and it means the site belongs to no branch — so no branch cap applies to it either. Missing map coverage never stops a response; it just makes the ordering less deliberate.
What the suburb actually does
The suburb ranks responders, it doesn't restrict them:
- An event occurs at a site.
- CleverOps resolves the site's suburb (pin first, then boundary).
- Units that list that suburb as primary are offered first; units that list it as a backup come next, in the order set on the unit.
- Every other unit stays eligible — just further down the list.
Set which suburbs a unit covers, and in what order, under Response → Units.
Seeing what is inside a suburb
- Navigate to Suburbs in the sidebar and open the Suburbs tab.
- Each row shows the suburb's total site count, split into pinned and by location, plus how many units treat it as primary or backup. Those are the default columns — see The Suburbs list for the rest, and for sorting, filtering and export.
- Click the row to open the suburb's detail.
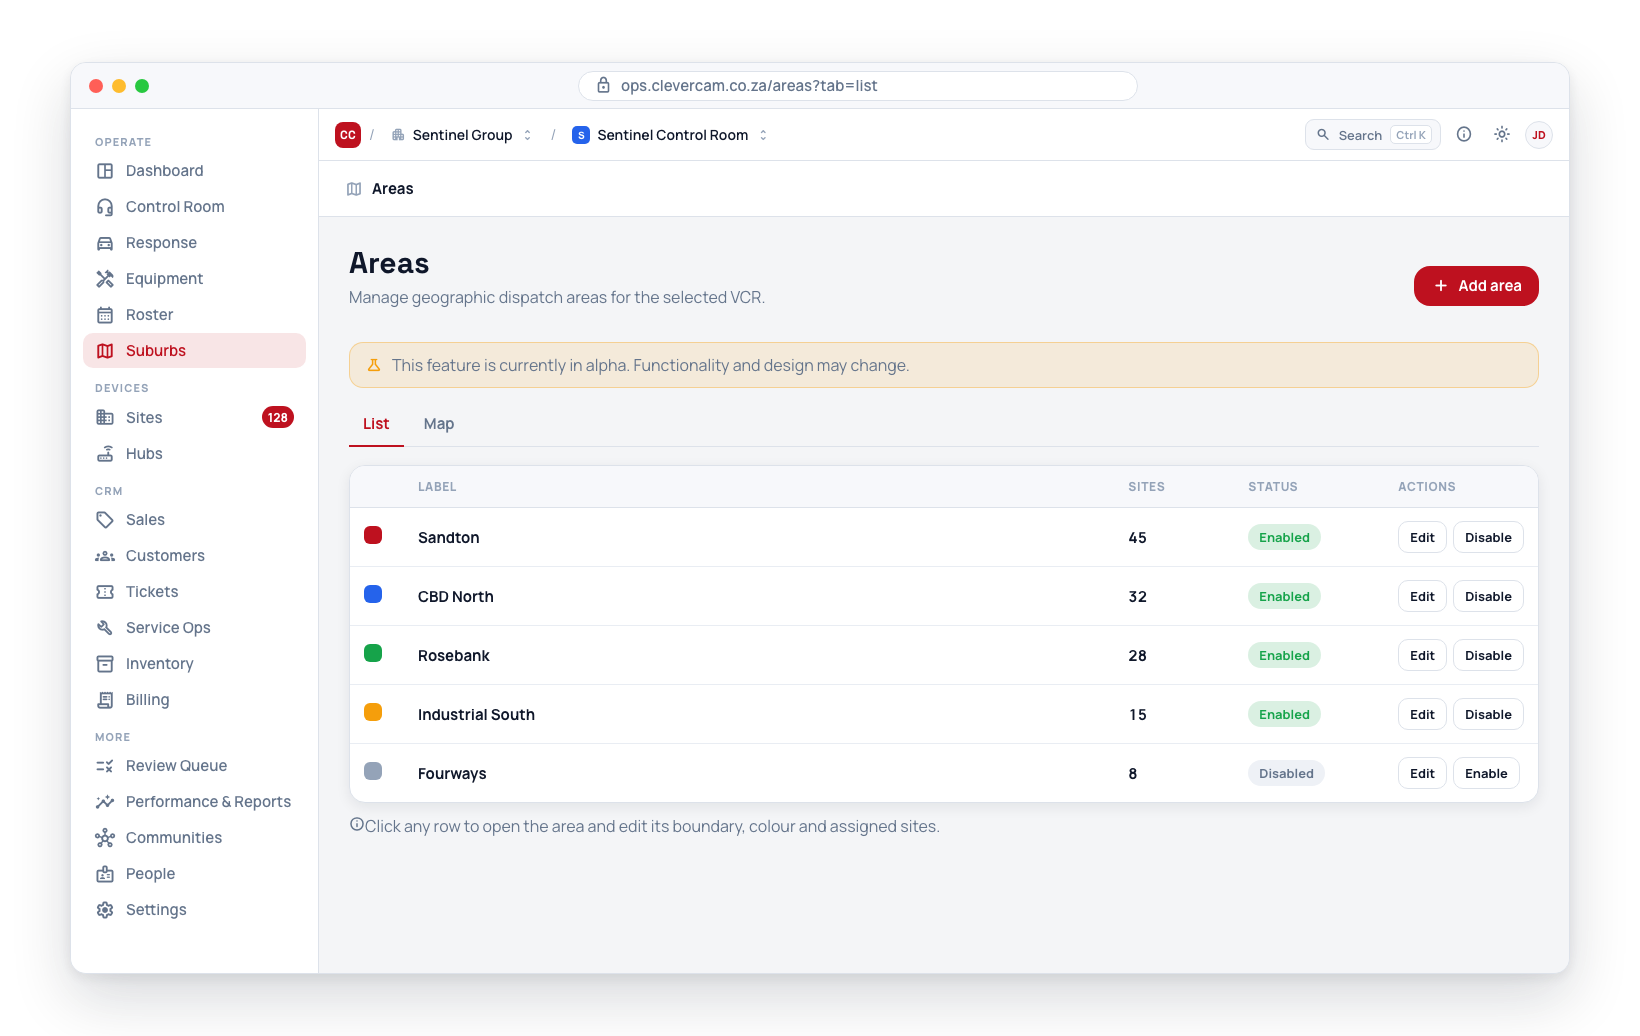
The detail panel shows:
- the branches the suburb belongs to (click one to jump to it);
- counts for sites, pins, by-location sites, and primary/backup units;
- Who responds here — the units, grouped as Primary then Backup 1, Backup 2 and so on;
- Sites in this suburb — every site, each tagged Pinned by hand or By location, linking through to the site;
- a warning if the boundary overlaps another suburb (see below).
The same detail opens from the Map tab by clicking inside a suburb, and from a branch's detail by clicking one of its suburbs. Edit suburb at the bottom opens the boundary editor.
The Suburbs list
Every suburb is one row. Out of the box a row shows the suburb's colour and name, its branch chips, its site breakdown, its reaction cover, its Enabled / Disabled status and the row actions — and the list can show more than that.
Choosing your columns
The list does not show every column at once. Columns ▾, above the table, is where you decide which ones it shows — tick a column to bring it in, untick it to hide it. The button says how many are currently hidden, so a column somebody switched off is never a mystery. Suburb and Actions are listed too, ticked and greyed with always beside them: they cannot go.
Put them in the order you read them. The ↑ and ↓ beside each column in Columns ▾ move it one place; a column heading's own menu (the small ▾ that appears when you hover a heading) has Move left and Move right for the same thing.
Your choice is yours alone and it follows you. Columns, their order and the sort are saved against your login, not the browser, so the list looks the same on the control-room machine and on your laptop, and changing it does not touch what your colleagues see. Reset to default view puts everything back.
What you start with:
- Suburb — the colour swatch and the name (always shown)
- Branch — a chip for every named branch the suburb belongs to; the Catch-all is never shown
- Sites — how many sites dispatch resolves into the suburb, with the pinned · by location split beside it
- Reaction — how many units list the suburb as primary and as backup, or Distance only when none do
- Status — Enabled or Disabled
- Actions — edit, enable or disable, delete (always shown)
Switched off until you turn them on:
- Units — the covering units by name, primaries first, backups marked (backup 1), (backup 2) and so on
- Vehicles — how many active vehicles are crewed to those units; hover the number for their names
- Trackers — of those vehicles, how many carry one of your trackers
- Pinned — sites pinned to this suburb by hand
- By location — sites here only because their coordinates fall inside the boundary
- Lands elsewhere — sites whose coordinates fall inside this boundary but which dispatch sends to another suburb, because of a pin or an overlapping boundary that is read first
- Boundary — Drawn or Not drawn
- Created — when the suburb was created
- Suburb ID — the suburb's record number
Sorting the list
Click a column heading to sort by it; click it again to reverse. An arrow marks the column the list is sorted on. The heading's ▾ menu offers the two directions by name, so you never have to click twice to get the one you meant: A → Z / Z → A for Suburb and Branch; Most first / Fewest first for Sites, Pinned, By location, Lands elsewhere, Vehicles and Trackers; Most units first / Fewest units first for Units; Best covered first / Least covered first for Reaction (primaries, then backups); Enabled first / Disabled first for Status; Drawn first / Not drawn first for Boundary; Newest first / Oldest first for Created; Lowest first / Highest first for Suburb ID.
Every heading sorts except Actions, and the list starts on Suburb, A → Z. All your suburbs are loaded at once, so a sort orders the whole list, with ties settled by name. Like your columns, the sort is saved against your login.
Filtering from a column
The search box above the table narrows the list to suburbs whose name contains what you type. Four columns also carry a filter in their ▾ menu. Pick a value and the heading's ▾ turns solid, and a chip naming the filter appears beside the search box — even if you later hide the column — with × to clear it. Clear filters clears the chips and the search together.
- Branch — one named branch, or No branch for suburbs in no named branch at all
- Status — Enabled or Disabled
- Reaction — Has responders or Distance only
- Boundary — Drawn or Not drawn
Column filters are session-scoped — they clear when you leave the page. The count at the right of the bar reads shown of total; the Suburbs (N) tab always counts every suburb.
Exporting the list
Export CSV downloads the suburbs currently listed — after the search and the filters, in the order on screen — with the columns you have showing, Suburb first and Actions left out. A cell that packs two numbers on screen becomes separate columns in the file so a sheet can sum them: Sites exports as Sites, Pinned and By location, Reaction as Primary units and Backup units, and Vehicles adds a Vehicle names column. Dates are written as ISO dates. The file is named suburbs-<date>.csv.
Pinning a site to a suburb
Pin a site only when the boundary gets it wrong — an address geocoded to the wrong side of a road, a site with no coordinates, or a deliberate exception.
From the site details page
- Navigate to Sites → Connected Sites and click the site.
- Locate the Suburb field.
- Select the suburb from the dropdown.
- Click Save.
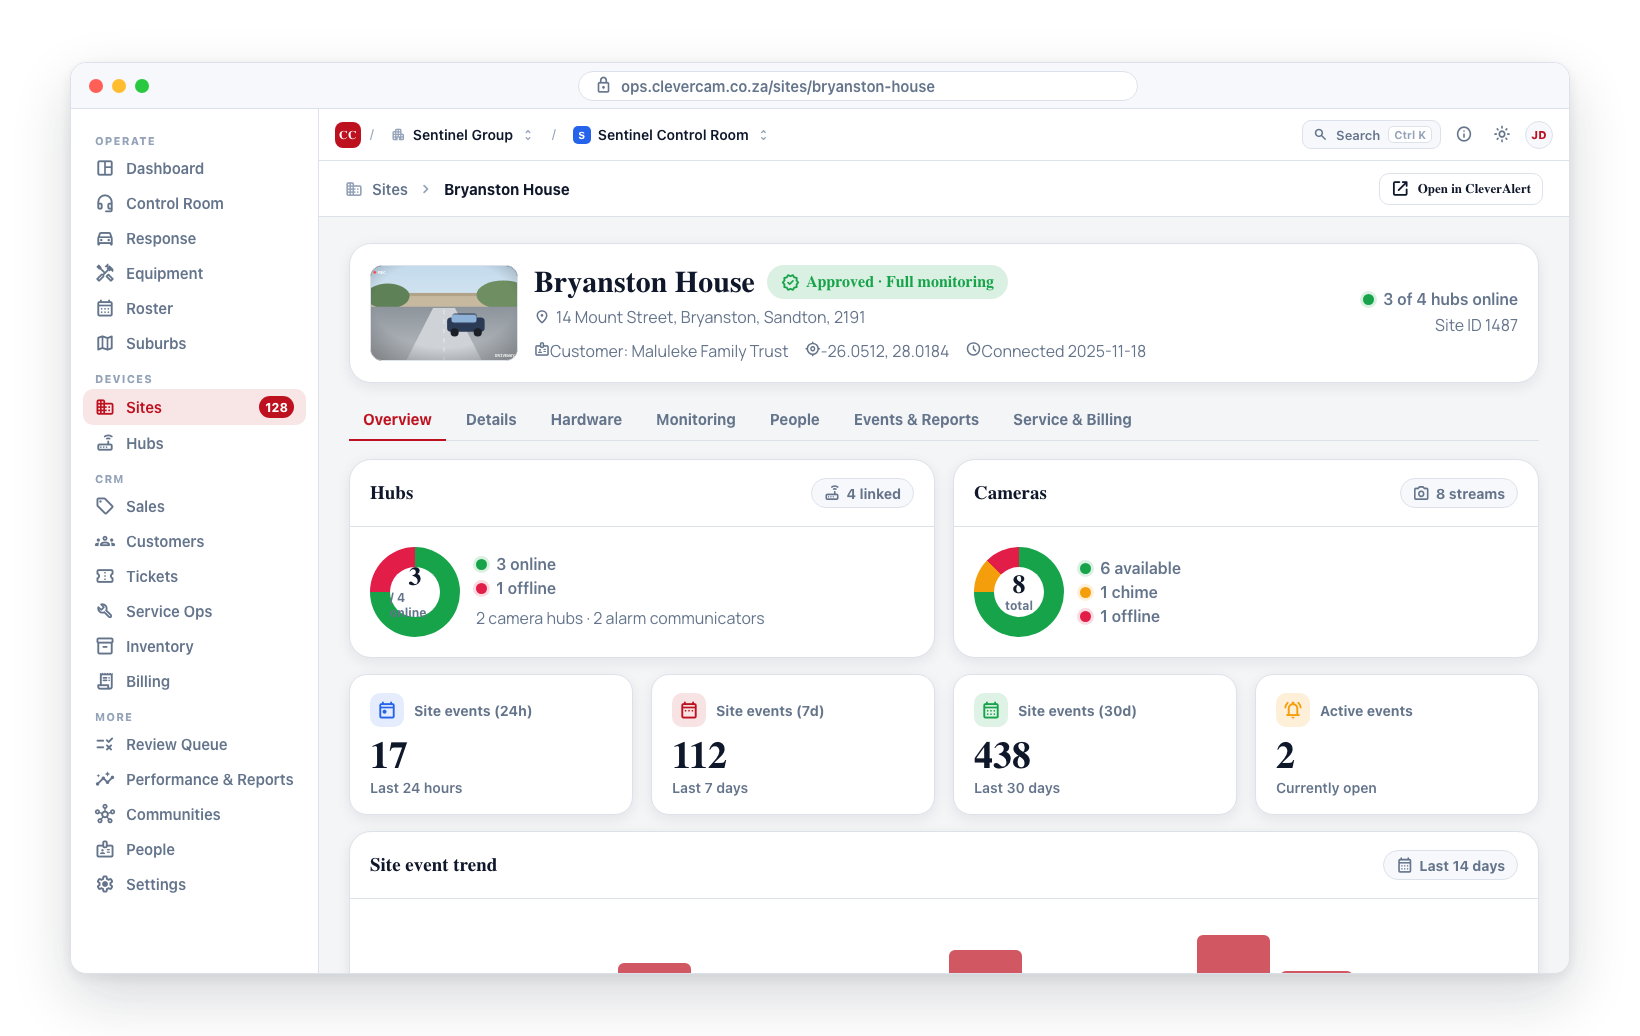
Clearing the dropdown removes the pin and hands the site back to the boundaries.
From the Sites list
- Navigate to Sites → Connected Sites.
- Set the Suburb on each site you want pinned.
The suburb editor draws boundaries; it does not carry a list of sites to tick. Pinning is a property of the site, so it is set where the site is — which also keeps the site's own record the single place that says why it is not following the boundary.
If you find yourself pinning a run of sites in one spot, the boundary is usually the thing to fix: extend it, and every future site there lands correctly with no pin at all.
Reassigning a site
- Open the site's details page.
- Change the Suburb dropdown to the new suburb.
- Click Save.
The change takes effect immediately. New events at the site are ranked against the new suburb's units. Events already dispatched under the old suburb are unaffected.
Finding sites in no suburb
The fastest way is the Map tab:
- Open Suburbs → Map.
- Tick Only sites in no suburb in the Explore rail.
- Every remaining dot is a site your boundaries don't reach.
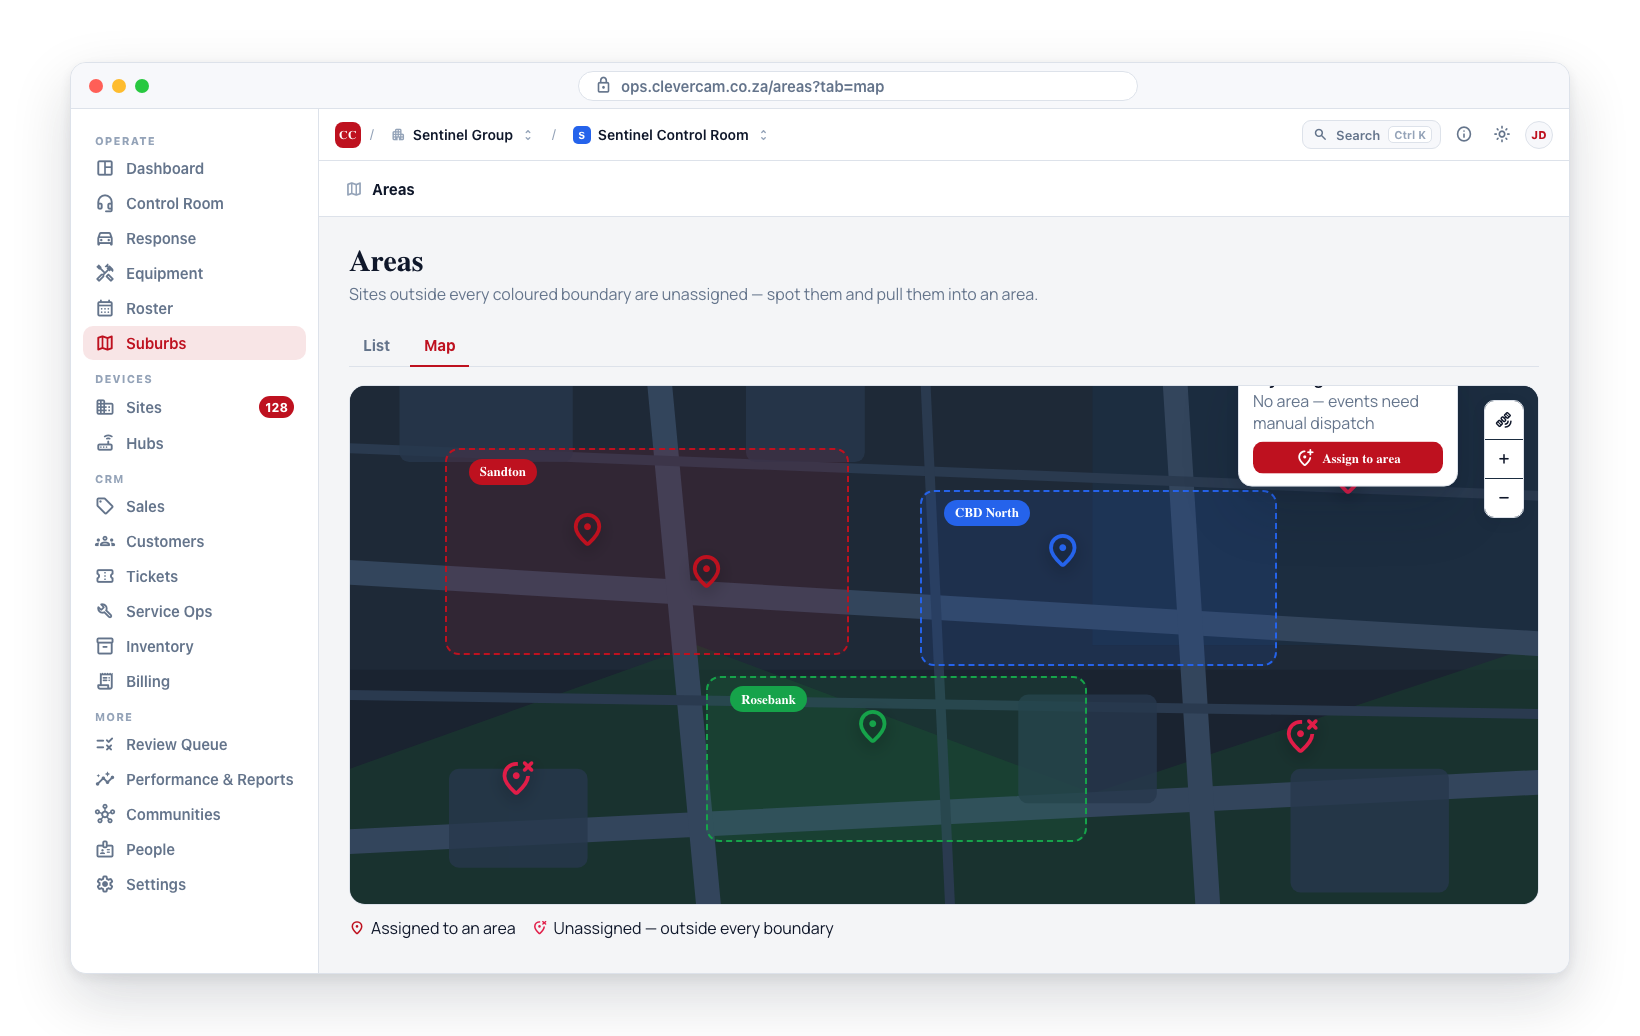
The Overview tab carries the same figure as the Sites in no suburb tile, and switching the map's colour mode to How it landed paints them red.
Usually the right fix is to extend a boundary so the site falls inside it, which fixes every future site in that spot too. Pin the site only when it is a genuine one-off.
Enabling and disabling suburbs
- Enabled — the suburb participates in resolution: sites fall into it by location.
- Disabled — sites no longer fall into it by location. Sites pinned to it by hand stay pinned.
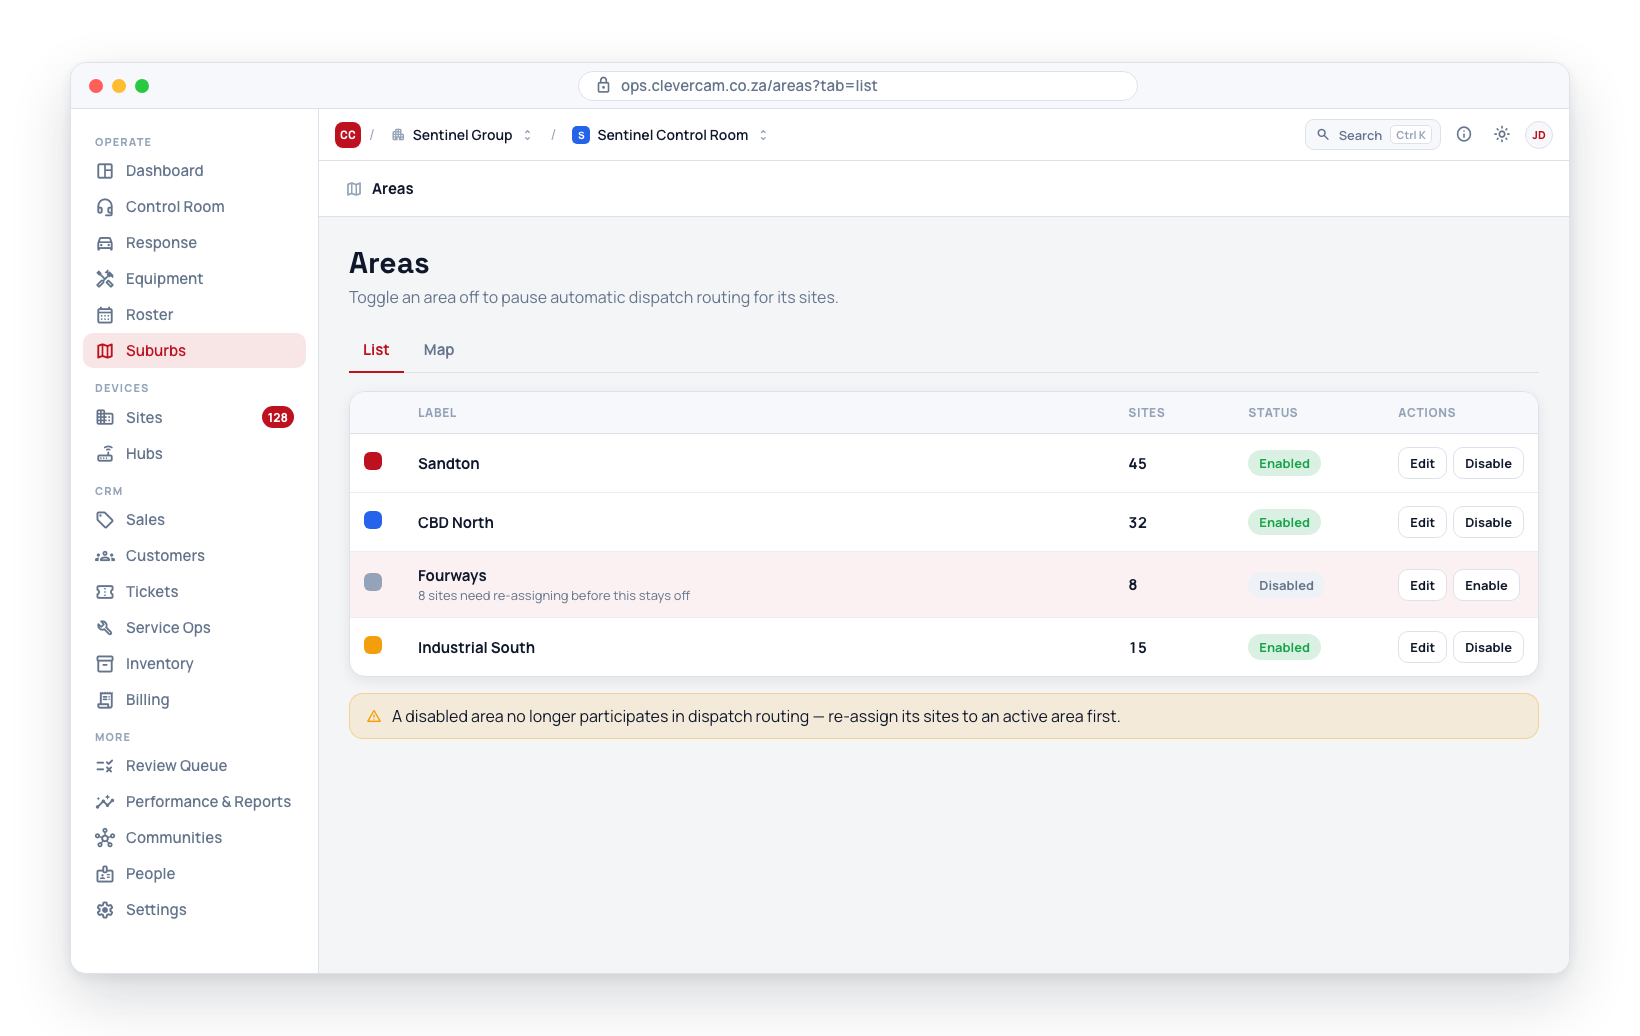
To toggle a suburb, use the enable/disable row action on the Suburbs tab.
Disabling a suburb doesn't reassign anything — the sites that were falling into it simply stop matching. Each one drops to the next boundary that contains it, or to no suburb at all. Check the suburb's site list before you disable it.
Overlapping boundaries
If two enabled boundaries contain the same unpinned site, the site lands in whichever is read first — the choice is not stable or meaningful. The suburb detail flags this: "This suburb overlaps X. Sites in the overlap that aren't pinned land in whichever boundary is read first."
Fix it by adjusting one of the boundaries, or by pinning the affected sites so the choice is explicit.
Balancing coverage
The Sites per suburb panel on the Overview tab ranks suburbs by site count. Use it to:
- Balance workload — a suburb carrying far more sites than the rest may be overloading its unit. Consider splitting it or adding a unit.
- Identify growth — watch counts change as you onboard customers.