Manage Cameras
Once cameras are added to your hub, you can manage them through the CleverAlert app. Camera management includes renaming cameras, viewing their settings, removing cameras you no longer need, and reordering the list to match your preferred layout.
Viewing the Camera List
The Manage Cameras screen displays all cameras linked to the current site in alphabetical order. Each camera tile shows:
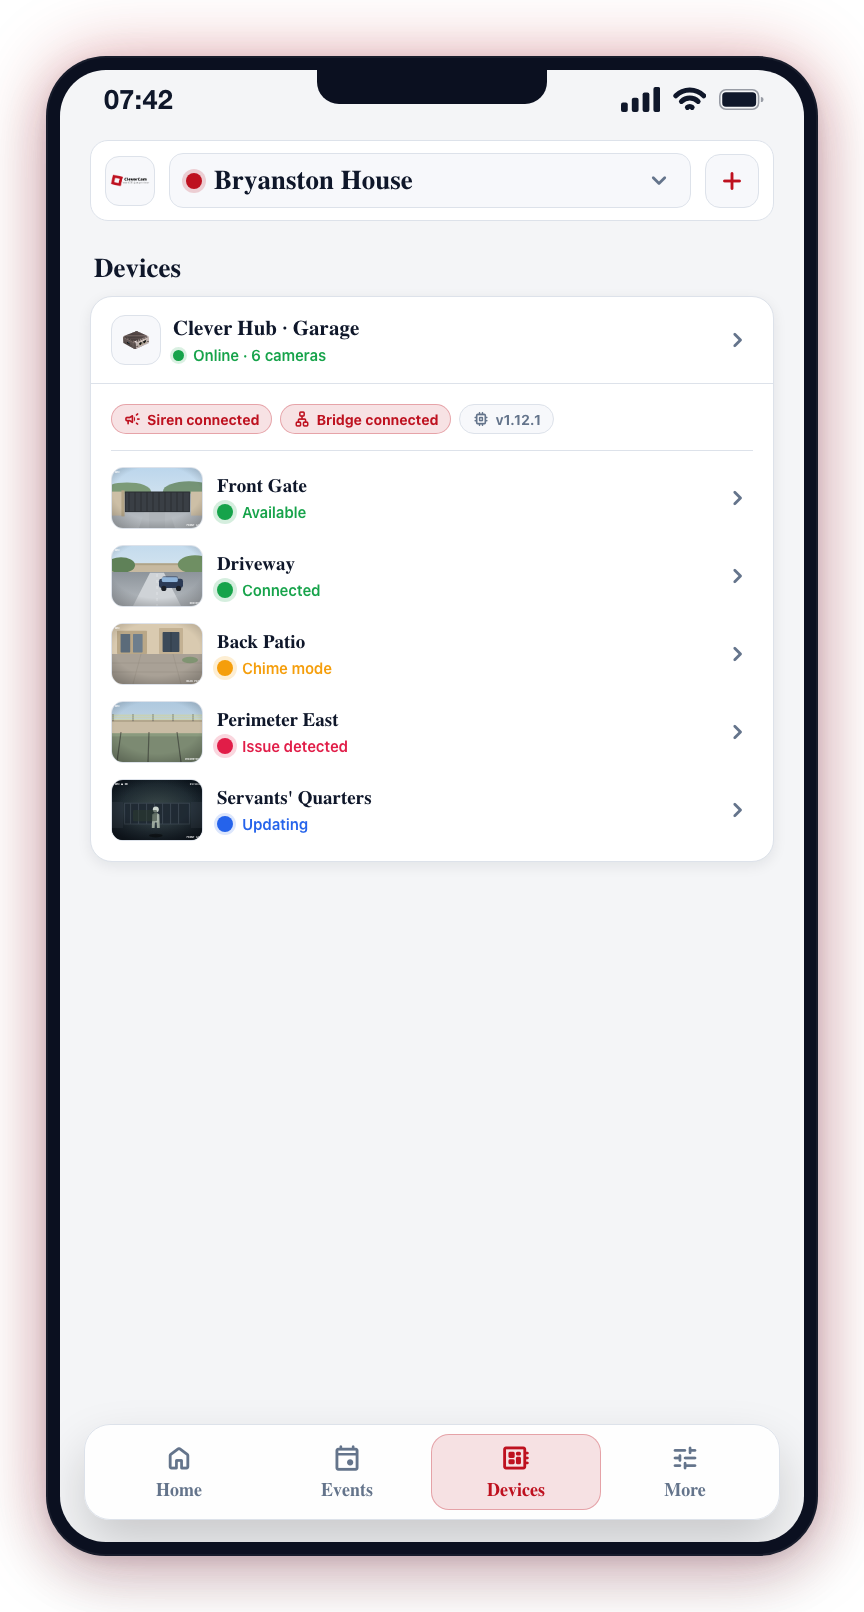
- A snapshot thumbnail
- The camera name
- The camera's current status with a color-coded dot
Tap any camera tile to open the camera details screen where you can configure it.
Adding a Camera
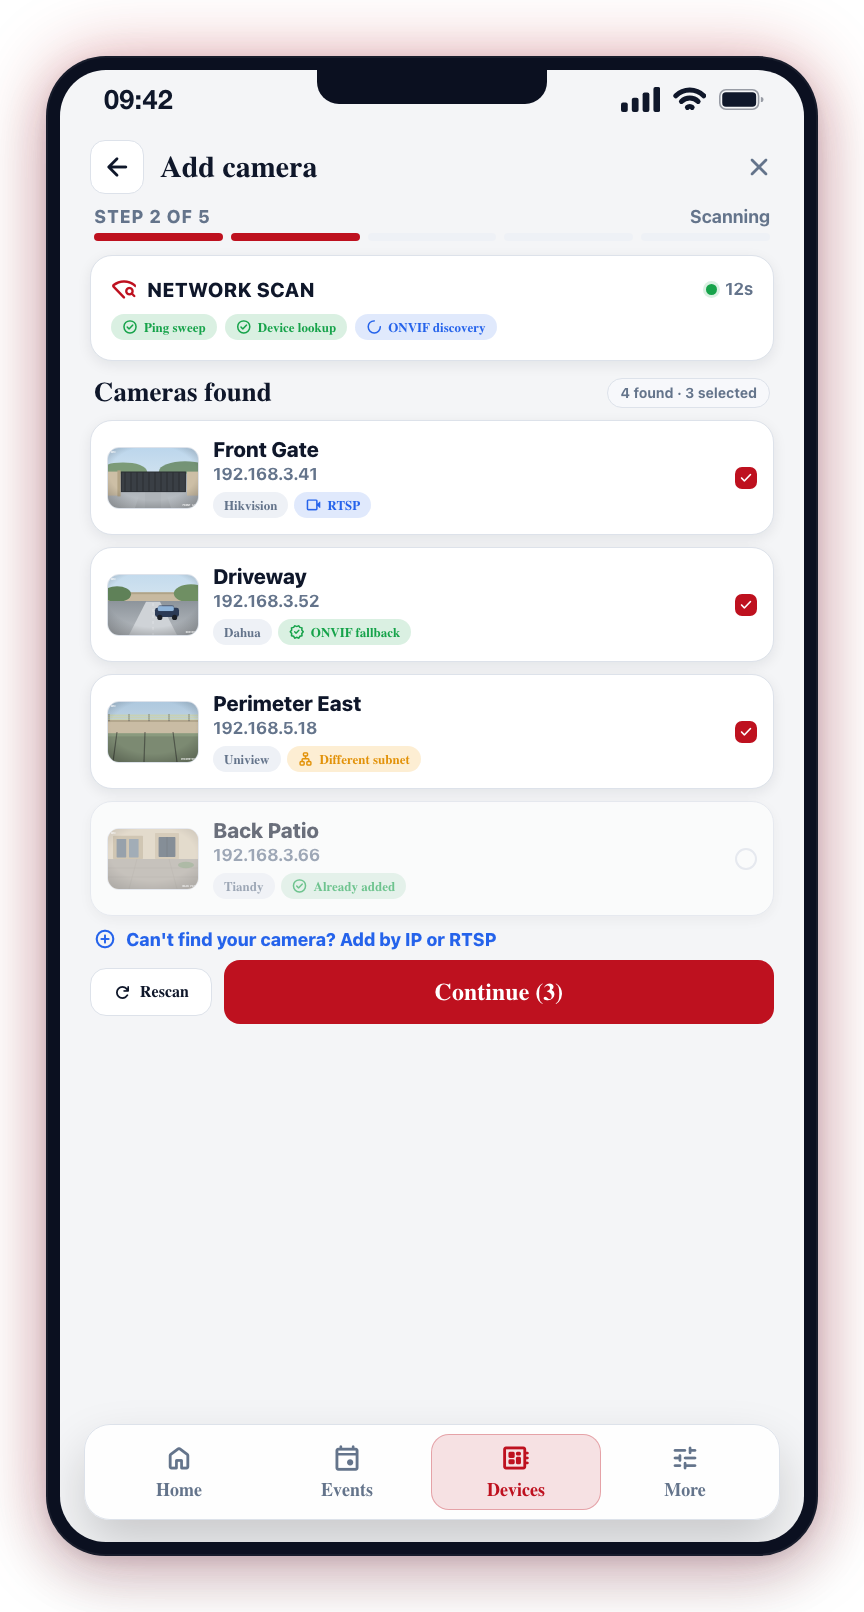
Tap the + floating action button at the bottom-right to add a new camera. This opens the camera setup wizard. See Add Camera for details.
On managed sites — once CleverCam enables site-ownership enforcement and a security company is the primary company for your site — adding cameras is handled by that company: the + button is hidden and the add-camera screen shows who manages the site instead. On all other sites nothing changes.
Edit Camera Name
A descriptive camera name makes it easy to identify which camera captured an event. You can rename a camera at any time.
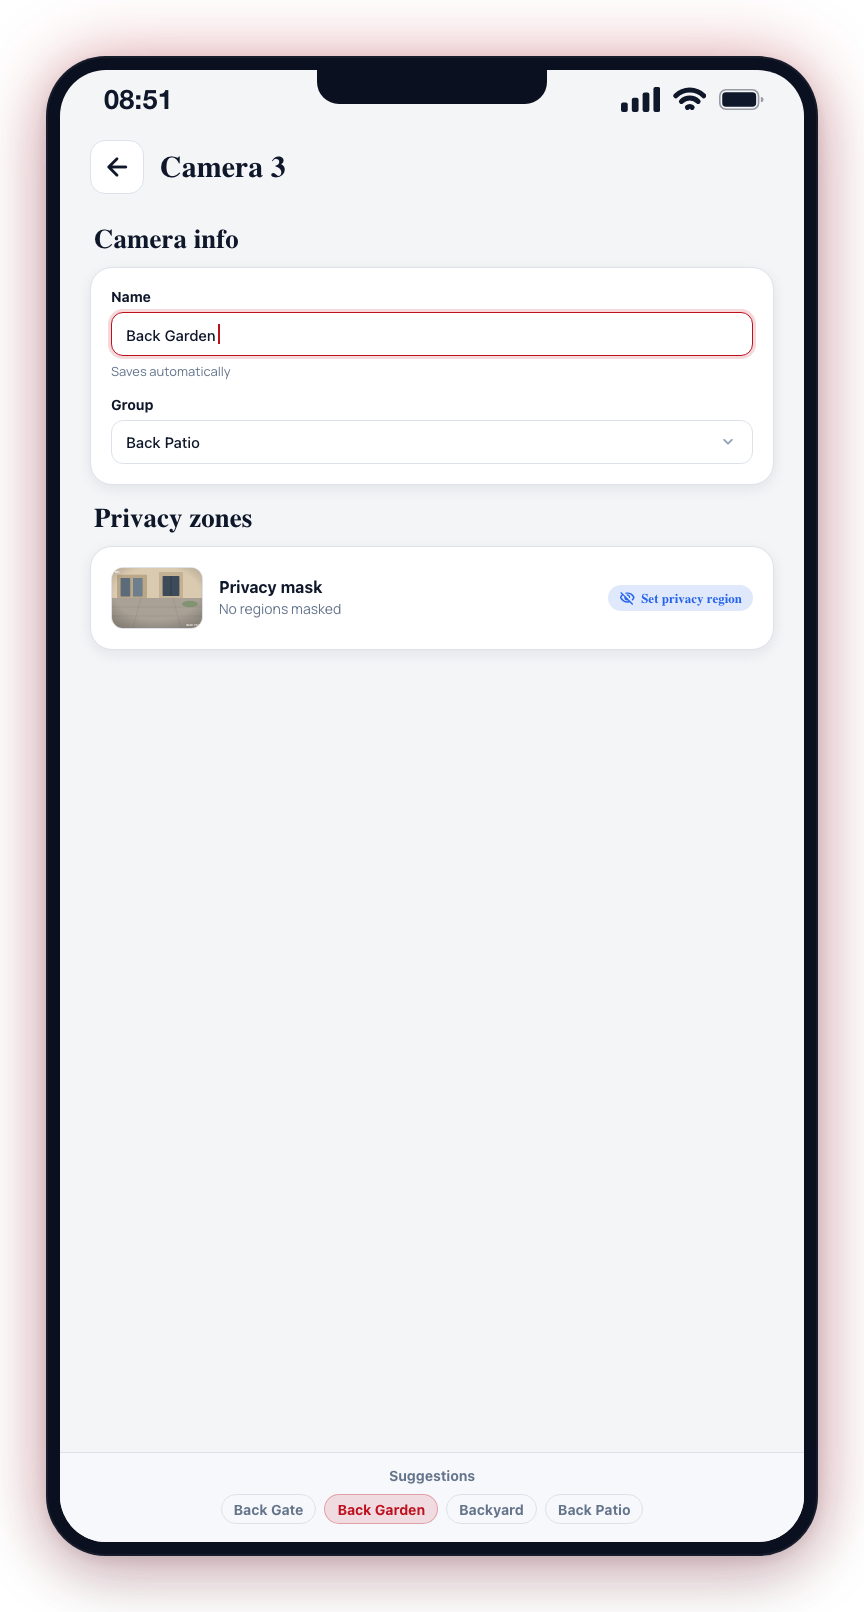
- Open Manage Cameras and tap the camera.
- On the camera details screen, tap the name field under Camera info.
- Enter the new name (e.g., "Back Garden", "Reception Desk", "Loading Bay 3").
- The name saves automatically.
The new name will appear across the entire app -- in the Devices tab, event history, groups, and notifications.
Use clear, location-based names for your cameras. Names like "Camera 1" and "Camera 2" are not helpful during an active alarm. Use names like "Front Gate", "Side Entrance", or "Server Room" instead.
View Camera Settings
To see the full configuration of a camera:
- Open Manage Cameras and tap the camera tile.
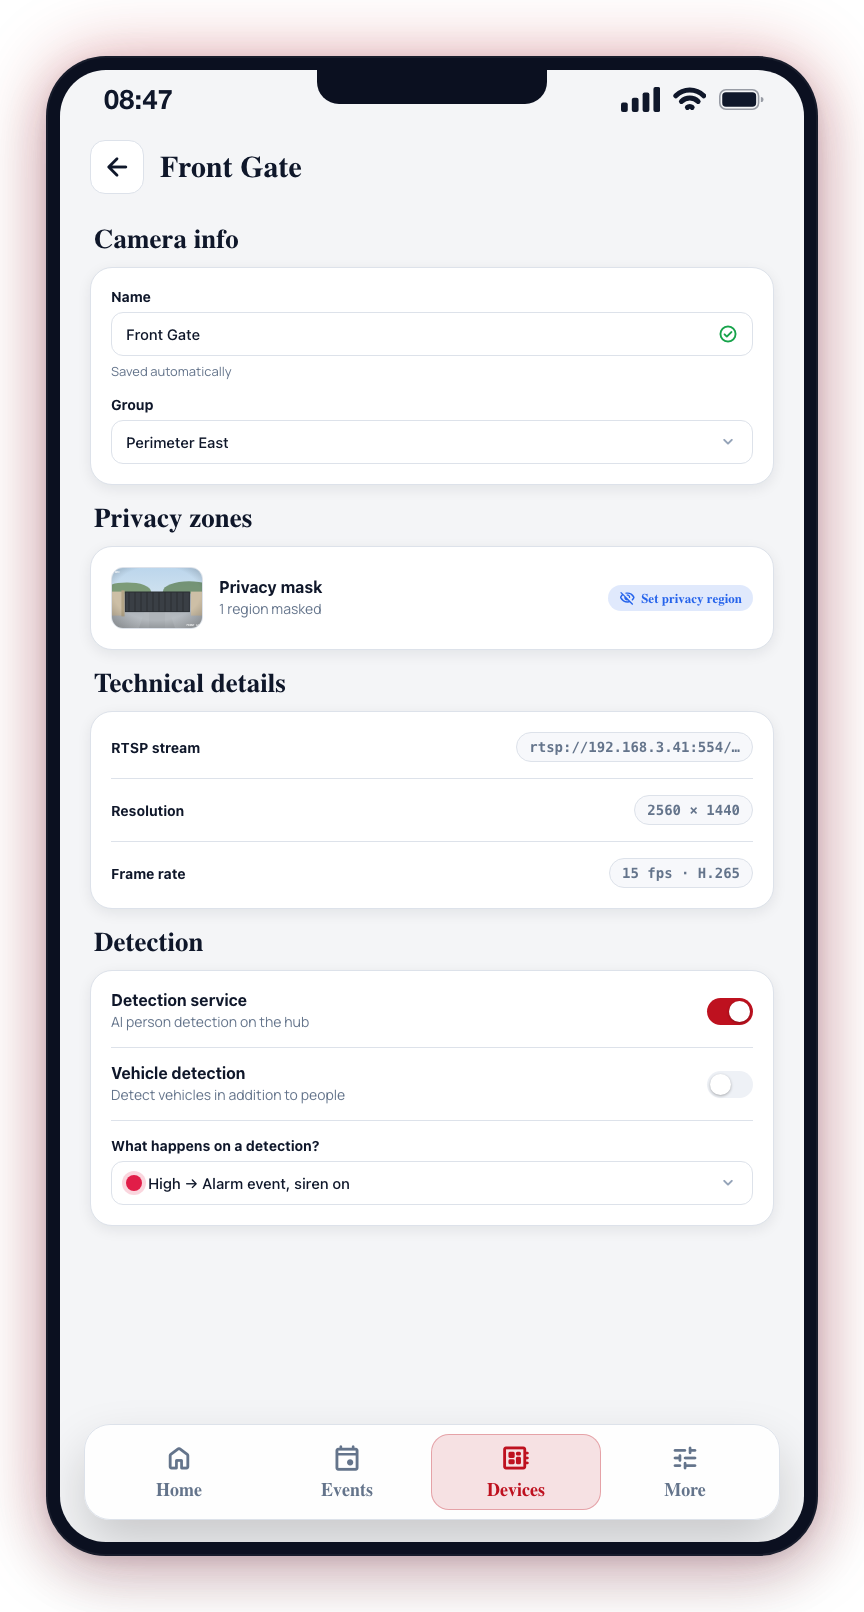
- On the camera details screen, you will see:
- Camera name and group assignment
- Privacy mask preview
- Stream address, resolution, and frame rate
- Detection service, vehicle detection toggle, and event routing settings
For changing detection, privacy mask, or event routing settings, see the Camera Configuration section.