Camera Settings
Each camera in your system can be individually configured through the camera details screen. The screen shows the camera's name in the title bar and is organised into cards: Connection, Device health (on cameras that report it), Privacy zones, Camera info, Detection, Reference photo, Technical details, and Advanced, with a Delete stream button at the bottom.
Accessing Camera Settings
- Navigate to the Devices tab.
- Tap the camera you want to configure — its camera sheet opens.
- Tap Settings. The camera details screen opens, with the camera's name shown at the top.
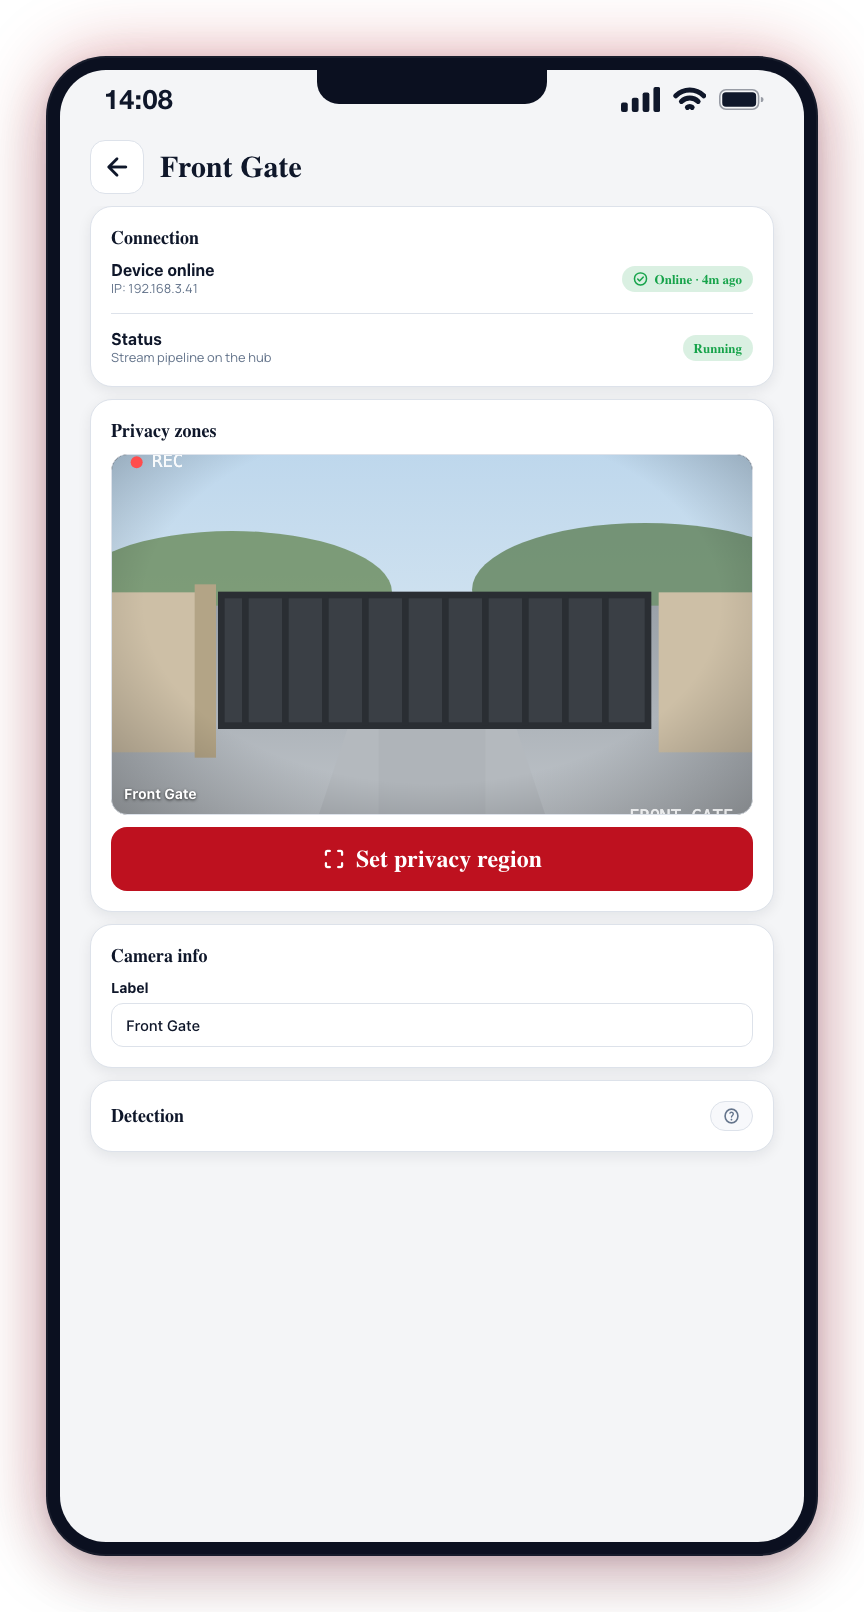
Connection
The Connection card shows two live indicators:
- Device online — Shows the camera's IP address, with a status pill based on the time of the camera's most recent snapshot: green "Online · X ago" when the latest snapshot is recent, or "Last seen X ago" when it is older. "No snapshot" means no image has been received yet.
- Status — The state of the camera's stream pipeline on the Clever Hub. A green Running pill means the hub is actively processing this camera.
Device health
Shown for cameras that report their own setup (today, Dahua Direct cameras). It lists what the camera says about itself: whether motion detection is on, whether it has an SD card and is recording, its resolution compared with what its sensor can give, whether its clock is right, and how it detects. A pill at the top says No issues or how many there are. Cameras that do not report this do not show the card.
When a camera is first set up, CleverCam puts right what it can on the camera by itself, and lists what it changed at the bottom of the card (Setup). If something is wrong afterwards:
- A red item means the camera cannot work until it is fixed (for example motion detection switched off). Amber items are warnings.
- Fix on camera appears when CleverCam can change the setting remotely (items tagged Fixable remotely). Tap it and the change is usually made within 30 seconds. The result appears under Last fix. If the camera is offline, the fix runs as soon as it reconnects.
- How to fix lists the steps to do it by hand on the camera's own web page. Items CleverCam cannot change remotely, such as fitting an SD card, only have these steps.
Privacy Zones
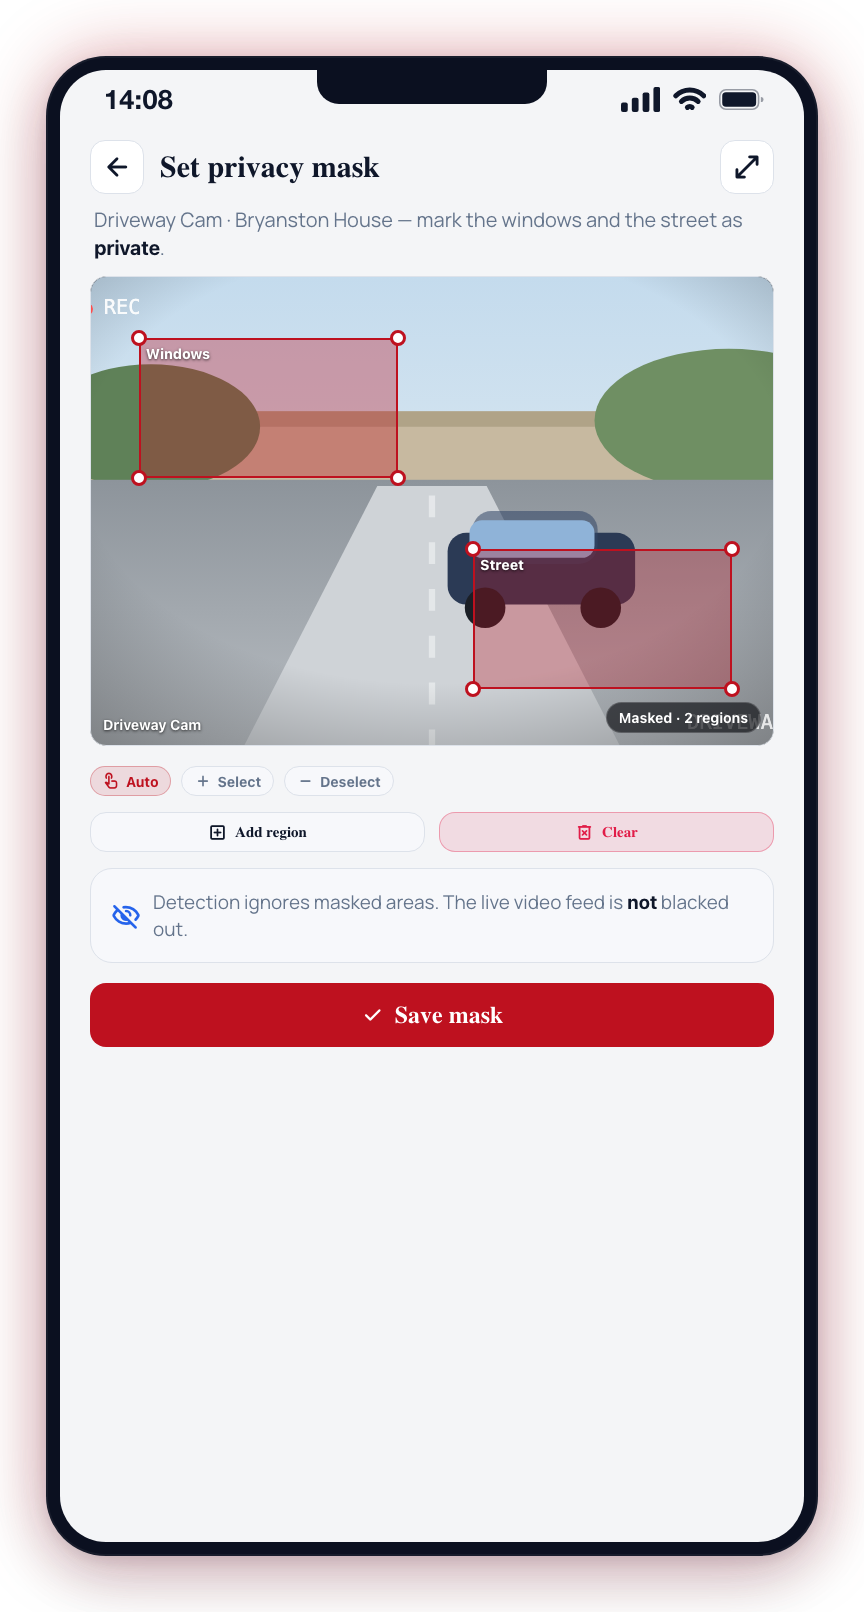
The Privacy zones card shows a snapshot of the camera's current view. Tap Set privacy region to open the privacy mask editor where you can draw or modify masked areas.
Camera Info
The Camera info card lets you:
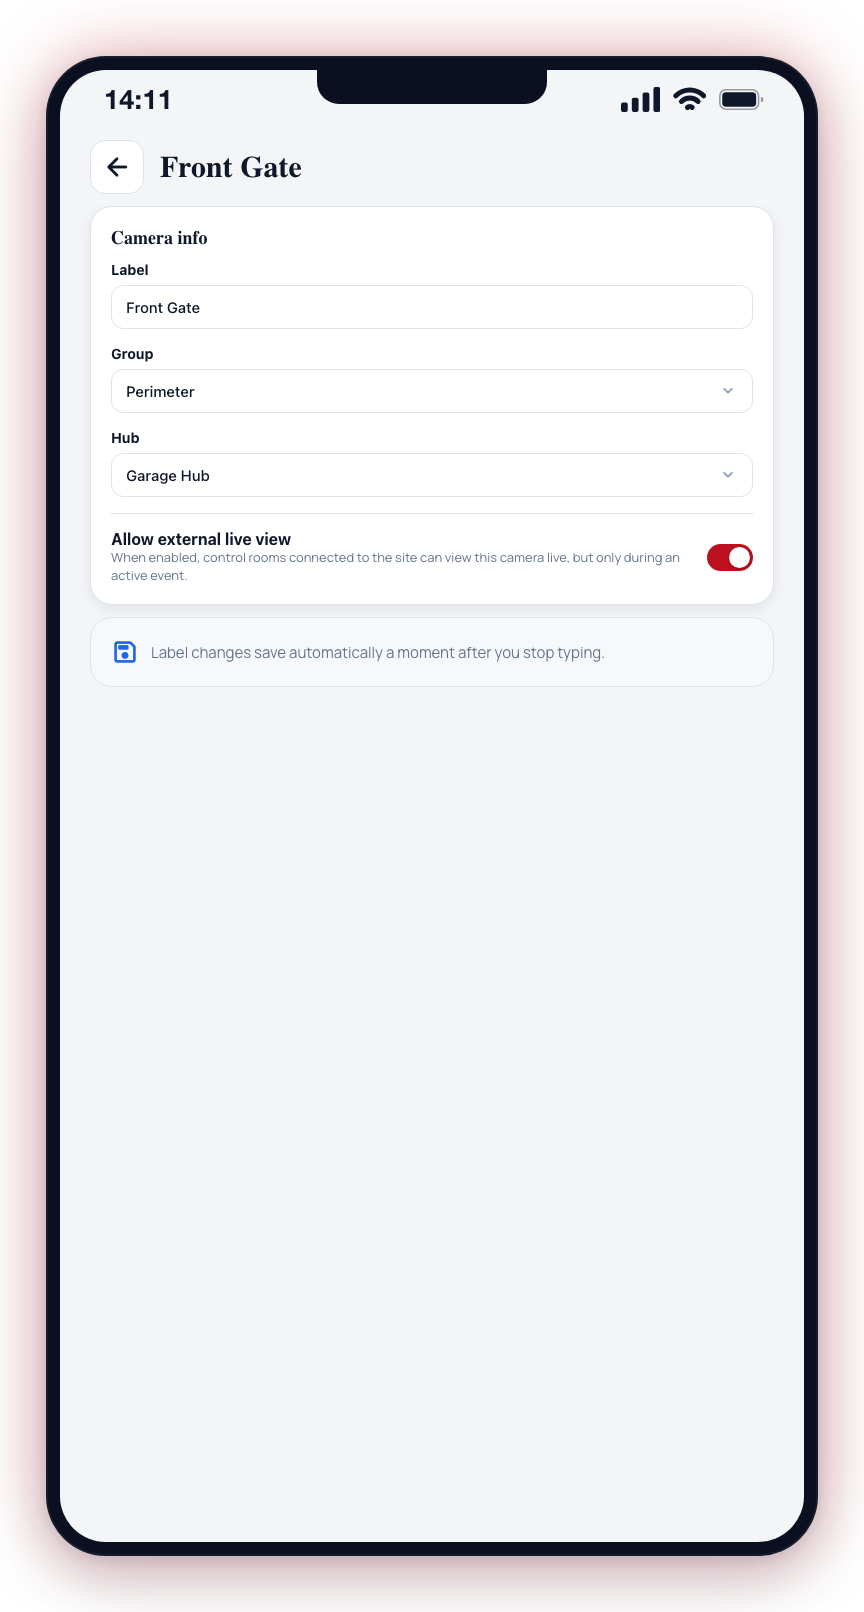
- Label — Rename the camera (e.g., "Front Door", "Parking Lot"). Changes are saved automatically a moment after you stop typing.
- Group — Move the camera to a different group.
- Hub — Move the camera to a different Clever Hub on the site (hubs hold up to 9 cameras; moving to a full hub is blocked).
- Allow external live view — When enabled, control rooms connected to the site can view this camera live, but only during an active event.
The Hub picker and external live view toggle are shown for CleverCam hub cameras only.
Detection
The Detection card is available for CleverCam cameras only — cameras on a Clever Hub, CleverMail cameras, Dahua Direct cameras (Dahua cameras or a Dahua recorder connected straight to CleverCam, with no hub on site), and Hikvision Direct cameras (the same for Hikvision). For cameras connected to third-party alarm panels (such as Hyyp, Onyyx, or Olarm), it displays: Detection configuration is for CleverCam cameras only.
Managed photo-verification cameras (SpotBot, AVLytics) are the exception: the partner runs the detection, so their Detection card shows a single Vehicle detection toggle. When it is off, only people trigger alerts; when it is on, recognised vehicles trigger alerts too. On SpotBot, vehicle detection is an additional module that must be purchased directly from SpotBot or your service provider — the toggle notes this in the app.
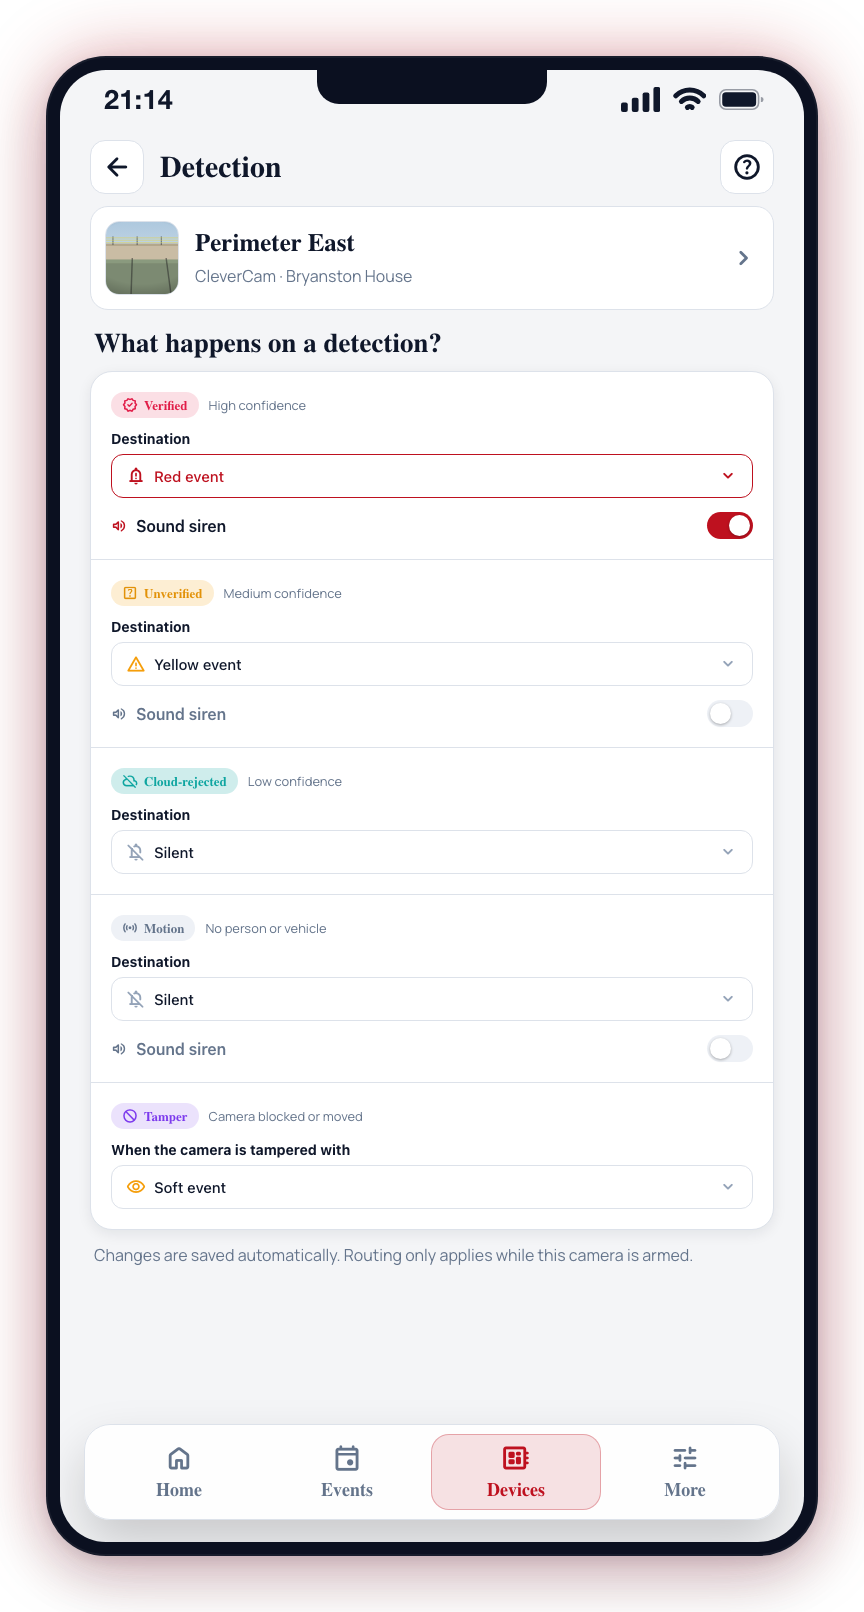
For CleverCam cameras, the Detection card contains:
- Vehicle detection — Toggle this on to detect vehicles in addition to people.
- What happens on a detection? — The routing editor: each confidence grade (High, Medium, Low) shows its bounding-box colour and choice chips for Alarm event, Triage, or Skip, plus a Sound siren toggle where applicable. The Medium-confidence choice also controls the camera's detection sensitivity — routing it to Skip makes the camera ignore borderline detections entirely. Tap the ? icon for the built-in Understanding detections reference sheet. See Detection Routing for the full guide.
- Community Chimes — Toggle chime notifications to connected control rooms.
Reference Photo
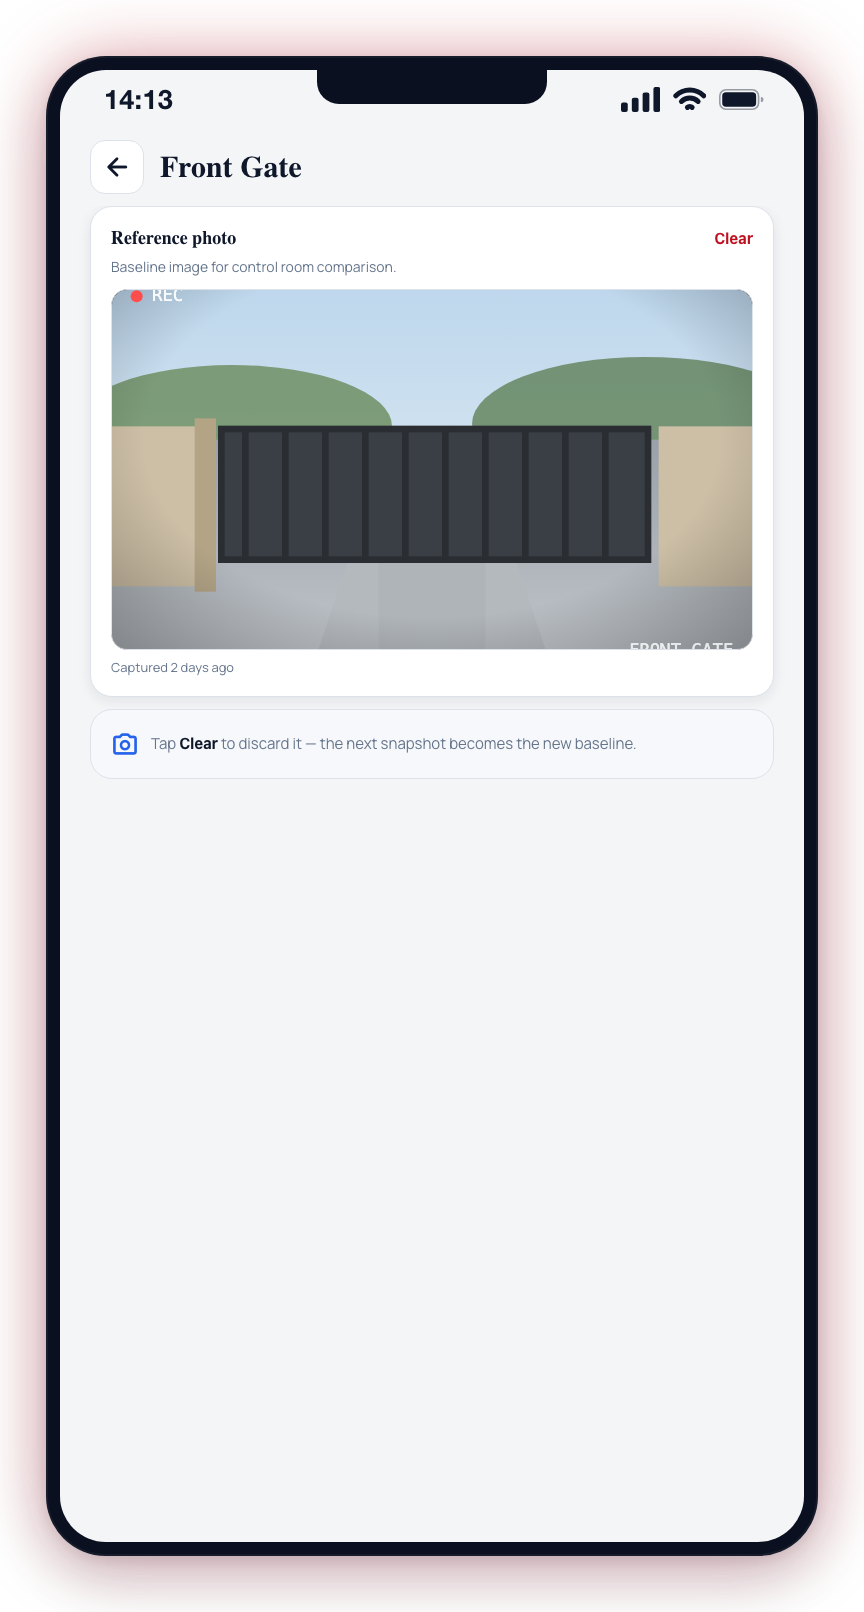
The Reference photo card shows the baseline image used by control rooms for comparison during events. If no reference photo exists yet, one is captured automatically from the next snapshot. Tap Clear to discard the current reference photo — the next snapshot becomes the new baseline.
Technical Details (Read-Only)
Shown when the camera has an RTSP stream. The card displays live stream information reported by the Clever Hub:
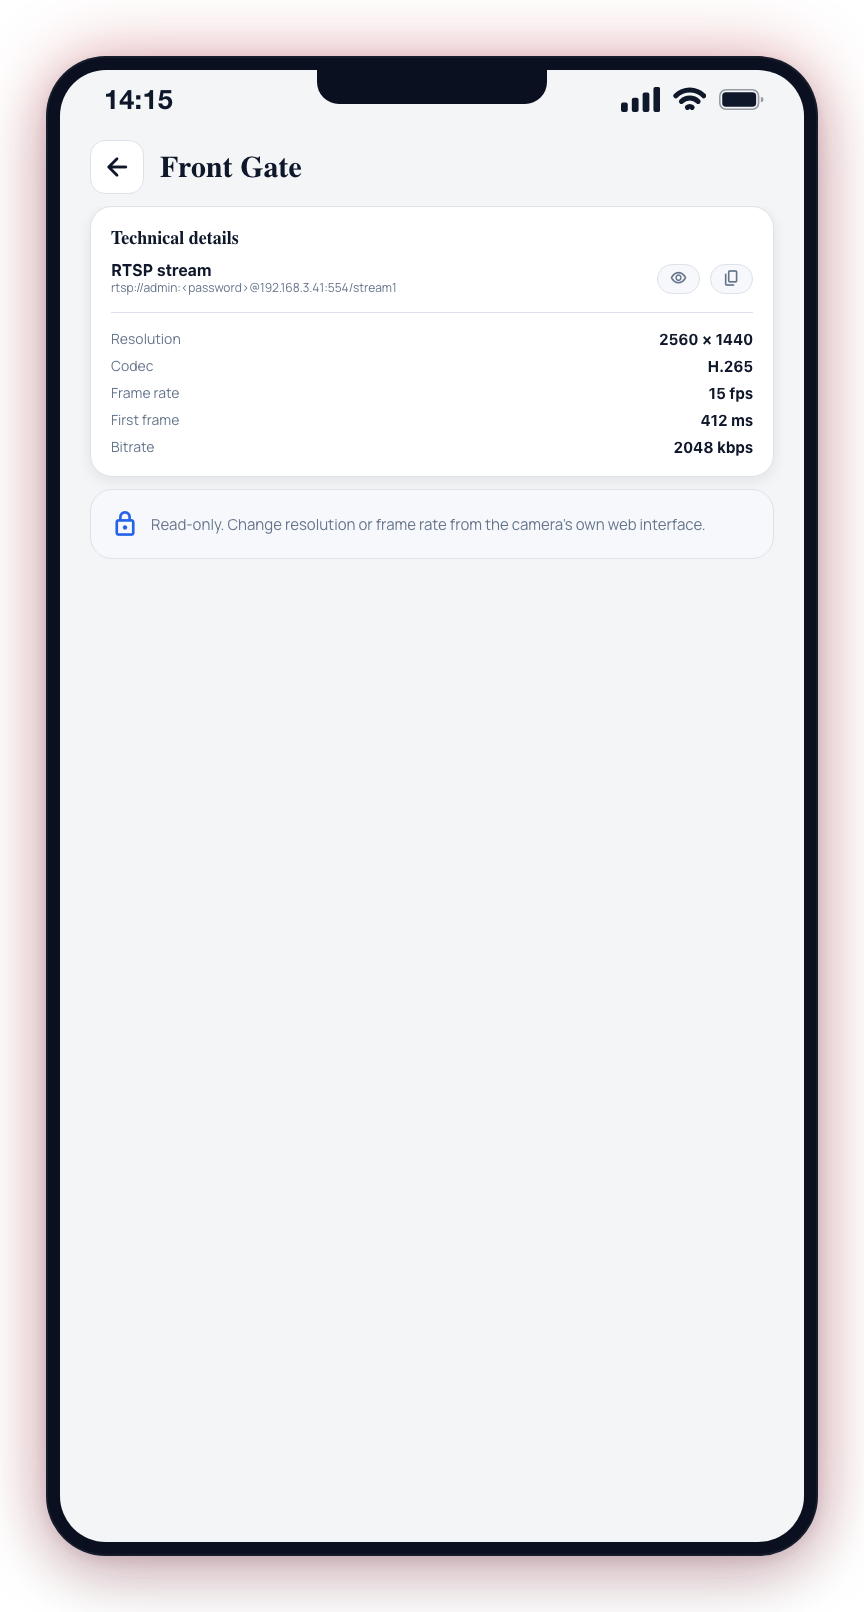
- RTSP stream — The stream address with the password masked. Use the eye button to reveal or hide the password and the copy button to copy the full URL.
- Resolution — The actual width and height of the video (e.g., "2560 × 1440").
- Codec — The video codec the camera is sending (e.g., H.265).
- Frame rate — The current frames per second of the stream.
- First frame — How long the hub takes to get the first frame from the camera, in milliseconds.
- Bitrate — The stream's bitrate in kbps.
These values reflect what the camera is currently sending and cannot be changed from the app. To change the resolution or frame rate, adjust the camera's settings through its own web interface.
Advanced
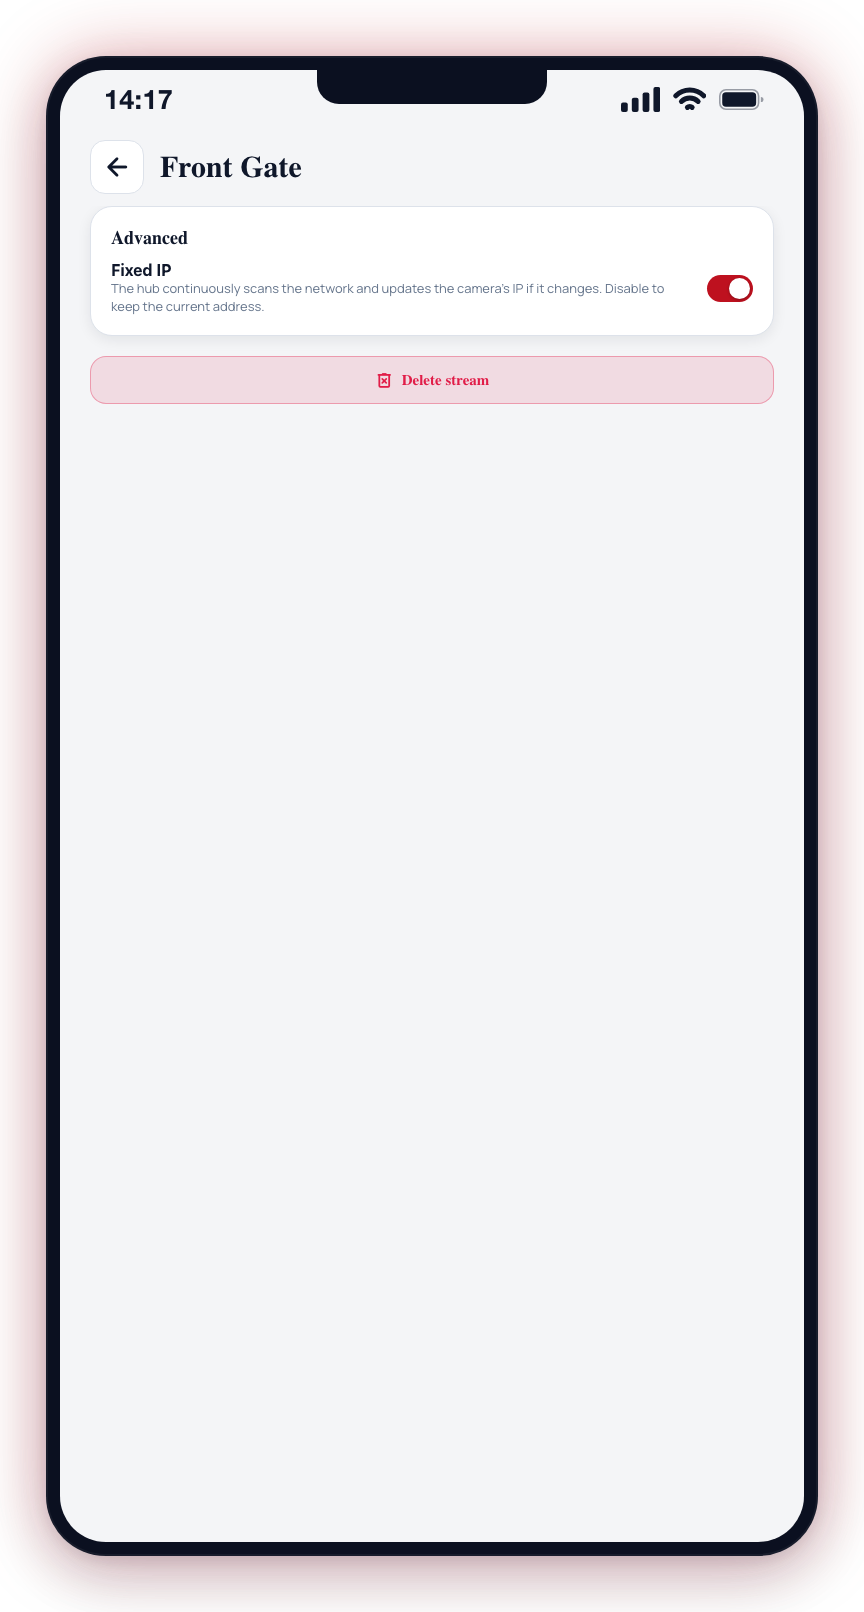
- Fixed IP — When enabled, the hub continuously scans the network and updates the camera's IP address if it changes. Disable if you do not want it updated automatically. Shown for CleverCam hub cameras only.
Deleting a Camera
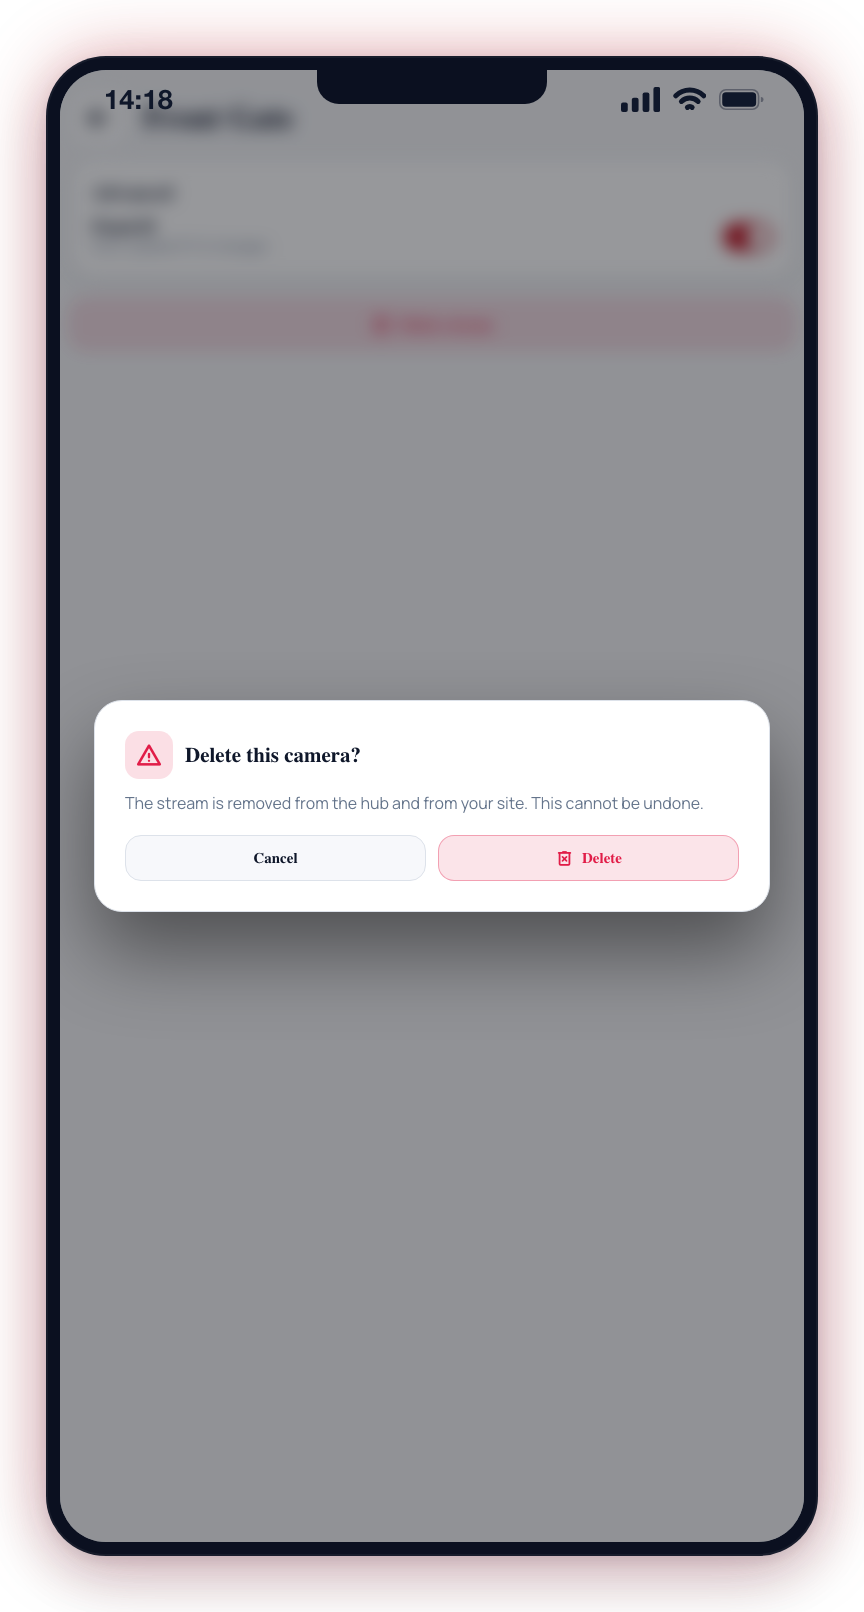
Tap Delete stream at the bottom of the screen to remove the camera from the hub and your site. A confirmation dialog is shown first — deletion cannot be undone.
Use clear, location-based names for your cameras. Names like "Camera 1" and "Camera 2" are not helpful during an active alarm. Use names like "Front Gate", "Side Entrance", or "Server Room" instead.