Finding Cameras Automatically
When you add a camera, you do not normally have to know its address. The Clever Hub searches your network and brings back everything it can find, and you just tick the cameras you want.
This page explains what that search is doing and what to try when a camera you know is there does not appear.
There is no standalone "scan" button. The search runs as the Scanning network step of the Add camera wizard — see Add Camera for the full walkthrough.
The three stages of a search
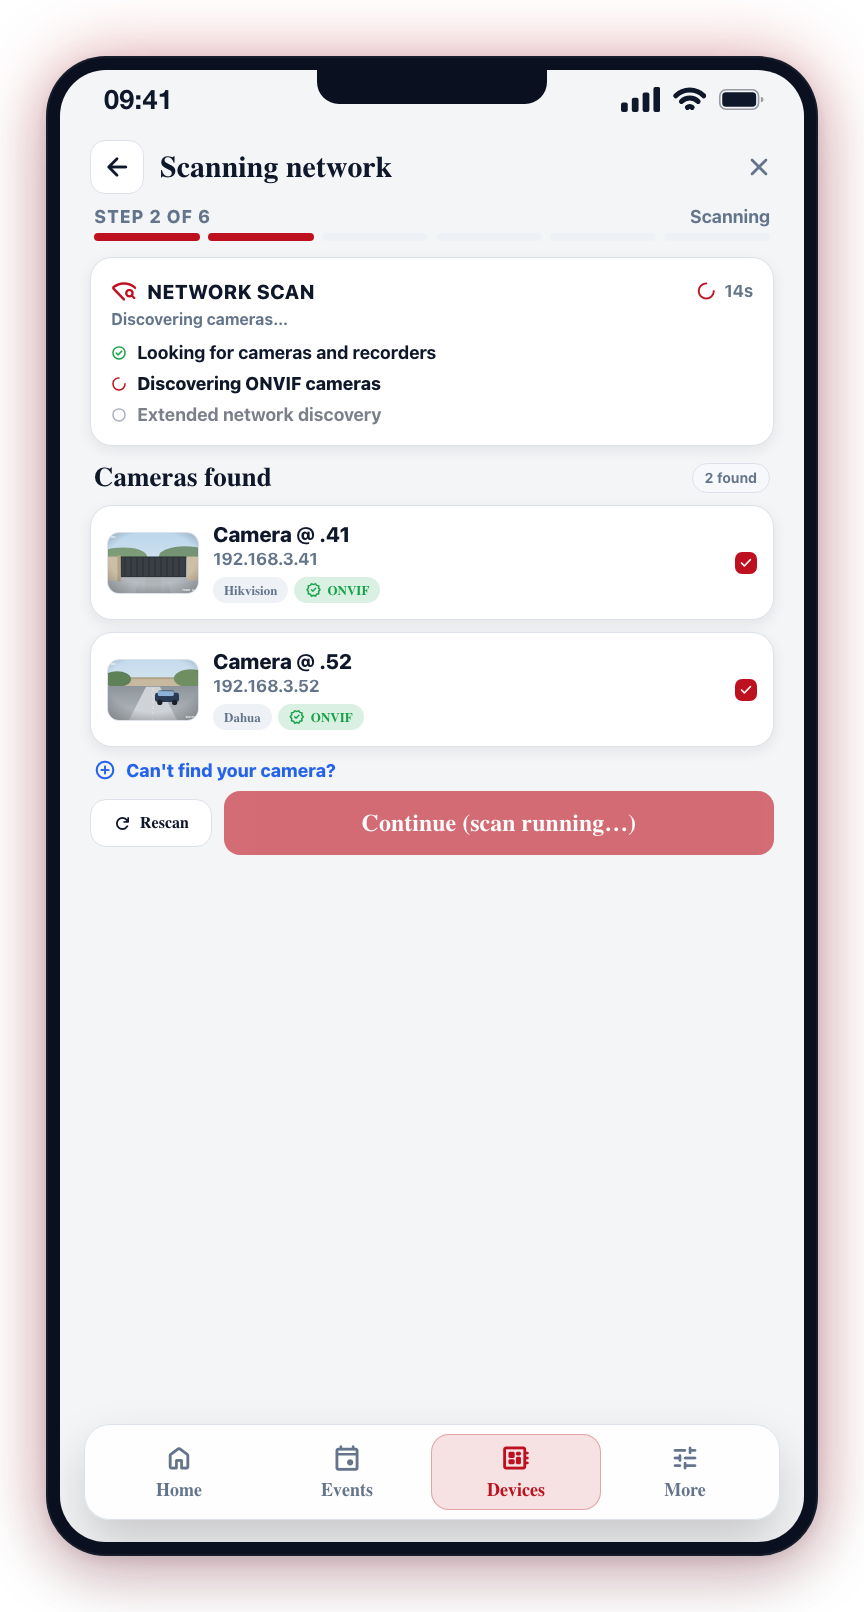
The wizard shows each stage with a tick as it finishes:
| Stage | What the hub is doing |
|---|---|
| Looking for cameras and recorders | Knocking on the video port of every address on your network. This is the quickest stage and finds most cameras and DVRs. |
| Discovering ONVIF cameras | Sending out a broadcast that ONVIF cameras answer with their own details — make, model, and where their video lives. |
| Extended network discovery | A slower, wider sweep for anything the first two stages missed. |
Cameras stream into the list as they answer, so you can often see what you are looking for before the search finishes.
How long it takes. Most cameras appear within the first few seconds. The full search can run for a couple of minutes if a camera is slow to answer — the hub allows up to about three minutes for the ONVIF stage alone before it gives up on a stubborn device. Let it finish before deciding a camera is missing.
ONVIF, in one paragraph
ONVIF is an industry standard that lets cameras from different makers describe themselves in the same language. A camera that speaks it can tell the hub its name, its model and the exact address of each video stream it offers, so nothing has to be typed in. Most current IP cameras support it — Hikvision, Dahua, Axis, Hanwha, Uniview, Vivotek and Bosch among them.
ONVIF is a setting in the camera itself. If a camera is not answering, log into its own web page and check that ONVIF is enabled — it is usually under Network, Protocols or Integration.
When a camera does not appear
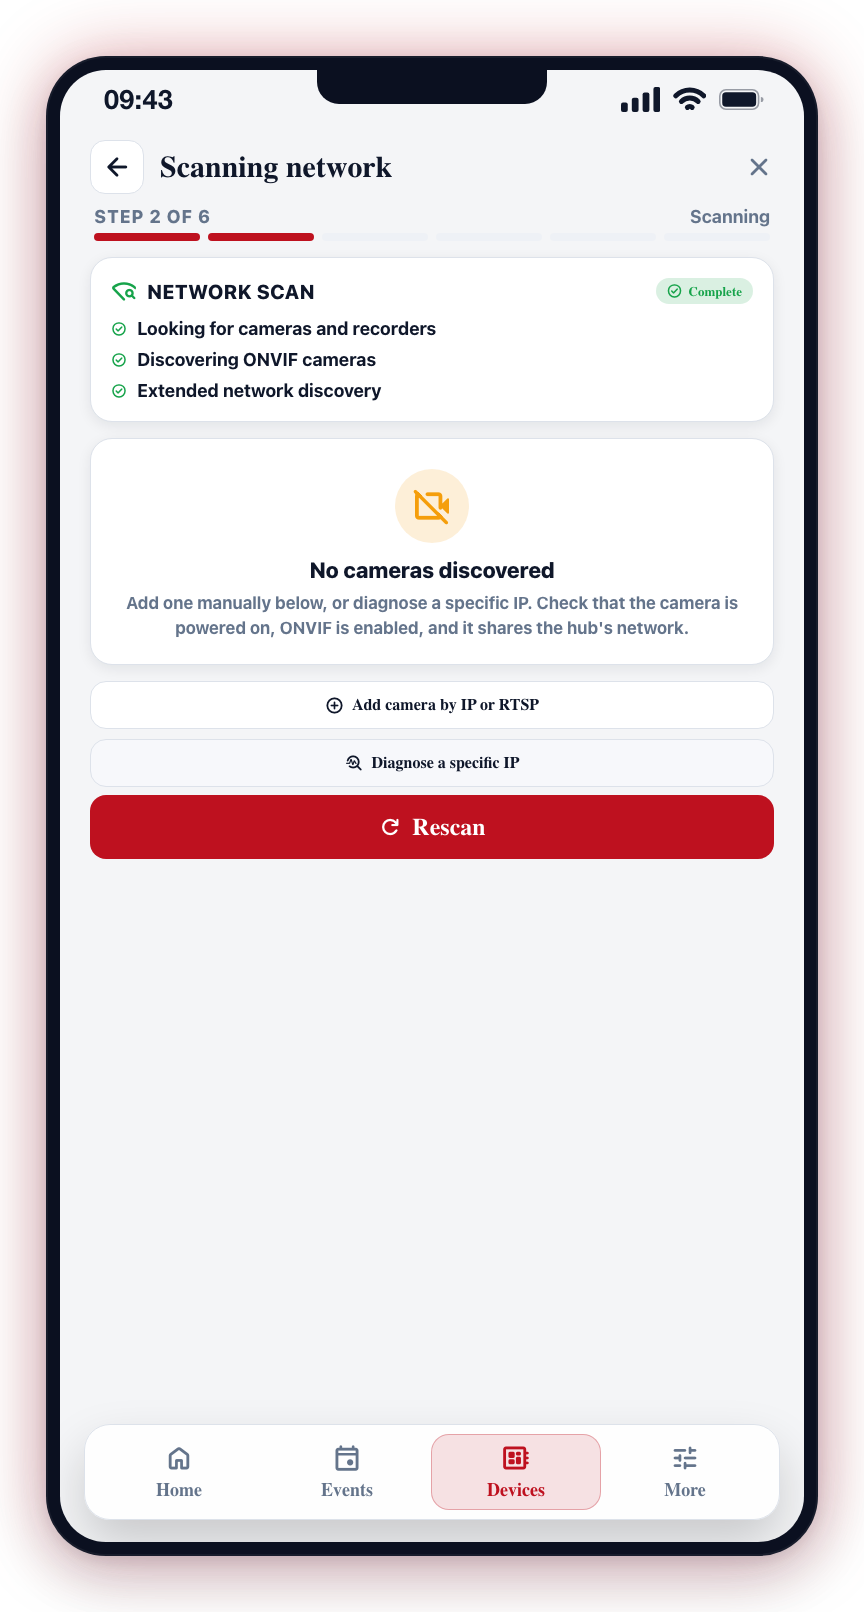
Work down this list — the first three fix most cases.
- Is it on? Check the camera's power light.
- Is it on the same network as the hub? The hub can only find cameras on its own network. A camera on a guest network, a second router, or a different VLAN will not answer.
- Let the search finish, then tap Rescan. Cameras that were still booting often answer the second time.
- Turn ONVIF on in the camera. See the note above.
- Check for a separate ONVIF user. Some cameras keep ONVIF logins apart from the web login, and you have to create one.
- Ask about the network. If your network is split into segments or VLANs, or a firewall blocks broadcast traffic, discovery messages never reach the camera. Your installer or IT contact can confirm.
If none of that helps, you do not have to keep fighting it: tap Add a camera manually and type the camera's IP or RTSP address yourself. The wizard also has a diagnose option that tests one address and tells you what answered.
When a camera is found but will not connect
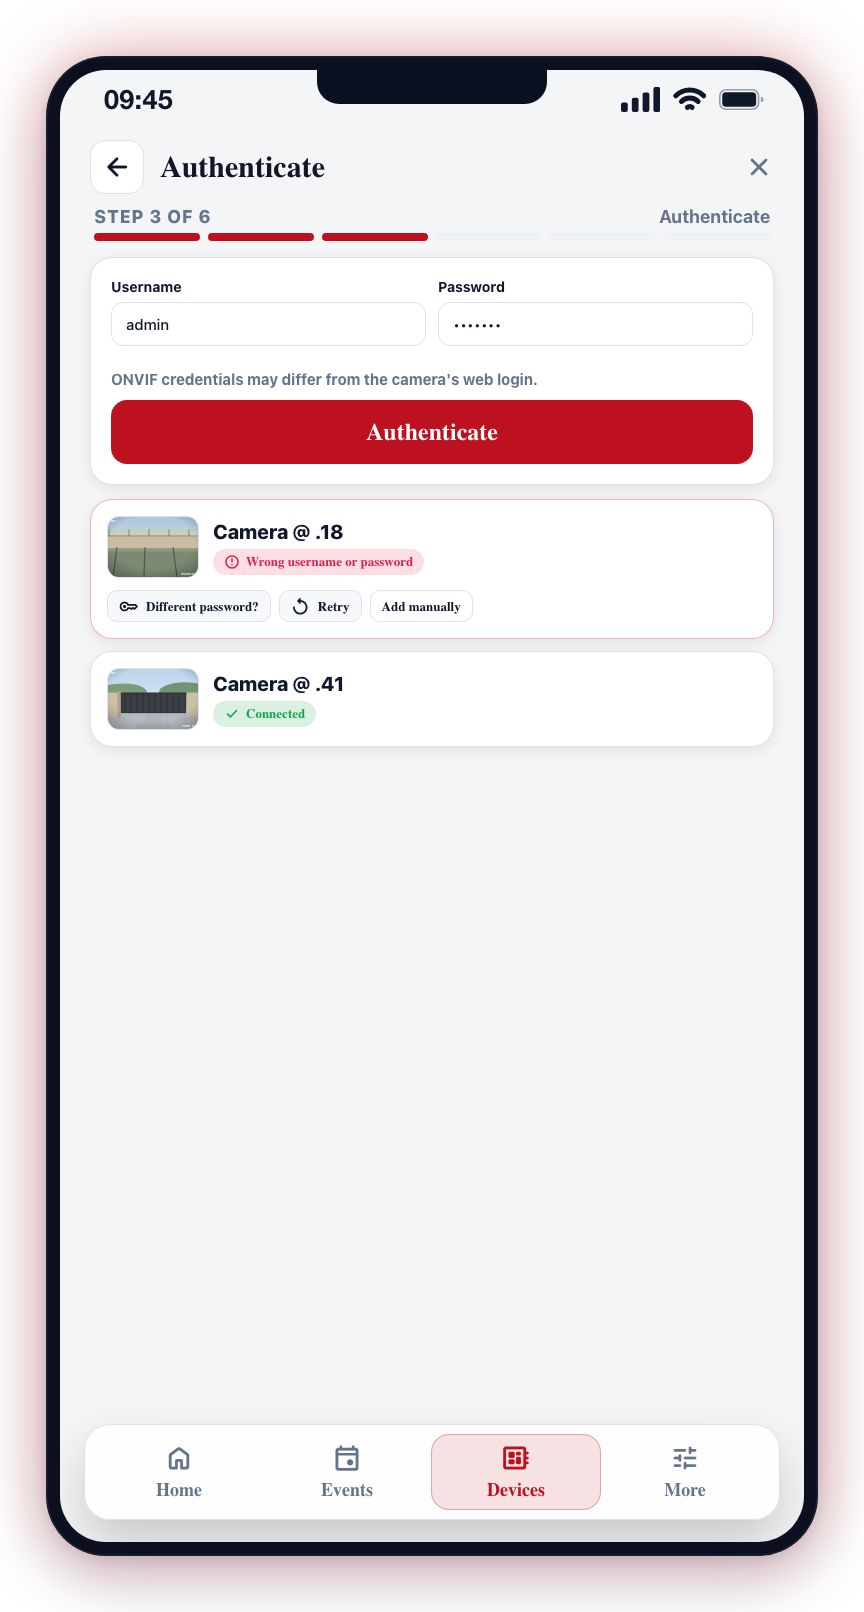
This is almost always the password.
- Try the camera's own login. ONVIF credentials are often different from the ones you use on the camera's web page — and different again from the installer's default.
- Update the camera's firmware. Older firmware sometimes reports streams it cannot actually serve.
- Add it manually. If the camera is reachable but will not describe itself, entering its stream address directly works just as well. The camera ends up identical either way.
Cameras that come and go between searches
If a camera shows up in one search and not the next:
- Give it time after a power cut. A camera can take a minute or two after powering on before it answers anything.
- Try a quieter moment. Discovery messages are easily lost on a busy network, particularly over Wi-Fi.
Power on and connect every camera before you start. One search then finds the lot, and you can add them in a single pass instead of running the wizard once per camera.