Photo Gallery
Every active event in CleverAlert includes photos captured at the moment of detection. The photo gallery lets you review these images in detail, helping you quickly assess whether an event represents a genuine security threat or a false positive.
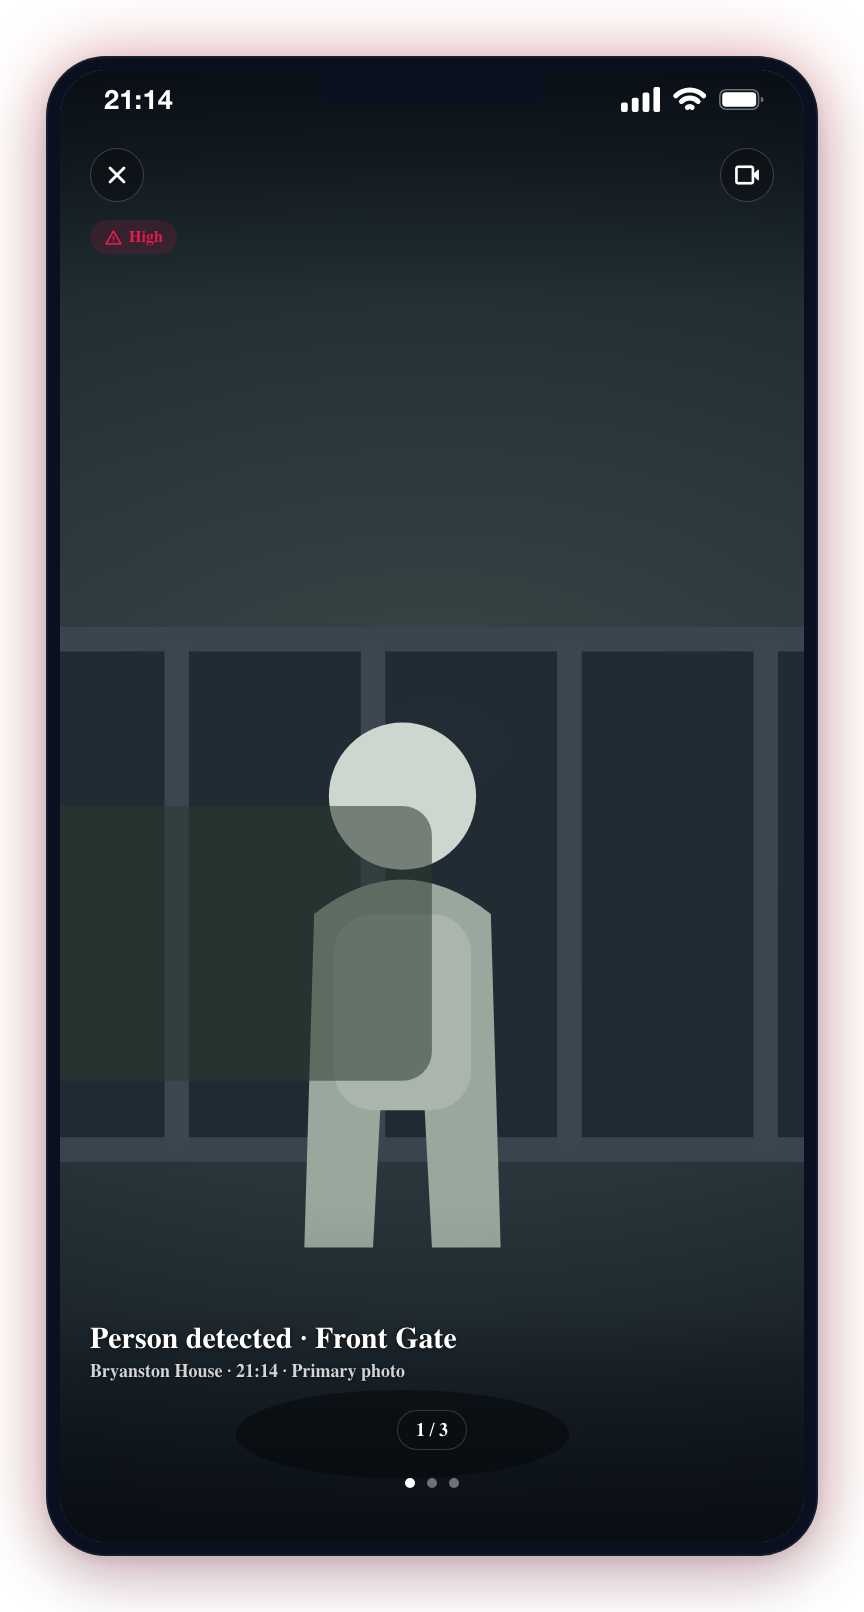
Types of Photos
Active events may include several types of photos:
Primary Detection Photo
The primary photo is the image that triggered the AI detection. It typically shows the detected object, person, or movement highlighted within the camera's field of view. This is the most important photo for assessing the event.
Secondary Detection Photo
A secondary photo is captured moments after the primary detection. It provides additional context by showing what happened immediately after the initial trigger — for example, the direction a person was moving or whether an object remained in the frame.
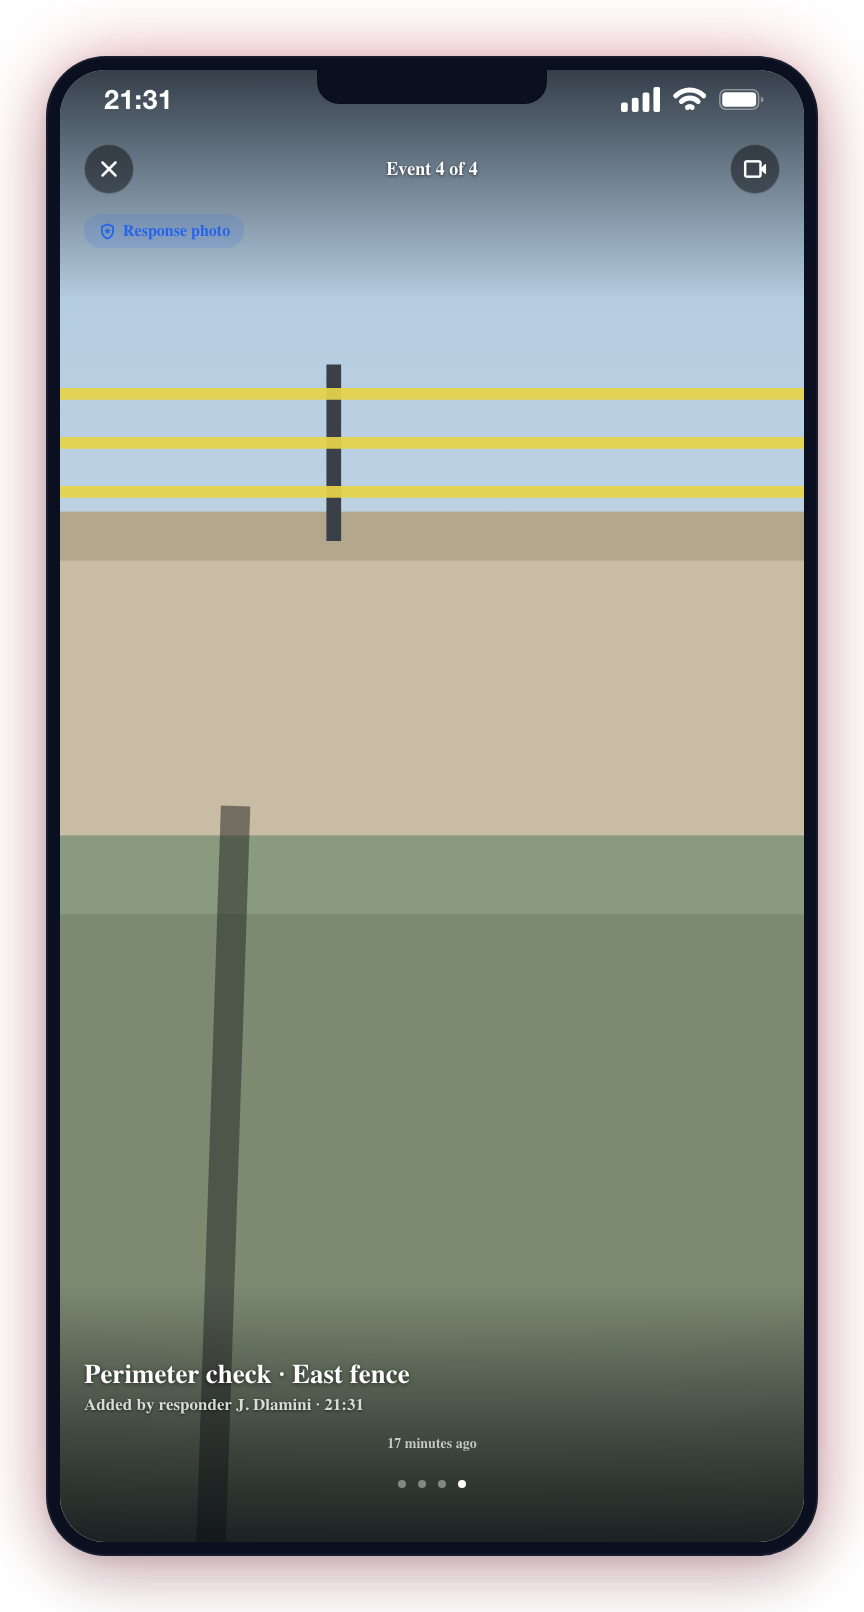
Action Photos
If a response unit has been dispatched and takes action at your site, additional photos may be added to the event by the responding team. These action photos document the on-site response, such as photos of the perimeter check or evidence collected.
Viewing Photos
Swipe Through Photos
- Open an active event by tapping its card on the Home screen or in the Events tab.
- The photo gallery appears at the top of the event details.
- Swipe left or right to move between photos.
- Dots or a photo counter below the image indicate how many photos are available and which one you are viewing.
Pinch to Zoom
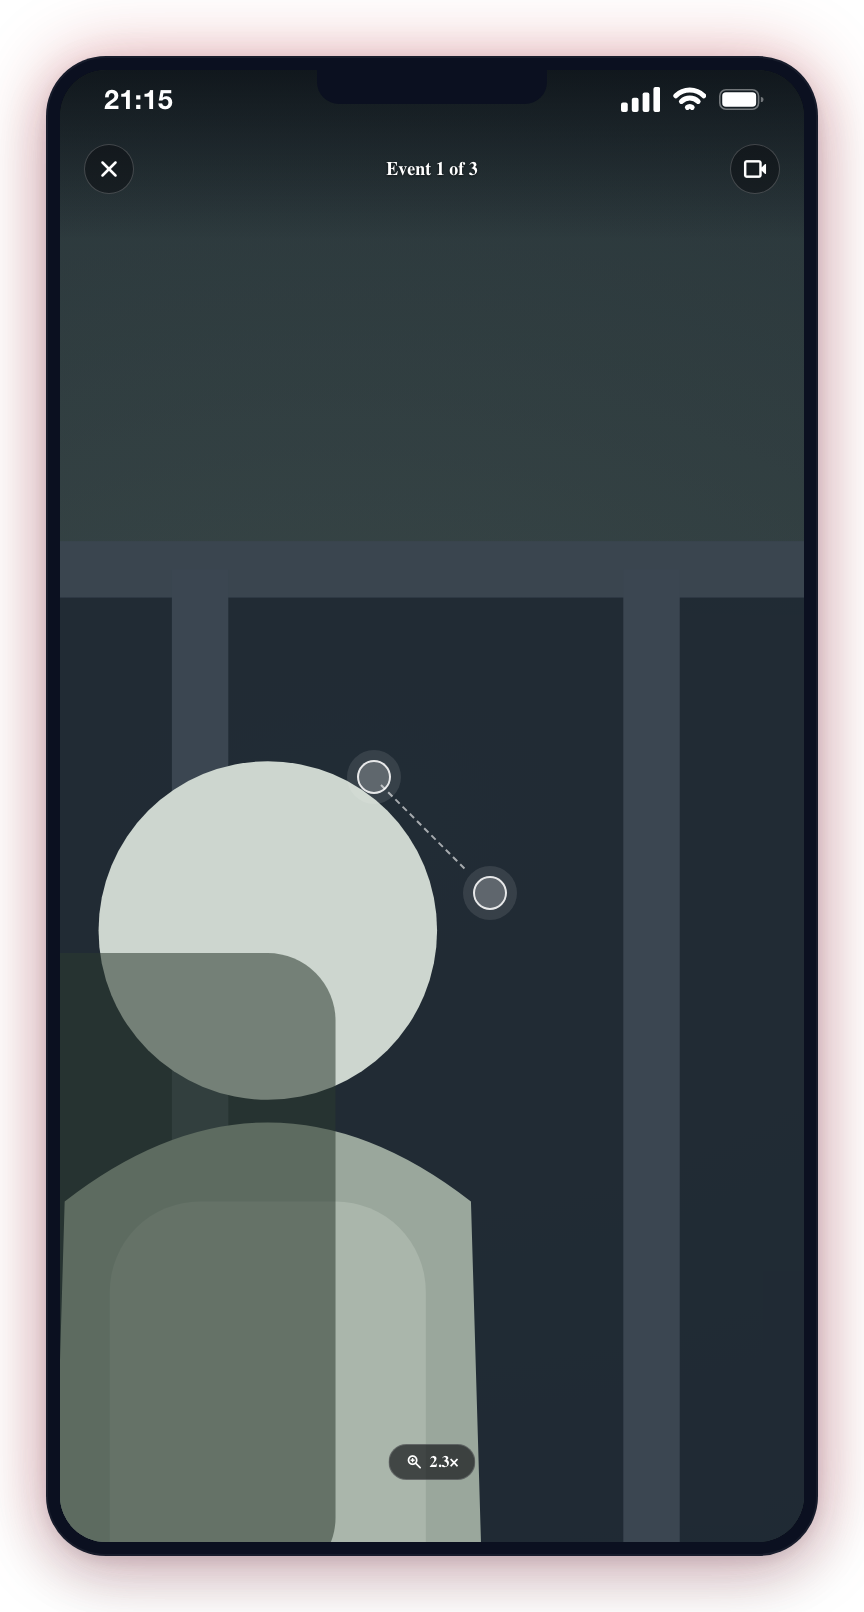
- While viewing a photo, place two fingers on the screen.
- Spread your fingers apart to zoom in on a specific area.
- Pinch your fingers together to zoom back out.
- Drag with one finger while zoomed in to pan around the image.
Full-Screen View
- Tap a photo to enter full-screen mode.
- The photo expands to fill the entire screen with a dark background.
- Swipe left and right to navigate between photos in full-screen mode.
- Pinch to zoom and drag to pan, just like in the standard view.
- Tap the X or swipe down to exit full-screen mode.
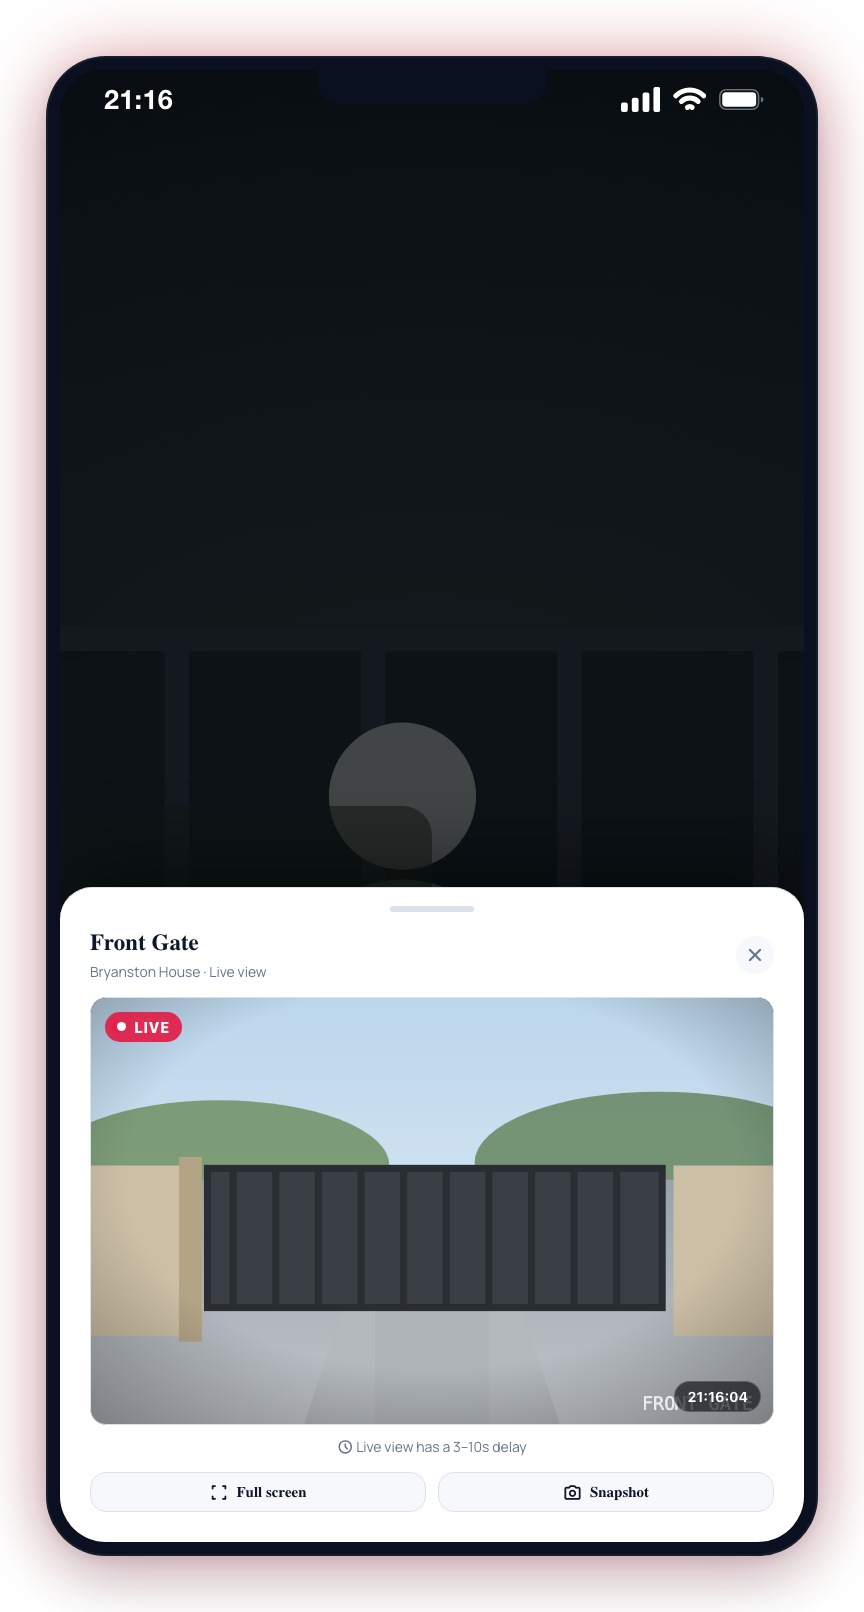
Live View from a Photo
When the photo's camera supports live streaming, a camera icon appears in the top bar of the full-screen view. Tap it to open the live view sheet for that camera — useful for checking what is happening right now versus what the detection photo captured. If the camera doesn't support live view (for example, a snapshot-only hub or a disabled camera), a short message explains why.
Sharing a Photo
You can share an event or community-chime photo to WhatsApp, email, or any other app on your phone:
- Open the photo in the full-screen viewer.
- Tap Share (labelled Share image on some screens).
- The app prepares the image and opens your phone's share sheet — pick the app or contact to send it to.
The shared image is delivered with a branded footer: the app's logo and a "Powered by" line beneath the photo. In white-label apps this footer carries that security brand's own logo and name, so a photo shared from, say, a branded app is stamped with that company's identity rather than CleverCam's.
Photo Quality
Detection photos are captured at the resolution set for the camera. Higher-resolution cameras will produce sharper, more detailed event photos. If photos appear blurry or low quality, consider adjusting the camera's resolution in the camera settings.
When reviewing a detection event, zoom in on the primary photo to look for distinguishing details -- clothing, vehicle features, or objects being carried. This information can be valuable when verifying the event or providing details to a response unit.
Photos are stored securely in the cloud and are accessible for as long as the event is retained in your event history. The retention period depends on your subscription plan.