Edit Group
As your security setup evolves, you may need to update your camera groups. Whether you are adding a new camera, removing one that has been relocated, renaming a group for clarity, or moving cameras between groups, CleverAlert makes it easy to modify your groups without having to recreate them.
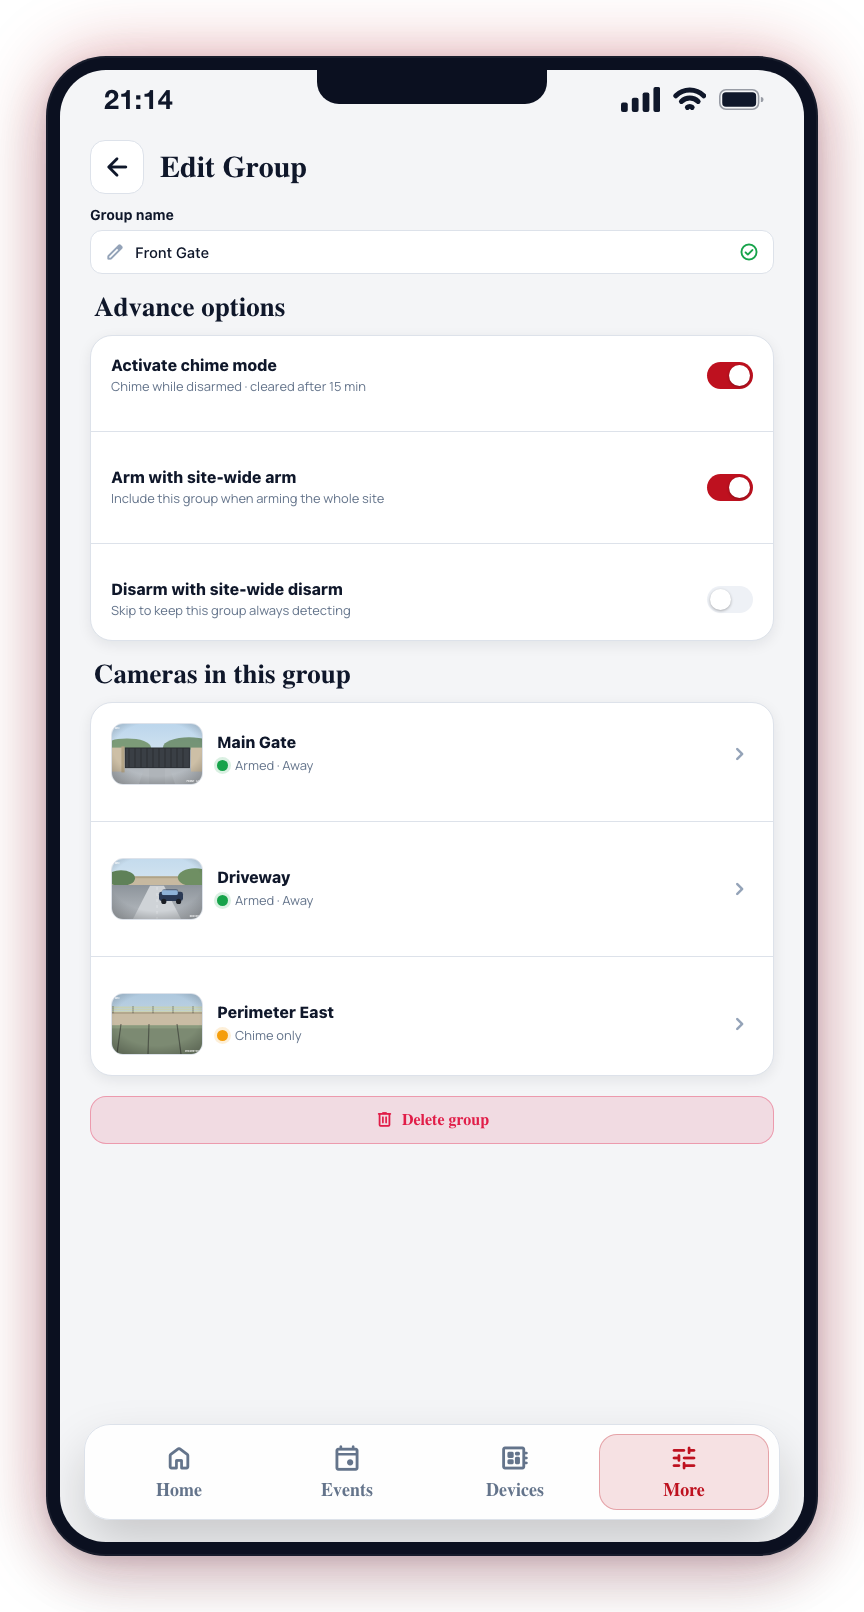
Editing a Group
- Open the More tab.
- Under My site, tap Advanced setup, then Manage Groups.
- Tap the group you want to edit. This opens the Edit Group screen directly.
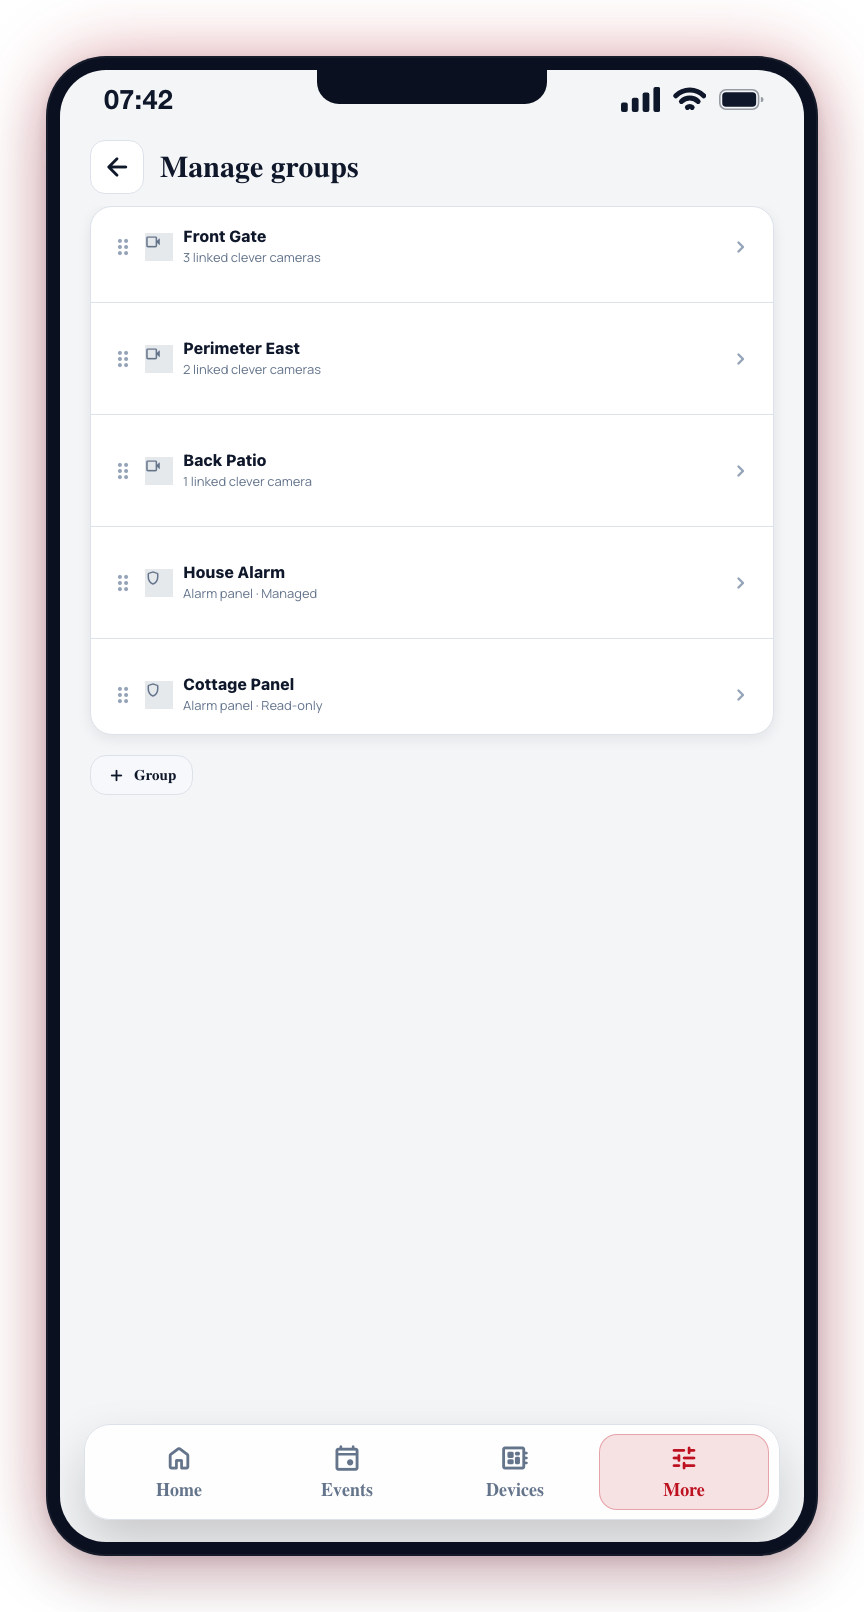
The Manage Groups list shows one row per group with an icon identifying the group type, the group name, and a short description underneath:
- Camera group — shows the number of cameras assigned (e.g. "3 linked clever cameras").
- Alarm panel (managed) — shows "Alarm panel · Managed", meaning CleverAlert can arm and disarm this panel.
- Alarm panel (read-only) — shows "Alarm panel · Read-only", meaning the panel's state is visible but cannot be controlled from CleverAlert.
The Edit Group screen shows the group name, a list of cameras currently assigned to the group (with thumbnails), and a Delete button.
Changing the Group Name
The group name field is at the top of the Edit Group screen. Tap it, type a new name, and the change is saved automatically.
Advance Options
Below the group name, the Advanced options card holds per-group behaviour toggles. Changes save immediately.
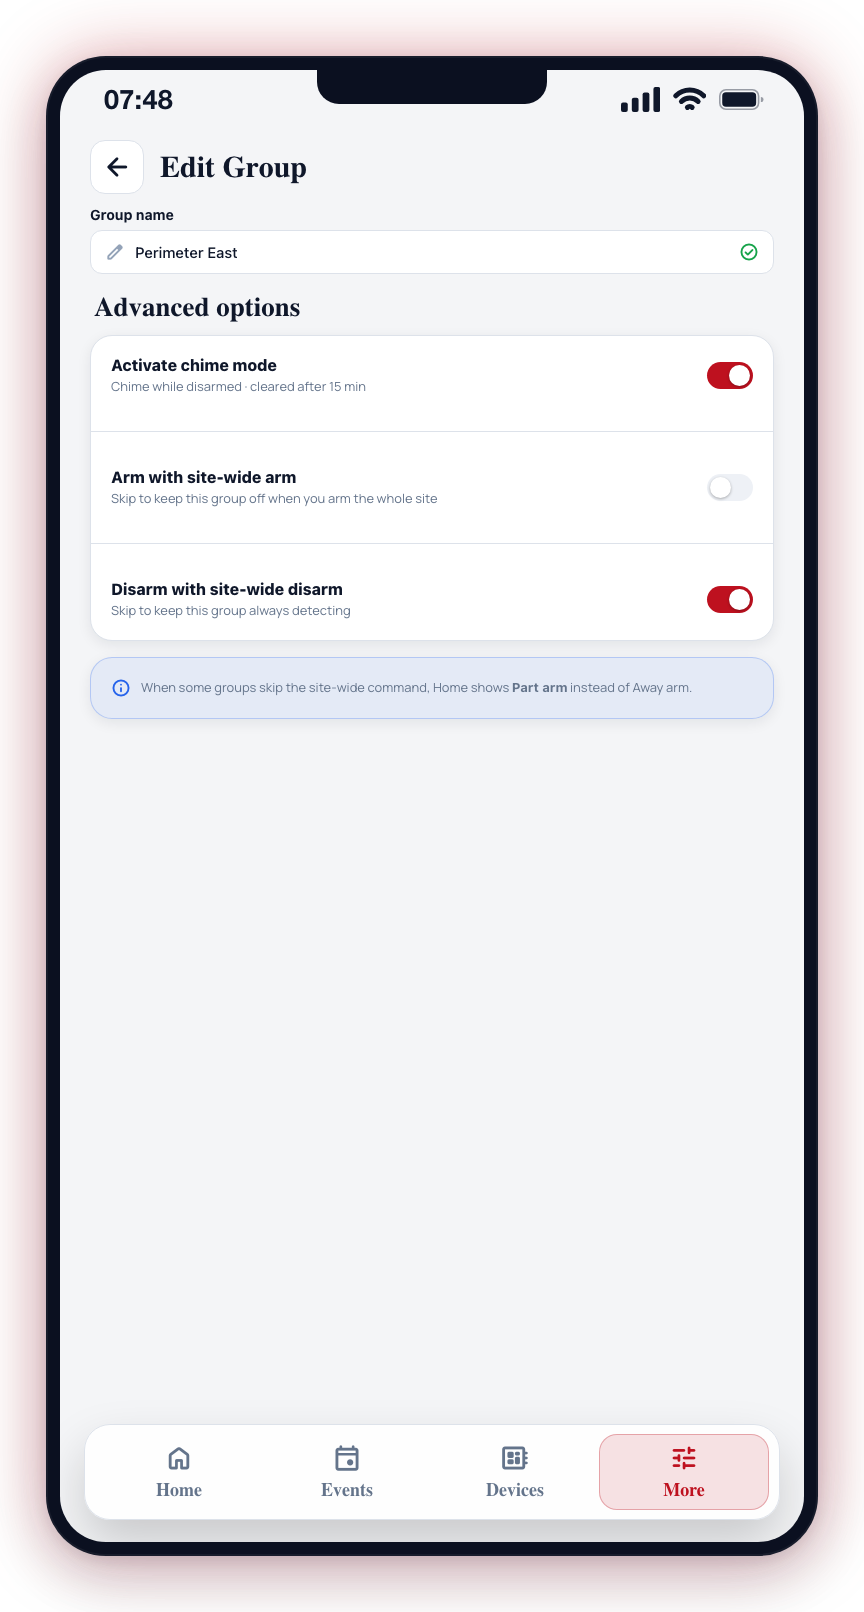
- Activate chime mode — chime is active only while the group is disarmed. Recent chimes are kept for 15 minutes, then automatically cleared.
- Arm with site-wide arm (camera groups only) — on by default. Switch it off and this group is skipped when you arm the whole site from the Home screen (or a site-wide schedule runs). Useful for street-facing cameras that should never arm. You can still arm the group individually from its tile, and its Home tile shows a small "Skips site arm" pill so it's clear why it stayed disarmed.
- Disarm with site-wide disarm (camera groups only) — on by default. Switch it off and this group stays armed when you disarm the whole site. Useful for perimeter cameras that should always keep detecting.
When some groups skip the site-wide command, the site status on Home shows Part arm instead of Away arm — that's expected, and it reflects exactly which groups followed the command.
Moving a Camera to Another Group
To move a camera out of this group:
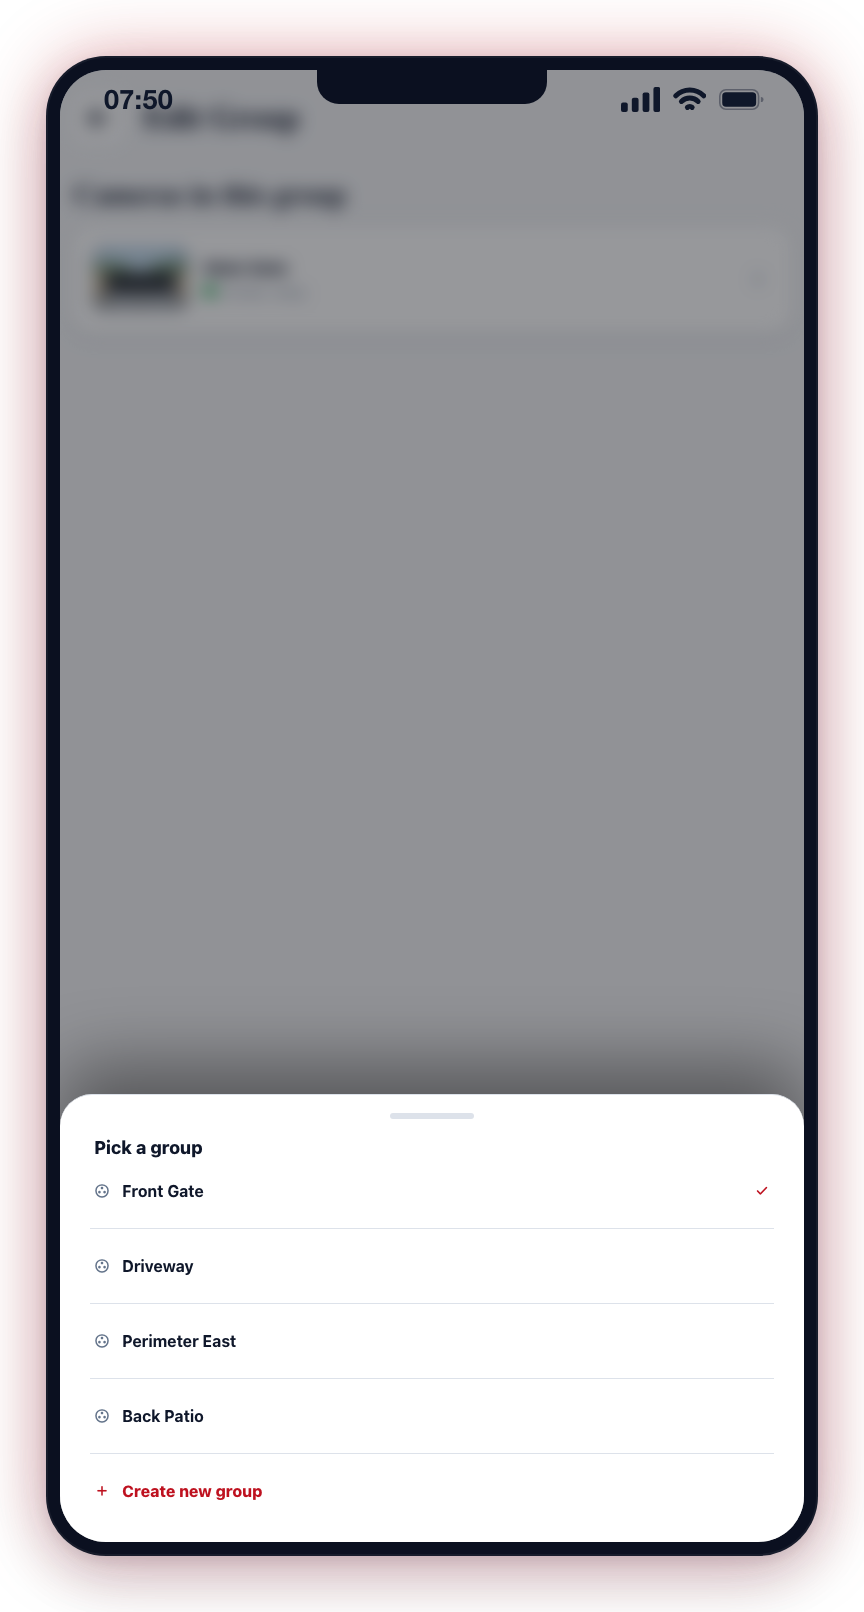
- On the Edit Group screen, tap a camera in the list.
- A "Move camera to" panel appears showing all other groups at this site.
- Tap the destination group.
- The camera is moved immediately.
Editing a group does not affect the arming state of any cameras. If a group is currently armed and you add a camera to it, that camera's arming state will be brought in sync on the next arm or disarm action for the group.
Review your groups periodically, especially after adding new cameras or changing your site layout. Keeping groups accurate ensures your arm and disarm actions cover the right cameras.