Create Group
Groups are collections of cameras that can be armed and disarmed together with a single tap. By organizing your cameras into groups, you can control your security system more efficiently — arming your entire perimeter at night, disarming just the indoor cameras when you arrive, or arming the warehouse independently from the office.
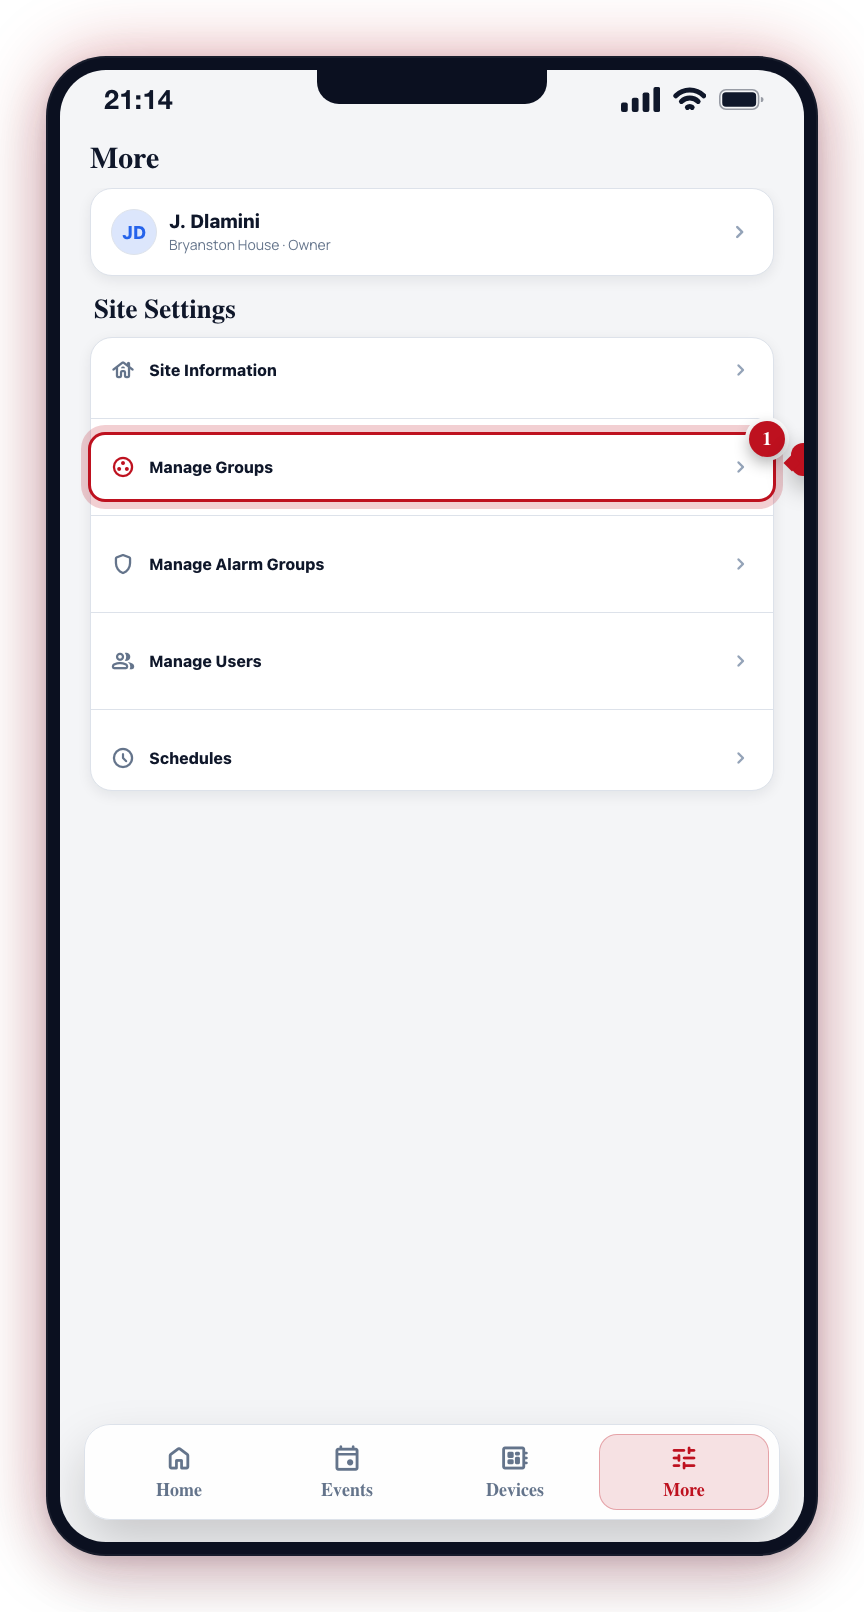
Go to More → Advanced setup → Manage Groups.
What are Groups For?
Instead of toggling each camera individually, groups let you:
- Arm or disarm multiple cameras at once — One tap to arm all perimeter cameras for the night.
- Create schedules per group — Automate arming for your outdoor cameras without affecting indoor ones.
- Organize by location or purpose — Group cameras by physical area ("Front of House", "Back Yard") or by function ("Perimeter", "Indoor", "Loading Bay").
- See status at a glance — Each group shows its armed/disarmed/alarm state as a color-coded card on the Home screen.
How to Create a Group
There are two ways to create a camera group:
From Manage Groups
- Open the More tab from the bottom navigation bar.
- Under My site, tap Advanced setup, then Manage Groups.
- Tap the Group button (with the "+" icon) at the bottom of the screen.
- A dialog appears. Enter a group name that clearly describes the cameras in the group (e.g., "Front of House", "Perimeter", "Indoor Cameras").
- Tap Create.
- You are taken to the Edit Group screen where you can assign cameras to the new group.
Inline from the Camera Setup Wizard
When you add cameras through the Camera Setup Wizard, every camera needs a group assigned before you can save. If none of the existing groups fit, pick Create new group from the group selector on that camera's row (or the bulk selector at the top). A short prompt appears for the name, the group is created, and it is selected automatically for the cameras you were assigning. The new group becomes available for every other camera in the wizard immediately.
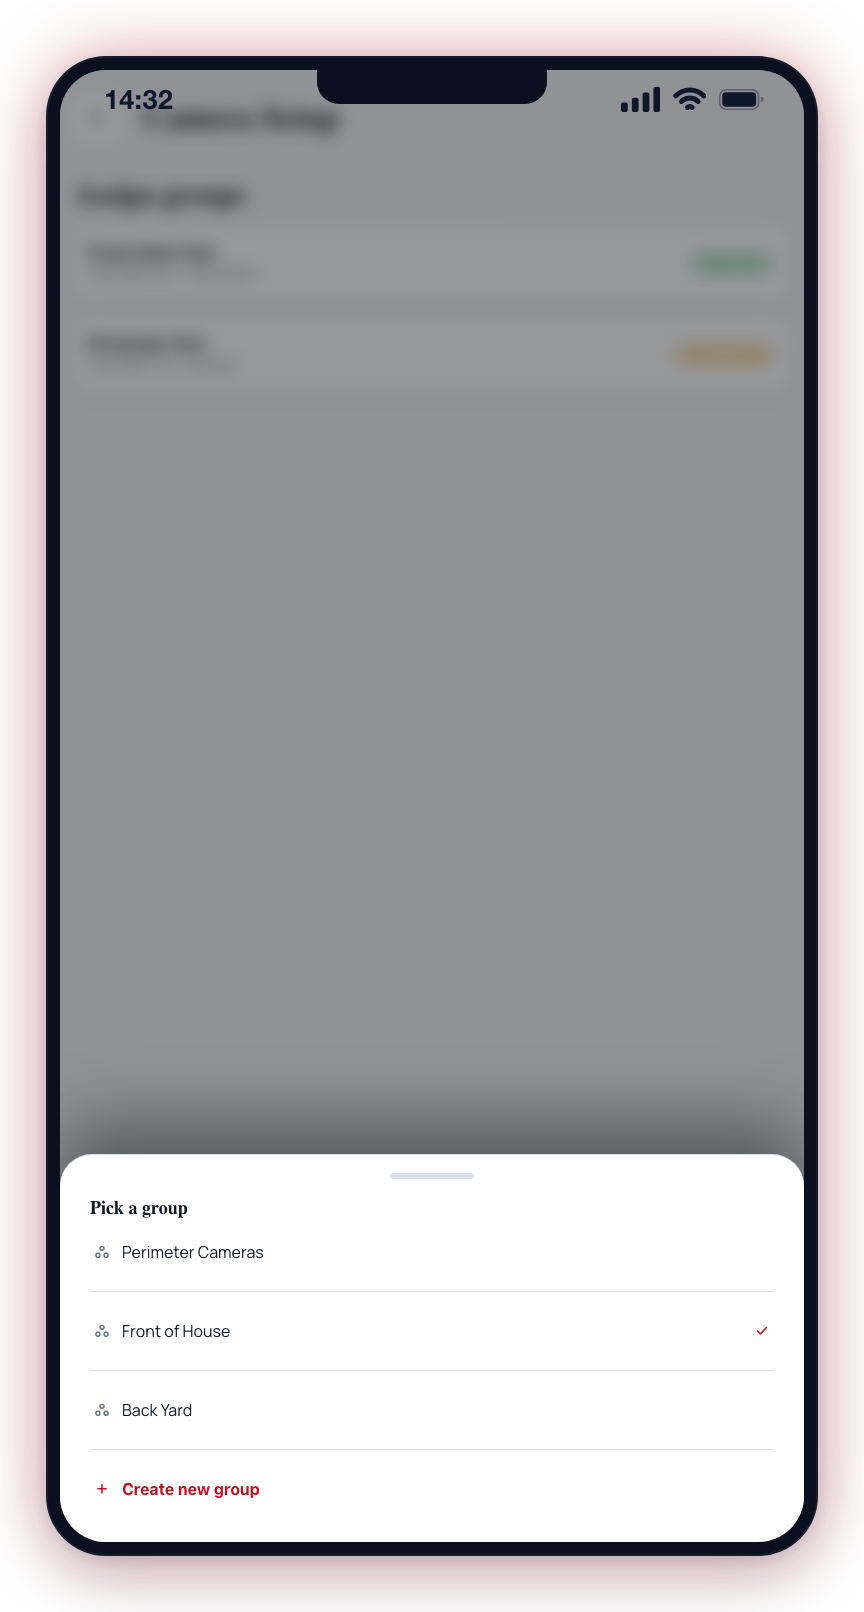
The new group will appear on the Home screen as a status card and will be available for scheduling and arm/disarm actions.
A new group starts without any cameras linked and without any schedules. After creating the group, assign cameras on the Edit Group screen, and then create schedules for this group if needed.
Group Naming Tips
Choose names that are immediately recognizable during an alert:
| Good Names | Poor Names |
|---|---|
| Front Gate | Group 1 |
| Perimeter Cameras | My Cameras |
| Warehouse Interior | New Group |
| Parking Lot | Cameras A |
| Office Reception | Test |
Common Group Configurations
Here are some typical ways to organize your cameras into groups:
Residential
- Perimeter — All outdoor cameras covering the boundary of the property
- Front of House — Front door, driveway, and garage cameras
- Back Yard — Garden, pool, and back entrance cameras
- Indoor — Living room, hallway, and entry cameras
Commercial
- Exterior — All cameras facing outside the building
- Reception — Front desk and lobby cameras
- Warehouse — Storage and loading area cameras
- Office Floor — Interior office cameras
- Parking — Parking lot and garage cameras
A single camera can belong to multiple groups. For example, a front door camera might be in both the "Perimeter" group and the "Front of House" group. Arming either group will arm that camera.
Keep your group structure simple. Two to five groups typically provides enough flexibility for most sites without making the system overly complex.